
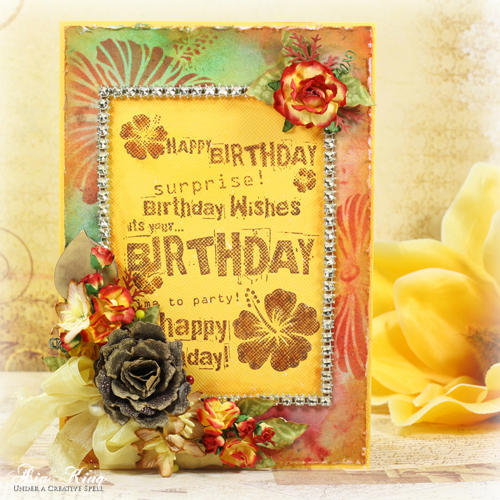
Morning Friends! Asia King here and today I am falling in love with autumnal colours…:). I created this richly coloured birthday card with a DIY background and I have a tutorial for you as well. Let’s begin!
Start by preparing your supplies to create your own background paper. This was the first time I played with my new Brusho crystals. In addition to the powders I also kept a White Linen ink spray and my DIY pigment powder sprays handy.
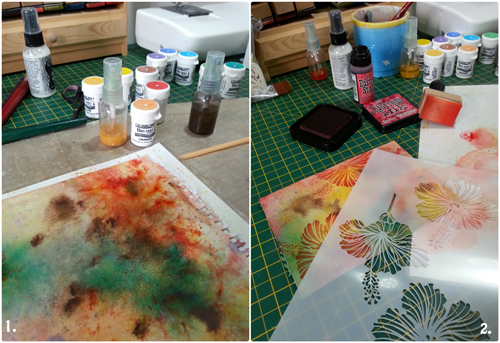
1. Create a custom background by sprinkling Brusho crystals onto watercolour paper and misting it with water. Build layers with an addition of white ink spray and the DIY pigment powder sprays made with pigment powders in Gold and Brown.
2. Stencil a few hibiscus flowers using distress inks.
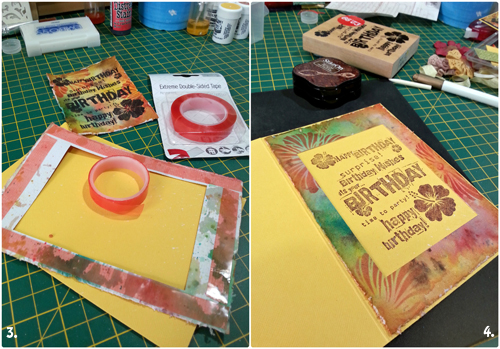
3. Create card base from yellow cardstock and trim the background 1/16th inch smaller than the base on each side. Distress the edges.
During this step I decided to take a different route to what I originally planned. At first I stamped my image onto the background paper in black but it just didn’t fit the autumnal look I was going for. So I cut the stamped image out and adhered only the ‘frame’ to my card base using HomeHobby Extreme Double-Sided Tape 1/2″.
4. Next, stamp your image with brown ink within the aperture. The cardstock I used had a textured surface so my stamped image has a textured, printed look, too. You can fill in the areas with more ink if you wish.
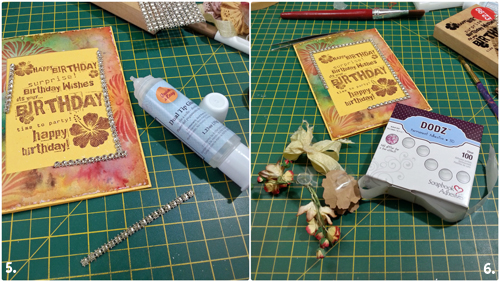
5. Add some gems along the aperture and adhere using Dual Tip Glue Pen.
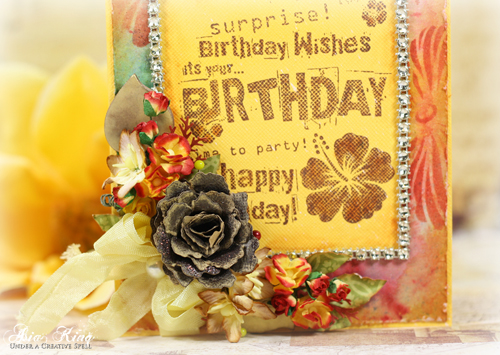
6. Add flowers and ribbon (use the finished project photo as a guide) and adhere the elements using DODZ Adhesive Dots 3D,
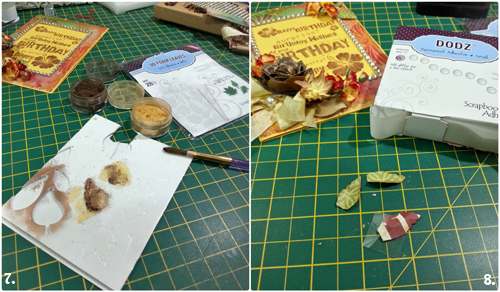
7. Cover some 3D Foam Leaves with Pigment Powders in Gold and Brown. Paint the edges of the foam with a gold pen and add the leaves to the flower cluster.
8. Cut a few small leaves from scrap paper and shape them in your hands. Punch a few pine branches from terracotta cardstock. Add the leaves to the card using DODZ Adhesive Dots Small.
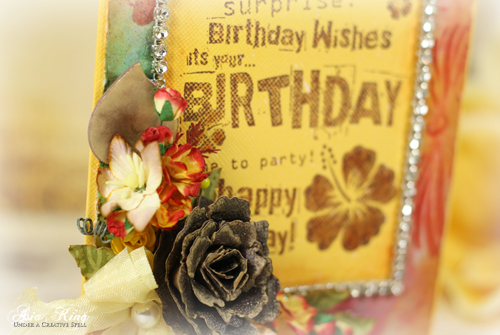
To finish, spray the flowers and the rest of the card with a gold mica spray for additional sparkle.
- Creative Time: 60 Minutes
- Skill Level: Advanced
Supplies:
Scrapbook Adhesives by 3L
HomeHobby by 3L
Other supplies:
- Pigment Powders Gold and Brown
- Yellow and terracota cardstock, green patterned paper scraps, watercolour paper
- Stencil – Designs by Ryn, Hibiscus
- Stamp – Anita’s
- Spellbinders – Spiral Blossom One die (for the big rose flower); Martha Stewart Pine Branch punch
- Media – Brusho crystals, Barn Door and Fired Brick Distress Inks (Ranger), White Linen Ink Spray (Dylusions), Spiced Chai StazOn Mini (Tsukineko), gold permanent pen
- Ribbon (May Arts), distressing tool, paper flowers, gems
I hope you enjoyed today’s tutorial and feel inspired to bring some warm autumnal feel to your next creation!
Big crafty hugs

By Autumn October 15, 2015 - 11:06 am
Such a great tutorial, this is one awesome card! Thanks to Asia I have found this great website! 🙂
By Asia King October 17, 2015 - 3:05 am
Thank you so much hun! Glad you enjoyed it! 🙂