
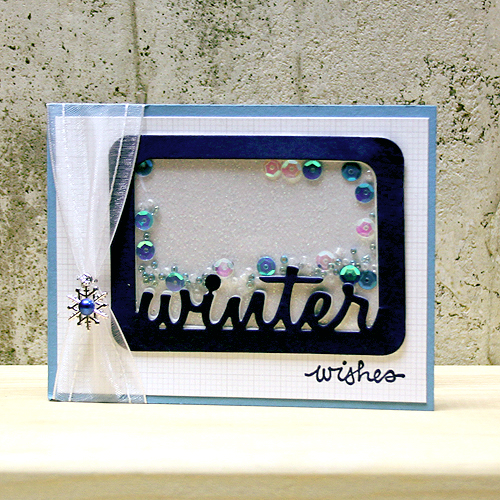
Hi all! Tami Mayberry here with you again today to share another fun and easy project you can create using Scrapbook Adhesives by 3L® products. For this “winter wishes” card we will create a 3D shaker box that is then attached to the card front. Once you learn the basic technique, you can recreate this shaker to add to your favorite crafty projects such as scrapbook pages and home décor as well.
Shaker Card Instructions:
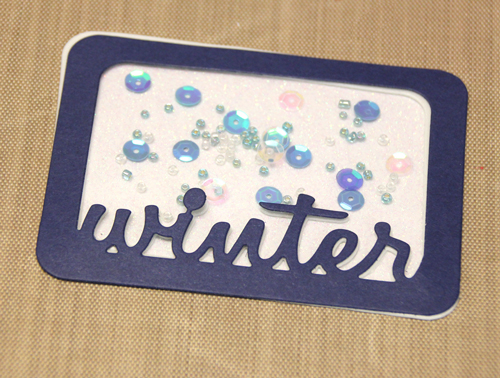
- Die-cut “winter” frame from navy cardstock and 3D Foam Creative Sheets. Die-cut rectangle same size as frame from glitter paper and Keepsake Envelopes Mix
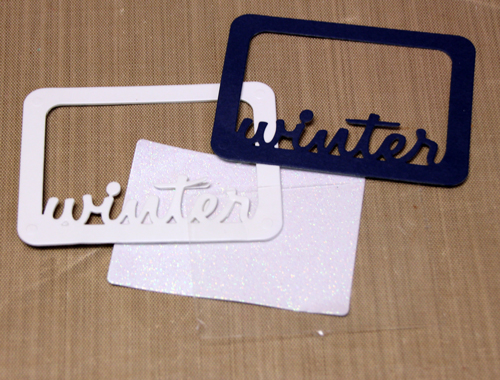
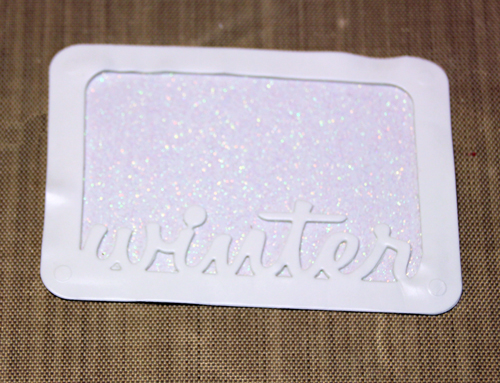
- Attach 3D Foam Creative Sheets frame to glitter rectangle.
- Place desired sequins and beads onto panel; cover with retangle cut from Keepsake Envelopes Mix.
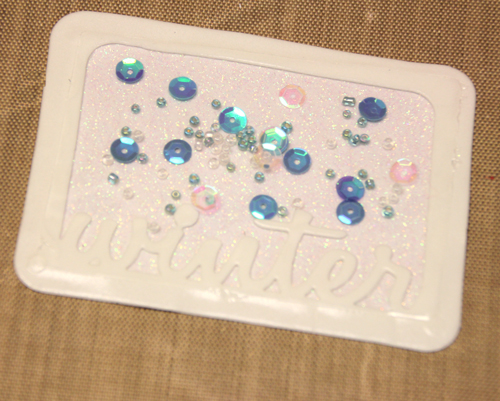
- Attach navy die-cut “winter” frame to top of shaker.
Now you are ready to complete your card!
Card instructions
- Form card base from light blue cardstock.
- Cut a piece of grid patterned paper slightly smaller than card front; adhere to card front.
- Attach completed shaker to card front.
- Stamp “wishes” below shaker as shown.
- Wrap card front with ribbon. Tie snowflake charm to center of ribbon.
- Attach half-back pearl to center of charm using Dodz Adhesive Dots Mini.
Scrapbook Adhesives by 3L® Supplies:
- 3D Foam Creative Sheets
- Keepsake Envelopes Mix
- Dodz Adhesive Dots Mini
- E-Z Runner® Permanent Strips Refillable Dispenser
Other
- Cardstock: light blue navy
- White glitter paper
- Grid patterned paper
- Stampin’ Up! Endless Birthday Wishes stamp set
- Navy ink pad
- Buttons Galore and More Let it Snow embellishment kit
- White sheer ribbon
- Dies: winter frame, recatangle
- Die-cutting machine
By ~amy~ December 30, 2016 - 8:28 am
Love your winter shaker!