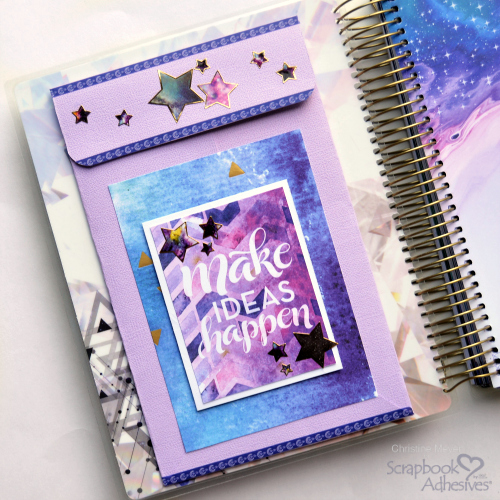
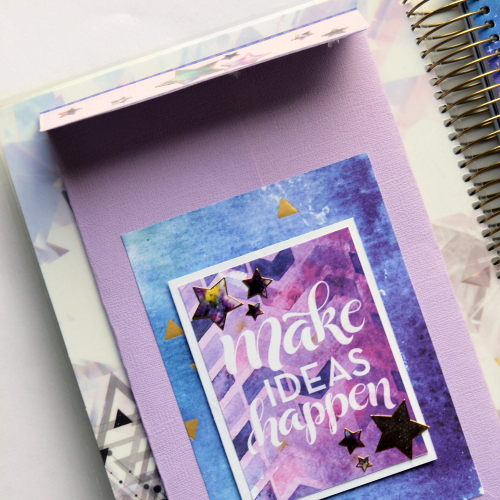
Have you ever looked at your planner and knew you needed to add something? I was looking for a way to add a pocket that closes as I needed a place to store my more important receipts and notes that I knew they wouldn’t slip out of. Mine comes with plenty of open pockets, but I wanted to make one of my own that would close. Today I am going to show you how to use Adhesives Dots that are Repositionable and the E-Z Runner® Grand to make a DIY Planner Pocket!

Planner Pocket Process Video
The directions for how to make this are very simple and just require a few products!
- Planner
- Adhesive Dots Large Repositionable
- E-Z Runner® Grand Ultra Strong Refill
- 12 X 12 Cardstock
- Whatever you want to decorate (in my case 3D Foam Squares, Patterned Papers, Stickers, and Washi Tape
Now let’s dive into the video and see how it all came together!
Planner Pocket Close-ups

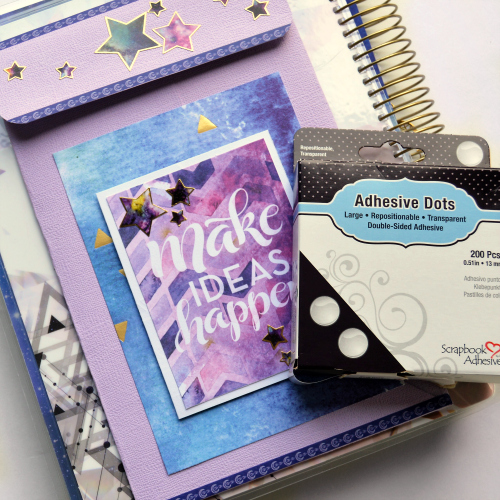
As you saw the Adhesive Dots being Repositionable are really a key part to the success of this Planner Pocket. I used them to both secure it to my planner cover as well as to close the pocket up. If they happen to get worn out, I can simply pull my box back out and replace them!

Now I am all ready to roll – thanks to a few simple supplies! But let’s not forget that this doesn’t have to be just for a planner! Additionally, you could make this for a Scrapbook Layout too and enclose something like a report card on it. You could also size it down and add it to a card as a fun and interactive element! Thanks so much for joining me today!
Creative Time: 20 minutes
Skill Level: Beginner
Materials Needed:
Scrapbook Adhesives by 3L®:
E-Z Runner® Grand Refillable Dispenser
3D Foam Squares White Mix
Adhesive Dots Large Repositionable
E-Z Runner® Grand Ultra Strong
Additional Supplies: Planner, Stickers, Washi Tape, Patterned Paper – Paper House Productions; Cardstock – Doodlebug Design
