
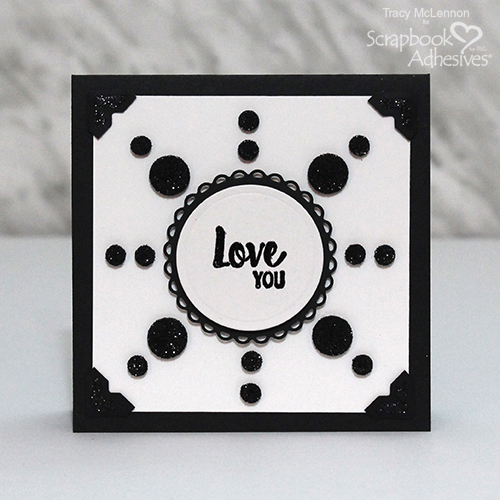
Welcome back my crafty friends! Today I have a super cute sparkly card to share created with some of my go-to favourite adhesives. Let’s Wear Our Adhesive on the Outside!
I would describe my card making style as bold, less is more kind of crafting. I like my cards to have a defined focus and this card is a good example of that. Here are all of the details:
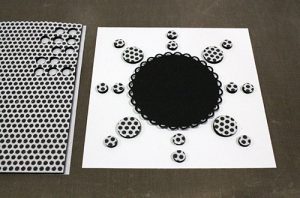
Start the creation by gathering your main supplies and cutting the basic cardstock layers. I used circle dies to cut the circle and scalloped circle.

Who doesn’t love sparkle??
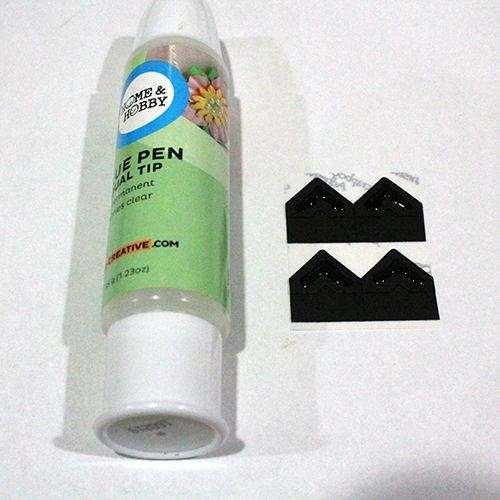
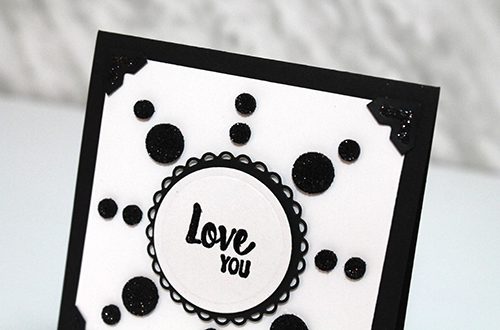
I started by adding a little sparkle to the Black Creative Photo Corners. Using my Dual Tip Glue Pen I added adhesive to the middle embossed portion of each Creative Photo Corner.
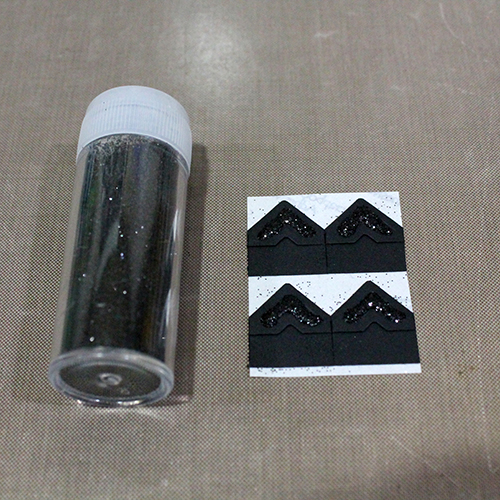
Add black glitter and VOILA! Super cute sparkle.
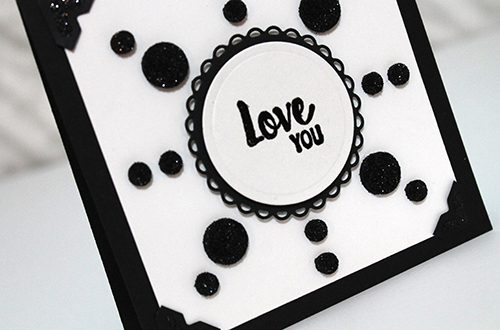
The next step is to create the symmetrical design on the white cardstock layer. Use that black circle as a guide for now, but don’t adhere it down yet. I started with the large 3D Foam Circles, then came back and added the smaller 3D Foam Circles.
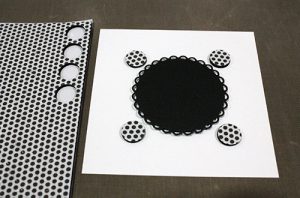
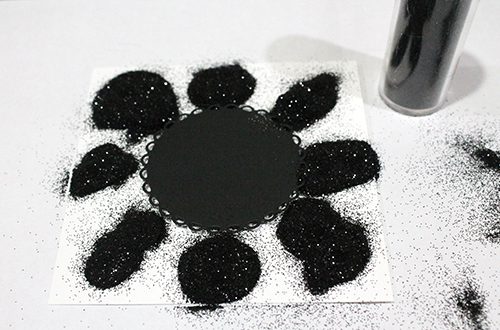
Once again, add the glitter and SPARKLE!
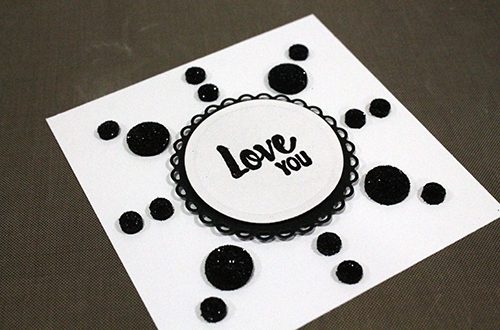
Once glittered I was able to add my cardstock circles, this time using regular 3D Foam Squares. I stamped and embossed my simple sentiment using black embossing powder.
Add the white cardstock layer to the black cardstock card base using those glittered Creative Photo Corners.
Thanks so much for stopping by!
Tracy
- Creative Time: 40 Minutes
- Skill Level: Beginner
Materials Needed:
Scrapbook Adhesives by 3L®:
3D Foam Squares Black Regular Size
E-Z Runner® Permanent Fine Adhesive Dispenser
Creative Photo Corners Black
3D Foam Circles Black Mix
HomeHobby by 3L®:
Dual Tip Glue Pen
Other Products Used:
Cardstock (Black and White), Heartfelt Creations Circle Dies, Crackerbox & Suzy Stamps Sentiment, Ranger Embossing Pad and Black Embossing Powder