
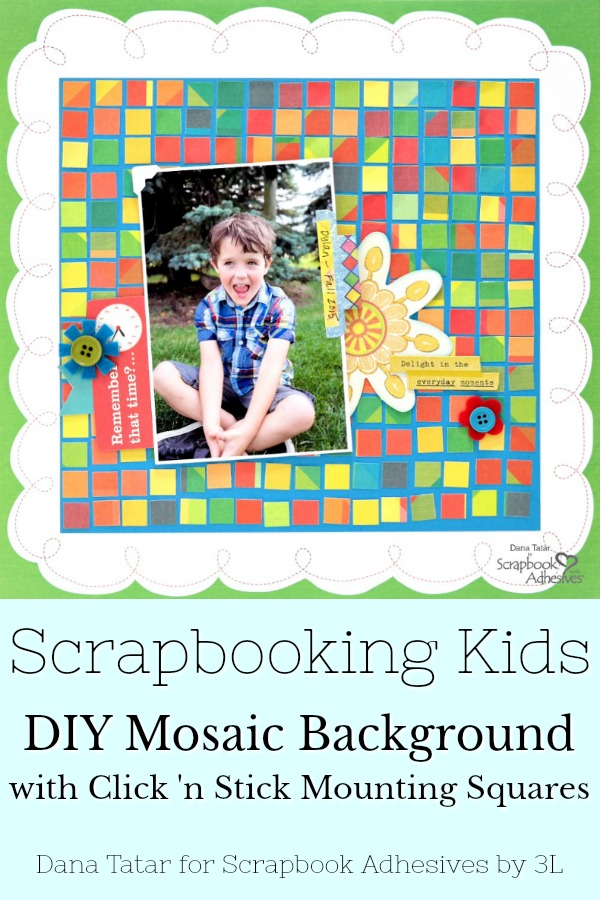
Hi! Dana Tatar here today sharing a colorful layout that was super fun to create. I played with pattern and color to create a mosaic background from patterned paper squares for my scrapbook layout. I was inspired to create a mosaic element from a similar scrapbook design by Paige Taylor Evans.
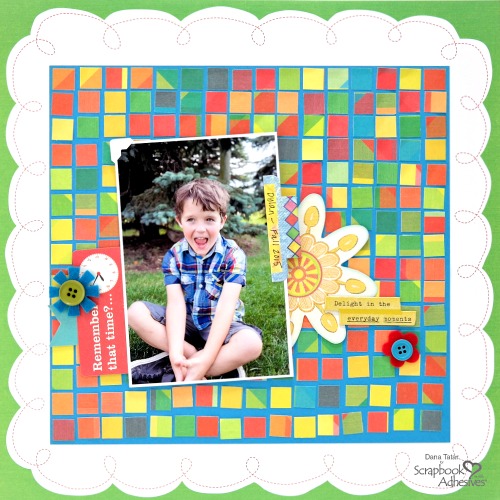
The Click ‘n Stick™ Mounting Squares saved me a lot of time when putting together this background. I cut a piece of colorful scrapbook paper into 1/2-inch squares to assemble the mosaic feature. The mounting squares measure 0.4 inches square, so my paper squares were just a little bit larger, which allowed for some wiggle room.
How to Assemble a Mosaic Background
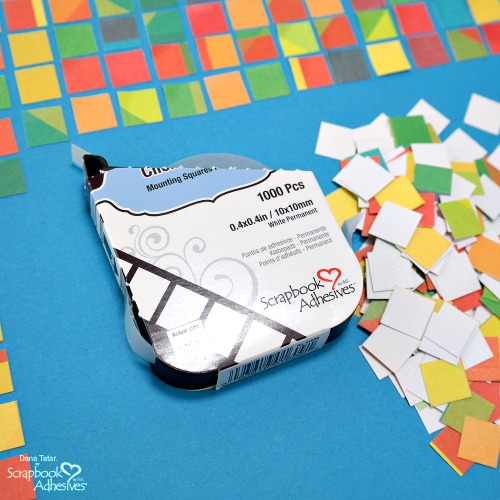
Begin by cutting 1/2-inch squares from a piece of patterned paper. I chose a solid piece of cardstock to use for the base of my tile design that measured 9×9.5 inches. I cut 240 patterned paper squares to build my colorful background. The Click ‘n Stick™ dispenser-box easily apply double-sided adhesive squares. This touch-free adhesive is ready to use, without fussy tabs to remove.
View a quick video on How to Use Click ‘n Stick Adhesive below.
I first attached a row of squares across the top of my cardstock base. I then repeated the process down one side of the cardstock. These two rows of squares served as my guidelines. I was then able to quickly fill in the mosaic design. I didn’t worry about lining up the squares exactly. A slightly off-center position adds some “movement” to what would be a very static layout.
Finishing Touches
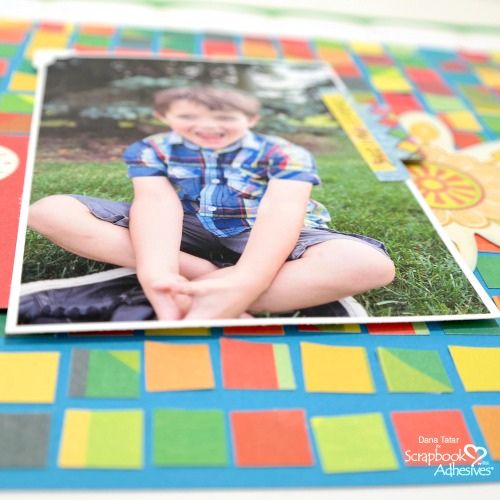
I used the E-Z Runner® Grand Refillable Dispenser with the Permanent Dots Refill to attach die-cuts across the center of the page. To add dimension to my design I used Crafty Foam Tape to attach the photo to the page. Lastly, I added a White Photo Corner to the top of the photo.
Thanks so much for stopping by today! I hope I have inspired you to create your own paper-pieced background.
~Dana
Creative Time: 60 minutes
Skill Level: Beginner
Materials Needed
Scrapbook Adhesives by 3L®
Click ‘n Stick™ Mounting Squares 1,000 White
E-Z Runner® Grand Refillable Dispenser
E-Z Runner® Grand Permanent Dots Refill
Crafty Foam Tape White
Creative Photo Corners Mix Pack
Other
Cardstock (Core’dinations); Patterned Paper (Sassafras Lass); Office Tab (Basic Grey); Felties (Sassafras Lass); Die-Cuts (October Afternoon, Sassafras Lass)
Pin It!
By Julie Tucker July 25, 2018 - 5:57 am
This is soooooooo fabulous! I am LOVING that mosaic tile background you made!!!!!!!!!!!!!!
By Dana Tatar July 25, 2018 - 7:45 am
Thanks so much Julie!