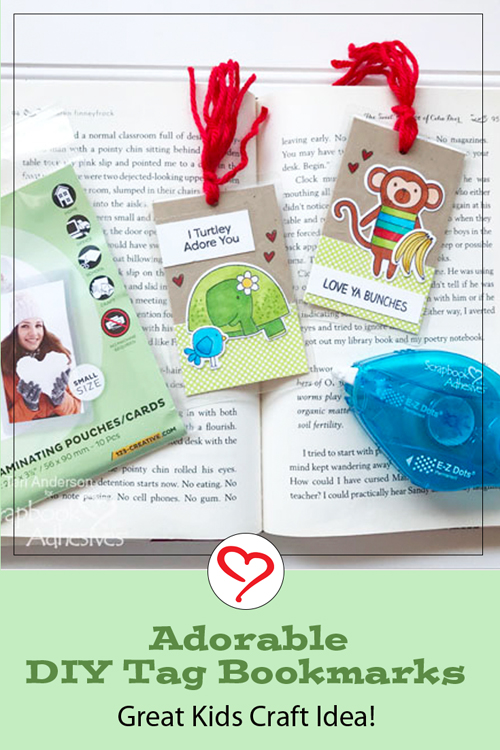
Hi, everyone! Do you like to read? Got a child who does? Make reading more fun this Summer by making some DIY Tag Bookmarks. These bookmarks are easy to make with stamps, cardstock, and products from Scrapbook Adhesives by 3L.
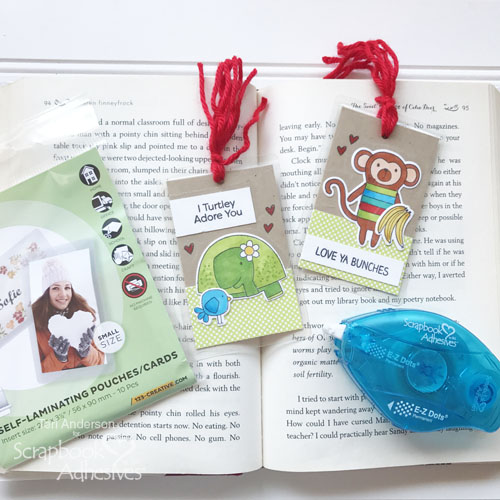
Making a DIY Tag Bookmark
Start by cutting a 2 1/4″ x 3 1/2″ panel of cardstock. You can use any color you want.
Decorate the cardstock panel with stamps, patterned paper, die-cuts and, even, stickers! (In my case, I used just stamps and patterned paper.) A word to the wise: You want your panel to remain flat so you should refrain from adding any bulky embellishments to it.
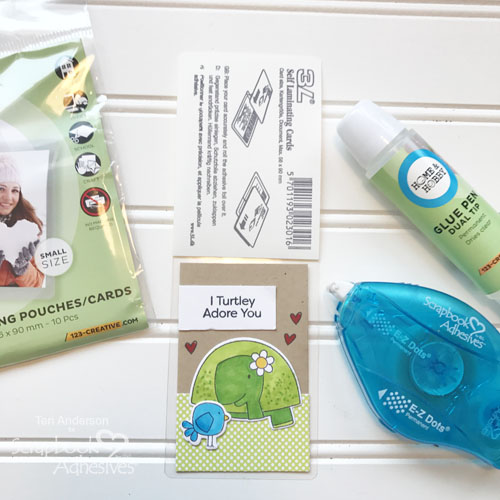
Pull out a Self-Laminating Card Pouch. You want to make sure you’re using a small sized pouch. Open it up and place your card on the clear side.
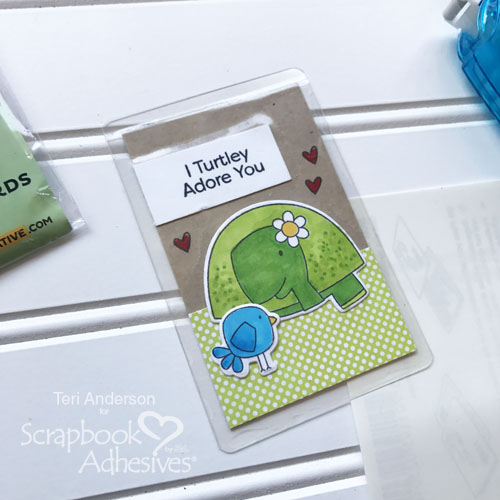
Remove the white paper from the other side of the pouch and seal the pouch. Use your hand or bone folder to smooth out any bubbles that might have occurred when you sealed the pouch!
Complete your DIY tag bookmark by using a hole punch to poke a hole through it and add some yarn. Not a fan of yarn? Use twine, jute, ribbon or a scrap of fabric instead.
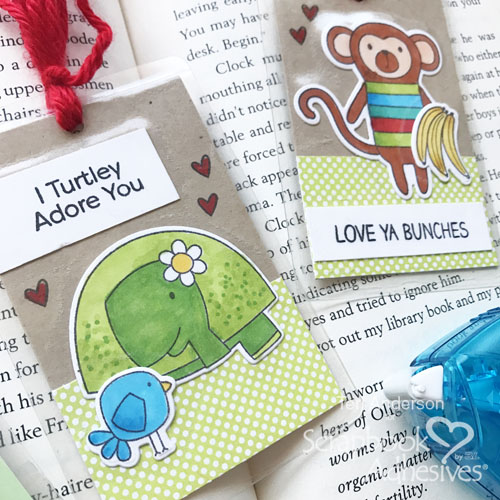
Like the results? Try it again but mix things up by decorating future tag bookmarks with slightly different supplies! Another idea? If you are giving your DIY tag bookmarks away, consider writing personalized notes on the back of cards before you laminate them.
Creative Time: 1 hour
Skill Level: Beginner
Materials Needed:
Scrapbook Adhesives by 3L®
E-Z Dots Permanent Dispenser
HomeHobby by 3L®
Dual Tip Glue Pen
Self-Laminating Pouches Small
Other:
Too-Cute Stamps and Dies, Cheeky Monkey Stamps and Dies and Beast Friends Stamps from My Favorite Things; Yarn by Caron; Various Patterned Papers; Kraft and White Cardstock; Black Ink Pad; Markers; Hole Punch
Pin It!
Visit our Website and Blog!
Sign up for our Newsletter so you never miss a contest or giveaway!


