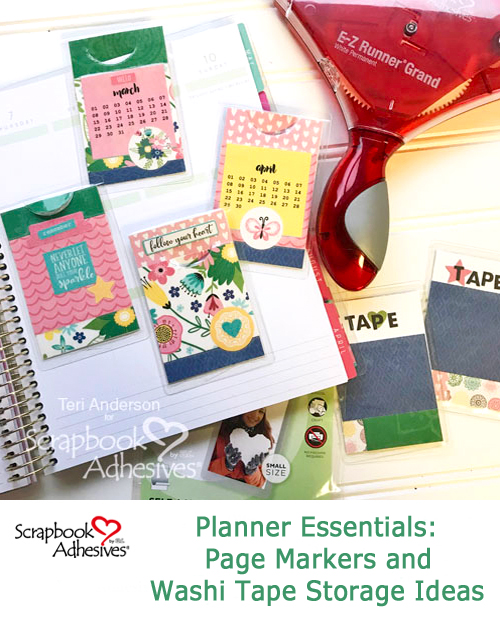
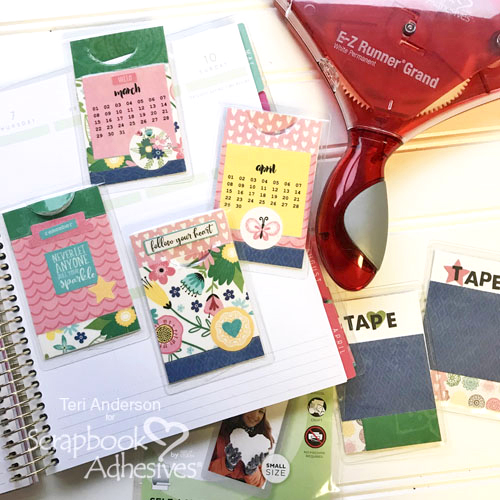
Hi, friends! Are you looking for a way to add a personal touch to your planner while keeping it organized? It’s Teri here, and I’m going to show how to create your own custom page markers and Washi tape storage cards. It’s quick and easy with Self-Laminating Pouches Small from HomeHobby by 3L®.
Creating Planner Page Markers
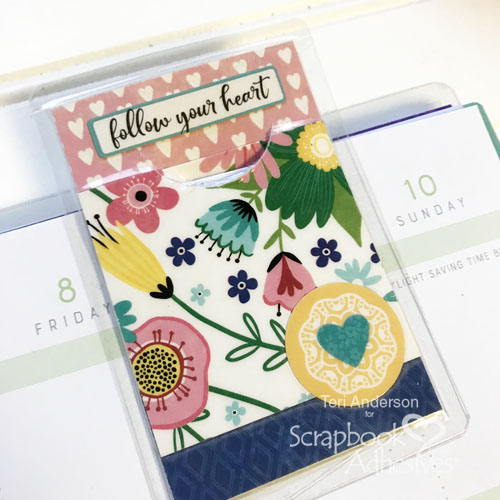
These markers are a great way to add a personalized touch your planner pages, plus they are wonderful for marking the planner pages you want to get to quickly. I like to keep my planner organized so I can flip to the page I need quickly.
Start by cutting several 2 1/4″ x 3 1/2″ panels of cardstock. These will serve as the bases of each of your page markers.
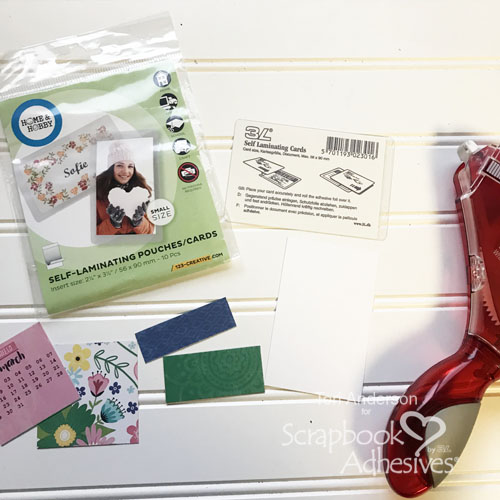
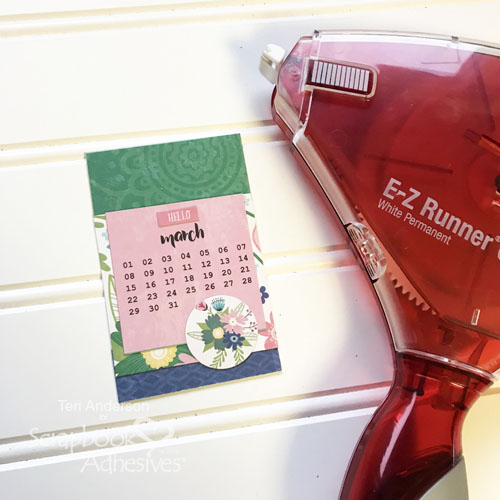
Decorate your cardstock panels with patterned paper and stickers.
To keep your papers from moving around, use double-sided adhesive to hold them in place. I recommend using a dry, permanent adhesive like the E-Z Runner® Grand Refillable Dispenser so that you can work quickly. Wet adhesives can make things shift if not dried completely. This adhesive is immediately sticky and requires no drying time or mess!
You’ll need one Self-Laminating Pouch Small for every page marker you want to make.
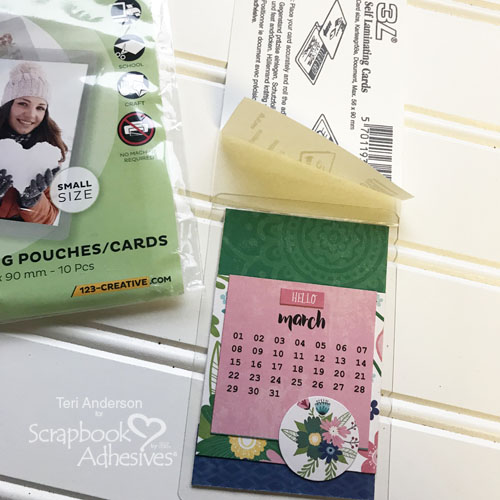
Open the pouch and set your decorated card on it. Remove the backing paper and seal the pouch. (Repeat this step for each page marker you want to make.)
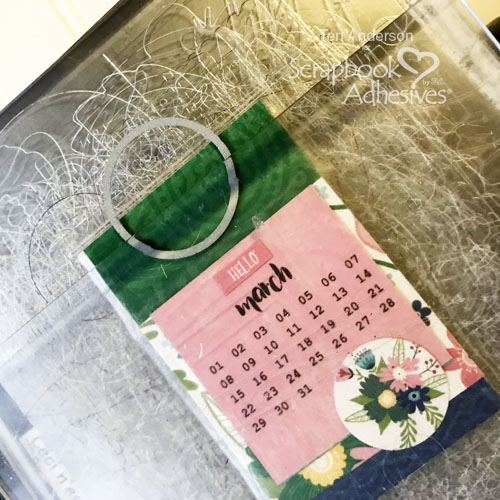
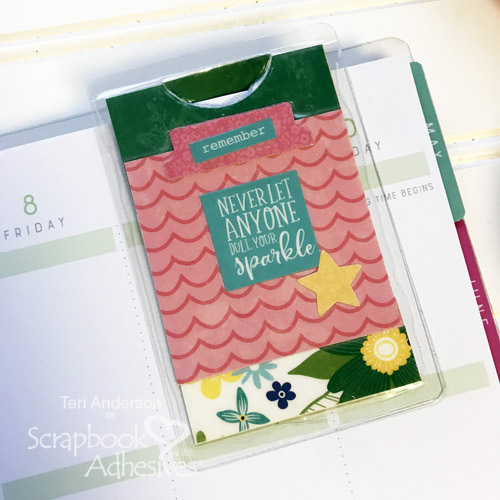
Set your page marker on the platform of a manual die-cutting machine. Set a small circle die on top. Place the top cutting plate partly on the die, leaving half of it exposed. Run the marker through your die-cutting machine. You’ll end up with a tab that can easily be tucked onto a planner page.
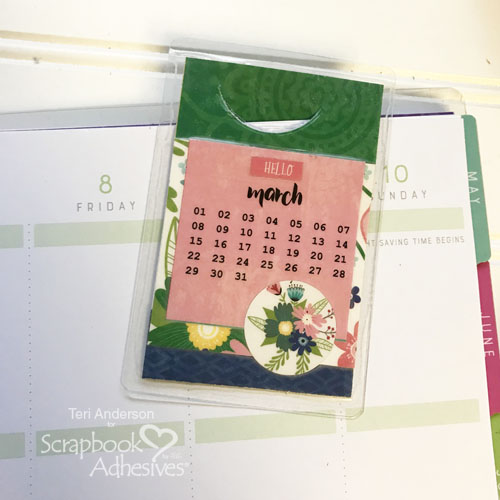
The possibilities are endless with it comes to decorating your page markers. You can add calendars, pretty papers and, even, inspiring phrases.
Tape Storage Card (or Two)
Another fun way to add a personalized touch to your planner is to decorate it with Washi tape. My planner friends and I like to swap Washi tapes!
You can easily make cards for storing Washi tape strips by decorating cardstock panels just like you did the page markers. Consider using stamps or stickers to spell out the word “tape” on the top each card.
Once you’ve decorated your storage cards, seal them in Self-Laminating Pouches Small.

Tuck them in your planner by placing a self-adhesive Keepsake Envelope on one of your planner pages. Cover up the adhesive on the front of the pocket by placing a sticker or a tiny piece of cardstock on top of it.
Creative Time: 1 hour
Skill Level: Beginner
Materials Needed
Scrapbook Adhesives by 3L®
E-Z Runner® Grand Refillable Dispenser
Keepsake Envelopes Mix
HomeHobby by 3L®
Self-Laminating Pouches – Cards Small
Other
Patterned Paper and Stickers: Jillibean Soup Designs (You Make Miso Happy Collection); White Cardstock: Neenah Paper; Circle Etched Die: Technique Tuesday; Manual Die-Cutting Machine
Pin It!