
Whether you’re building one house or a whole village, these paper mache homes are a lot of fun to make. Just dress in paper and embellish!
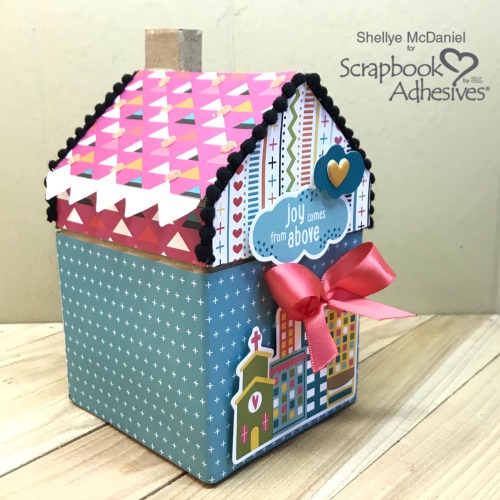
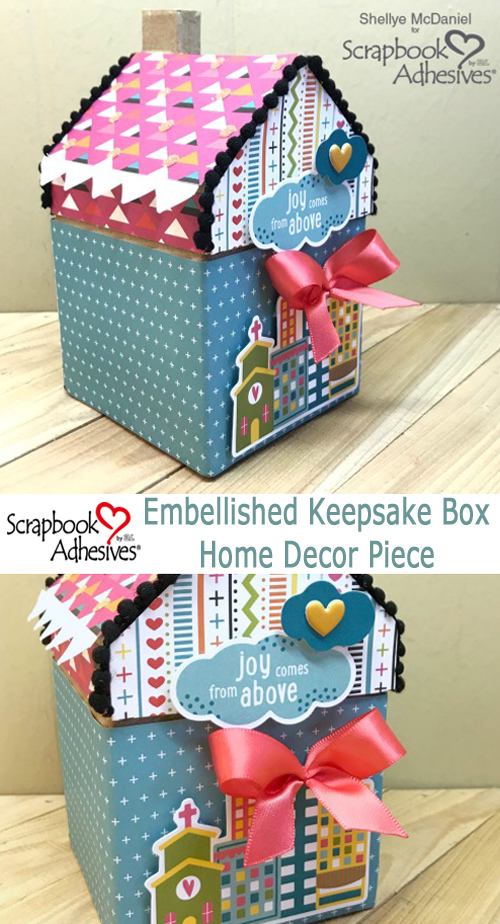
To begin I chose a cardboard house with a removable lid. I traced the base onto scrapbook paper and then adhered to an Adhesive Sheets 12×12 inch. Next, I trimmed the paper/adhesive out and carefully attached to the box.
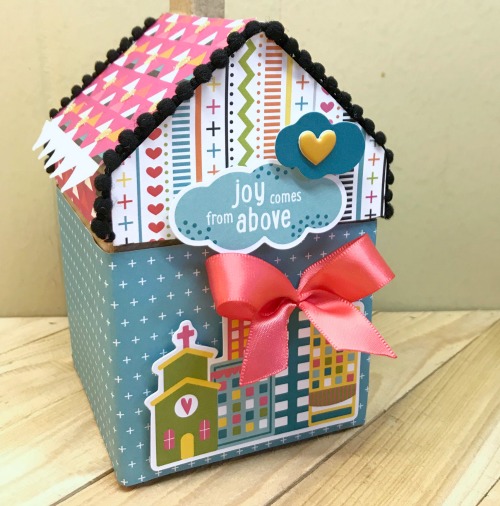
I repeated the same steps for dressing the top/roof as I did for the base. Before attaching the paper, the pom trim was added using the Extreme Double-Sided Tape 1/8in.
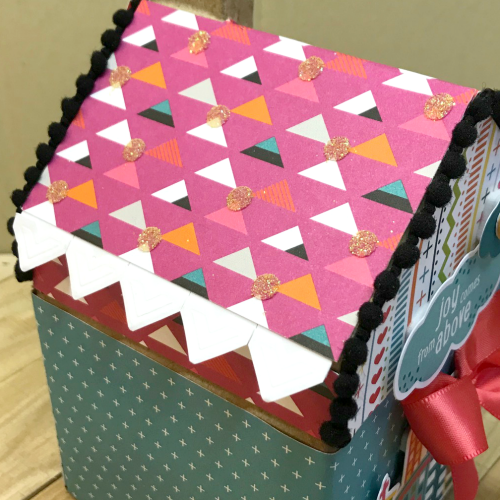
To the roof-line, I added drops of Adhesive Dots Mini and then topped with orange glitter. At the edge of the roof, I placed pieces of Creative Photo Corners White to mimic shingles.
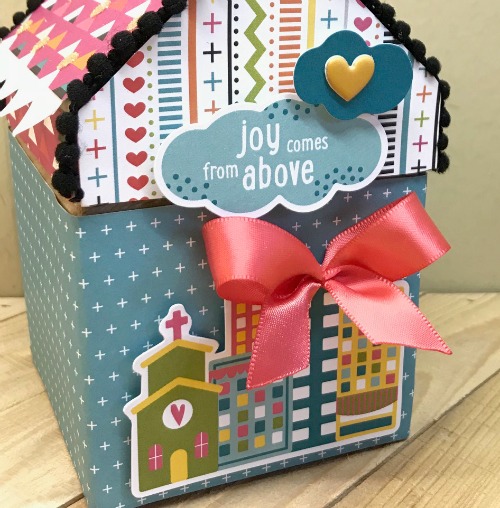
Finally, I embellished the front with die-cuts made 3D with 3D Foam Squares. For the darker cloud, I added an extra layer of the foam squares to give even more dimension.
These sweet houses would be so cute dressed for Spring and lined up on a mantel or bookshelf!
Thank you for joining me today!

Creative Time: 30 Minutes
Skill Level: Intermediate
Materials Needed
Scrapbook Adhesives by 3L®
Adhesive Dots Mini
Creative Photo Corners White
Adhesive Sheets 12×12 inch
3D Foam Squares White Mix
HomeHobby by 3L®
Extreme Double-Sided Tape 1/8in
Other
Patterned Paper and Die Cuts: Bella Blvd (Illustrated Faith); Pom Trim and Ribbon: May Arts
Pin It!
Visit our Website and Blog!
Sign up for our Newsletter so you never miss a contest or giveaway!


