
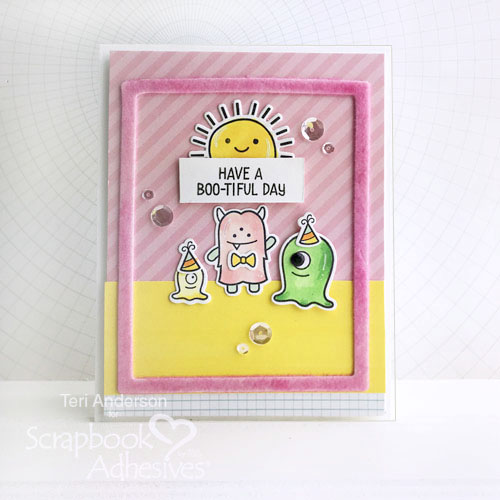
Hi, everyone! Do you like to make cards that have lots of details? Teri here, and I’m going to show you today how to create an interactive “monster” fun card with several decorative elements!
Monster Card Base and Panel
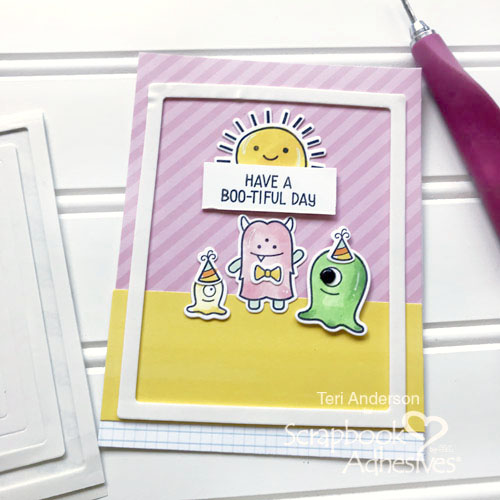
To make this card, start by creating a standard card base. You’ll also want to cut a panel of cardstock to fit onto it.
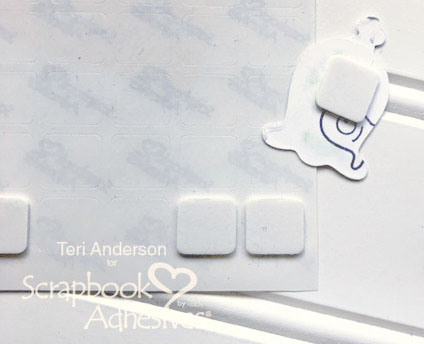
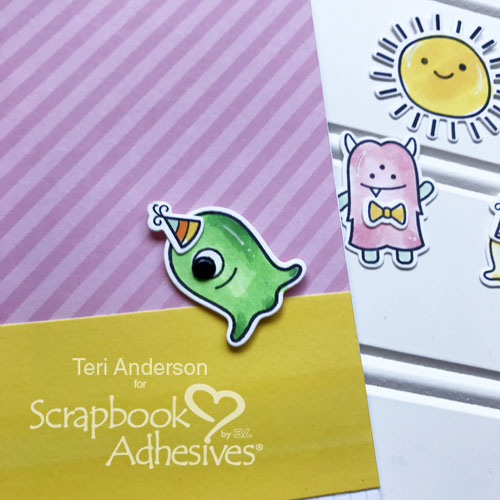
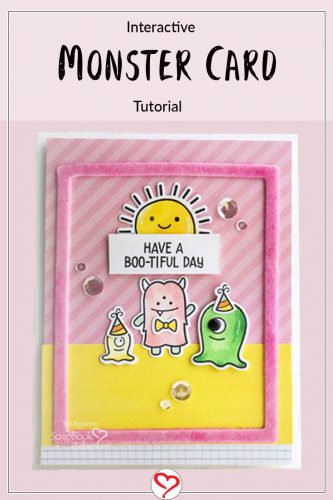
Cover the panel of cardstock with strips of patterned paper. Stamp, cut and color a couple of monsters. Place a Thin 3D Foam Square behind one of the monsters. Leave the back liner on it. You’ll see why in the minute.
Make the Monster Interactive
Set the monster on the panel. Use a piercing tool (or a push pin) to poke a hole through the monster’s eye and the card panel.
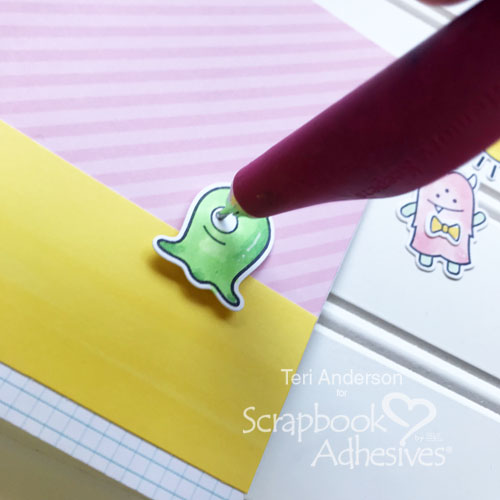
Place a brad through both holes. This will allow your monster to move around!
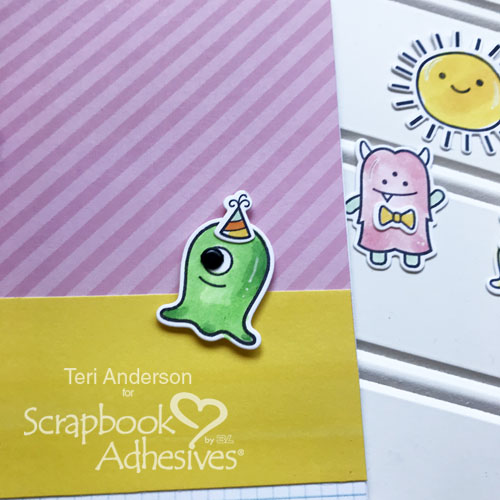
Add the two the remaining monsters to the panel using E-Z Runner Petite Permanent Dots adhesive. Stamp, color and die-cut a sunshine and adhere it the panel. Next, stamp a sentiment on a strip of cardstock and add it to the panel with Thin 3D Foam Squares.
Flock to Frame Interactive Monster
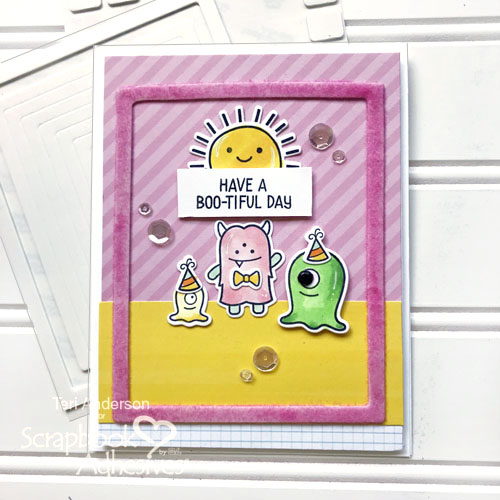
Now we want to frame the scene. Add a 3D Foam Frame to the panel that’s large enough to include all the elements inside it. Remove the liner paper and dump flock all over the exposed adhesive on the frame.
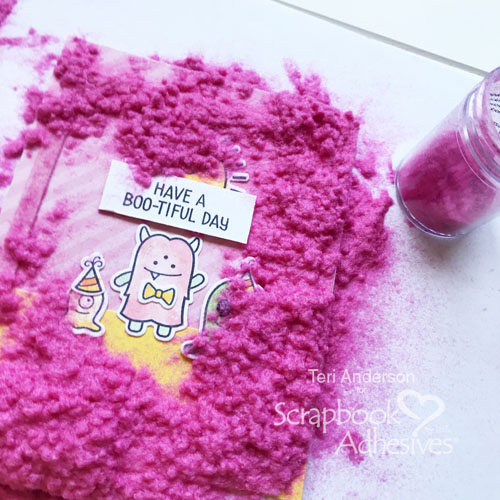
With your fingers, really push the flock into the adhesive frame. Next remove the excess flock. I recommend tapping the panel a few times on scratch paper and then brushing the panel with an old paint brush or a dryer sheet to remove any remaining loose fibers.
Finishing the Interactive Monster Card
Next, adhere the paper panel to the card base with a couple strips of Crafty Foam Tape. Be sure to place the tape pieces so they don’t butt up against the brad in any way and prevent your monster from moving around.
Finish the card with one more ounce of detail to it. Use Adhesive Dots Micro to add some sequins or gems to the scene. Use as few or as many sequins as you like!

I hope you enjoyed this tutorial and use some of these ideas to add extra details to your own cards and scrapbook pages.
Creative Time: 1 Hour
Skill Level: Beginner
Materials Needed
Scrapbook Adhesives by 3L®
Thin 3D Foam Squares White Mix
Crafty Foam Tape White
E-Z Runner® Petite Permanent Dots Refillable
3D Foam Frames
Adhesive Dots Micro
Other
Stamp and Craft Die Sets: Paper Smooches (Sunnyville Stamp set and Sunnyville Icons Dies) & Lawn Fawn (Monster Mash Stamp Set and Monster Mash Dies); Ink: Ranger Inks; Cardstock: Neenah Paper (White); Patterned Papers (Lawn FawnBeads: Jillibean Soup; Markers: Copic; Sequins: Pretty Pink Posh; Flock: Stampendous!; Brad
Pin It!
Visit our Website and Blog!
Sign up for our Newsletter so you never miss a contest or giveaway!


