
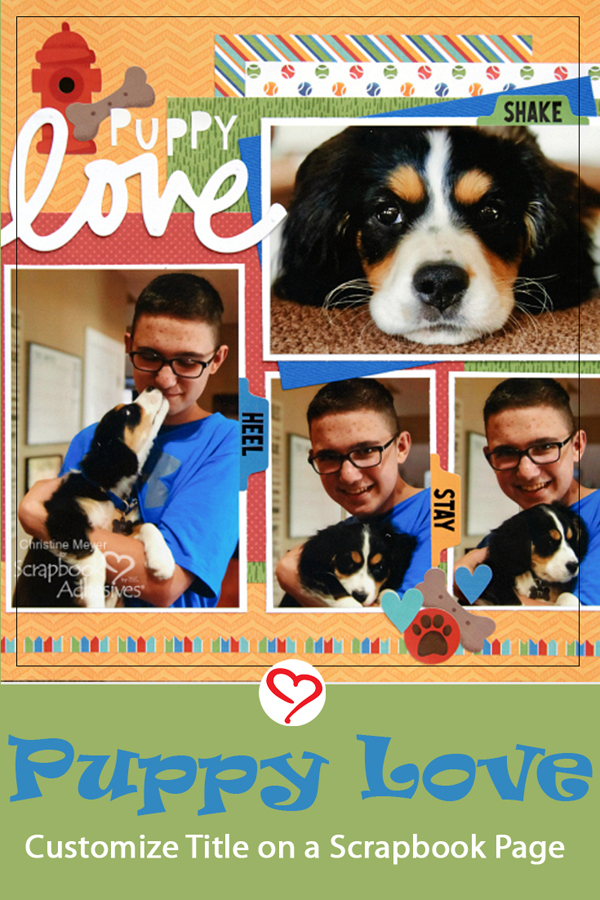
How many times do you have the pieces for a title but it’s just too flat? Or the wrong color? Christine joining you today with a quick and easy technique for solving both of those problems. Use a 3D Foam Creative Sheet to customize your title so it’s one of a kind! Let’s dive into this simple technique on my Puppy Love layout.
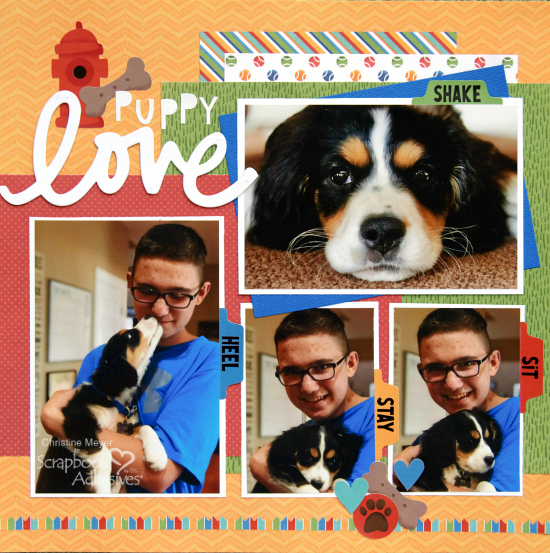
My title “love” was created using the 3D Foam Creative Sheets in the Small Size. But the great news is, they come in 4×6-in and 6×12-in sizes, so you certainly aren’t limited!
Create Puppy Love with a 3D Foam Creative Sheet
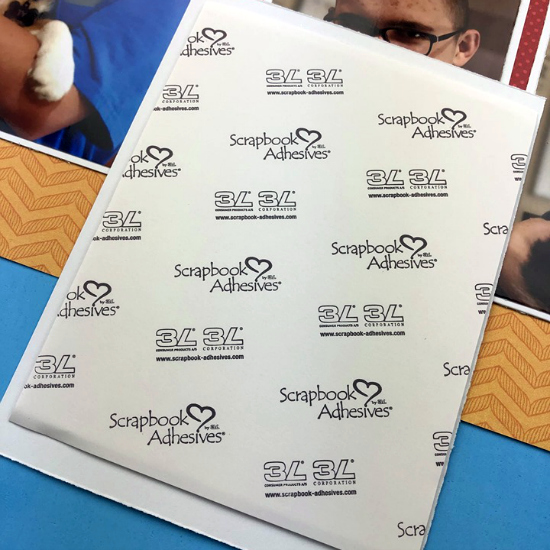
First, you need to get out any size of the 3D Foam Creative Sheets. Remove the backing from one side and adhere it to whatever cardstock or patterned paper works with your project.
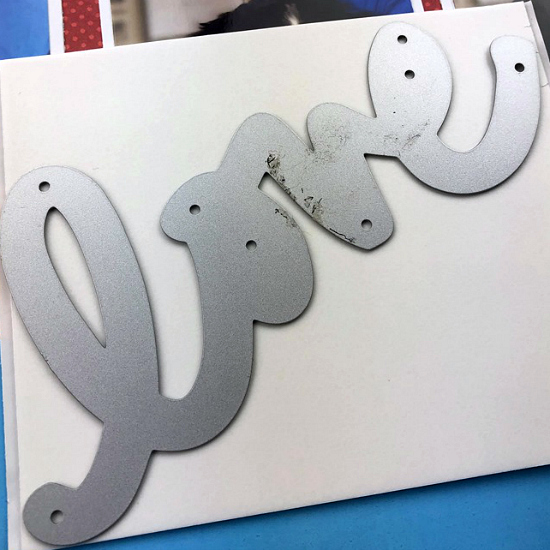
Next set your metal die onto the 3D Foam Creative Sheet and run it through your machine. Despite its thickness, I didn’t find it hard to run through at all! 3D Foam is high density and will compress in a die cut machine, but regain it’s full height when the pressure is released.
Finally, pull it out and carefully remove the back liner.
Quick Tip: Save the extra sheet parts to use with punches or other small metal dies.

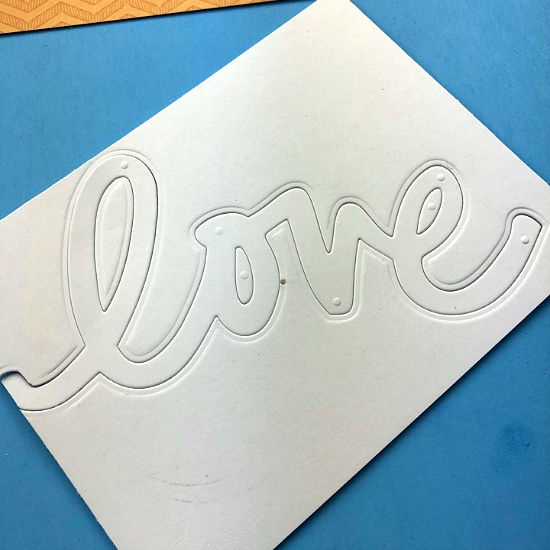
Although I have a small raised bump from the hole in the metal die where you are supposed to push out a thin paper, it doesn’t bother me. The Puppy Love title has the look and feel of those awesome 3D stickers out there, but is custom cut to be exactly what I need!
One of my favorite things about really digging into my adhesives is the creative possibilities go SO far beyond the obvious! What are some of your favorite unique tricks with adhesives?
Thanks so much for joining me today!
Creative Time: 40 minutes
Skill Level: Beginner
Materials needed
Scrapbook Adhesives by 3L®
E-Z Runner® Grand Refillable Dispenser
Thin 3D Foam Squares White Mix
3D Foam Creative Sheets
Pin It!
Visit our Website and Blog!
Sign up for our Newsletter so you never miss a contest or giveaway!


