
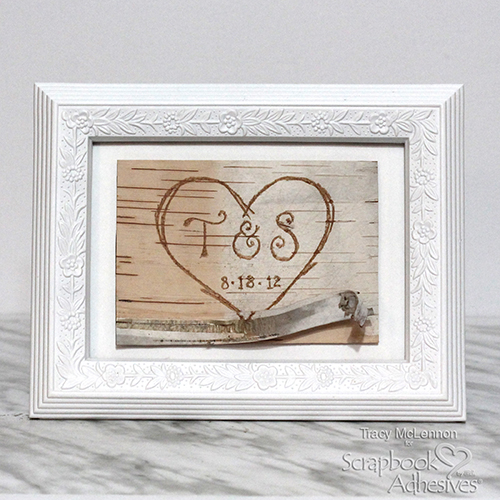
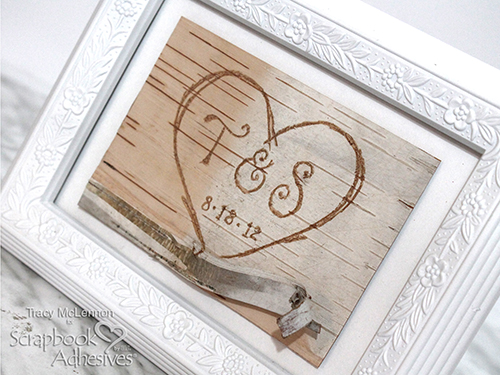
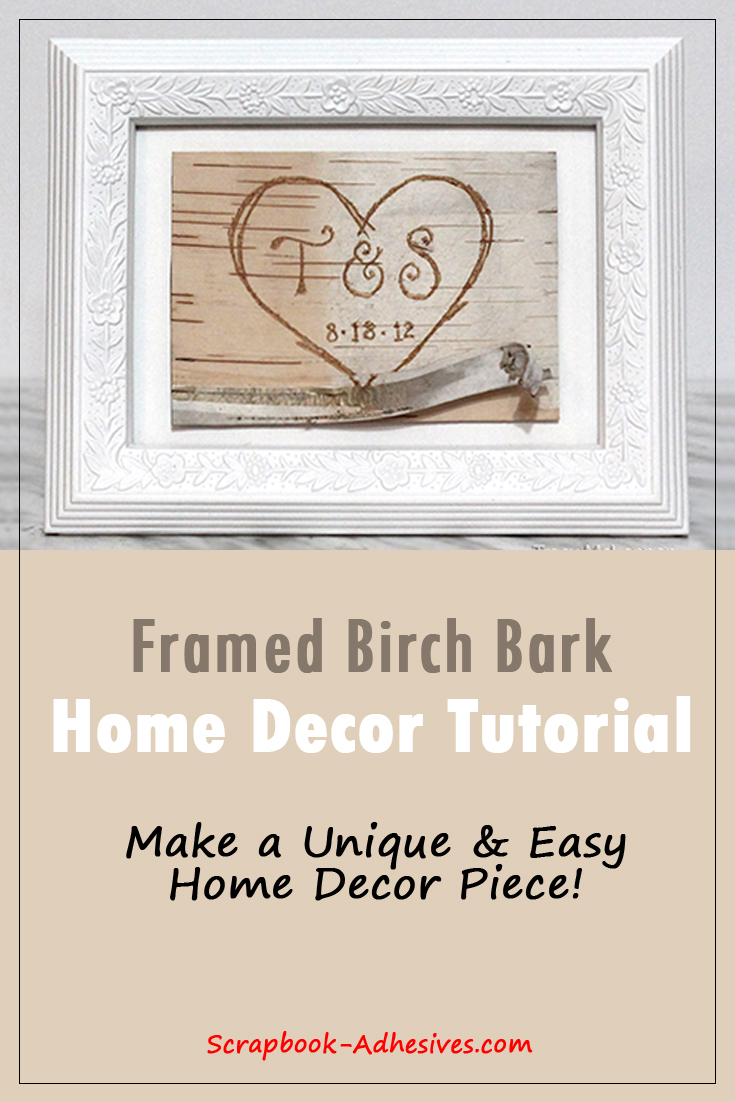
Hello crafty friends and welcome back. Tracy here, and today I have a fun little home decor project to share. I created this Framed Birch Bark Decor piece using minimal supplies and bark I got from my own back yard. Here are all of the details.
Birch Bark Prep
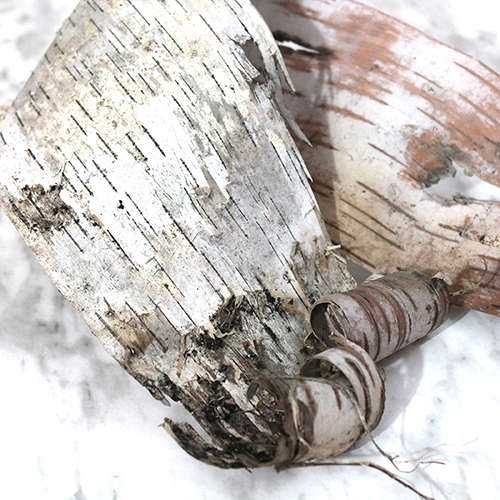
I am so very lucky to have a large birch bark tree, right in our backyard. Each year it sheds huge pieces of its bark. This bark is so useful for many crafty projects. It is easily trimmed with a rotary cutter and can be punched out or die cut.
For this project, I cut a 4 x 6-inch piece to be placed into my 5 x 7-inch frame. Designer’s Tip: once you bring the birch bark in your home, give it a few days to dry. To make sure it dries flat, place in between newspaper and stack books on top.
To add your design to the bark, you can use a knife or nail. Something that can scratch the bark easily. Another option is to draw or stamp on it.
Building Layers
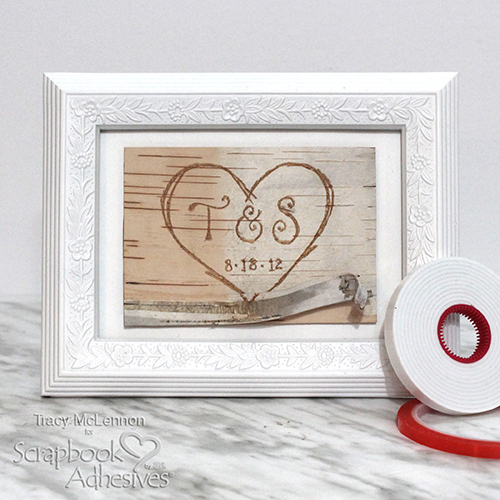
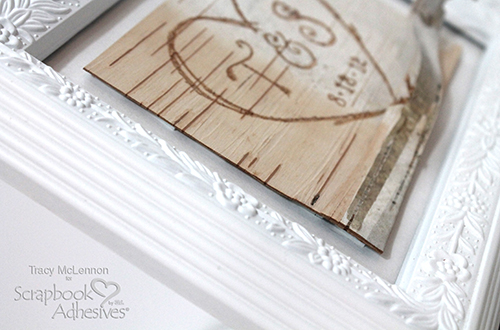
Cut a piece of white chipboard to fit in the frame for the background and adhere into the frame.
On the back of the birch bark, add strips of Extreme Double-Sided Tape 1/4in and then place strips of the Crafty Foam Tape White on top of the double-sided tape. Next, remove the liners and center in the frame. Now it’s ready to display!
See what you can find in your back yard. Perhaps there is some crafty inspiration waiting just outside.
Thanks so much for stopping by!
Tracy McLennon
Creative Time: 45 minutes
Skill Level: Beginner
Materials Needed:
Scrapbook Adhesives by 3L®
Crafty Foam Tape White
HomeHobby™ by 3L
Extreme Double-Sided Tape 1/4in
Other
Frame, Birch Bark, White Chipboard, Rotary Trimmer, Knife or Nail
Save It to Pinterest!
Visit our Website and Blog!
Sign up for our Newsletter so you never miss a contest or giveaway!


