
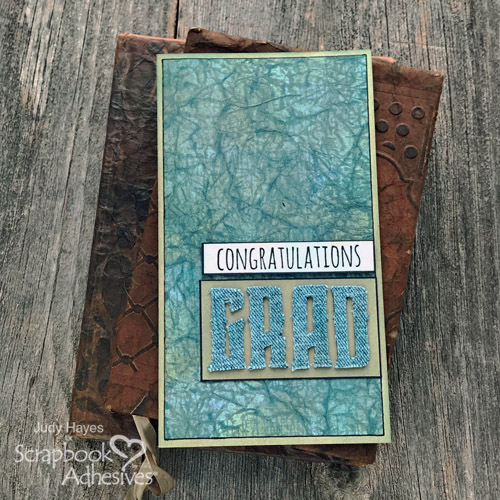
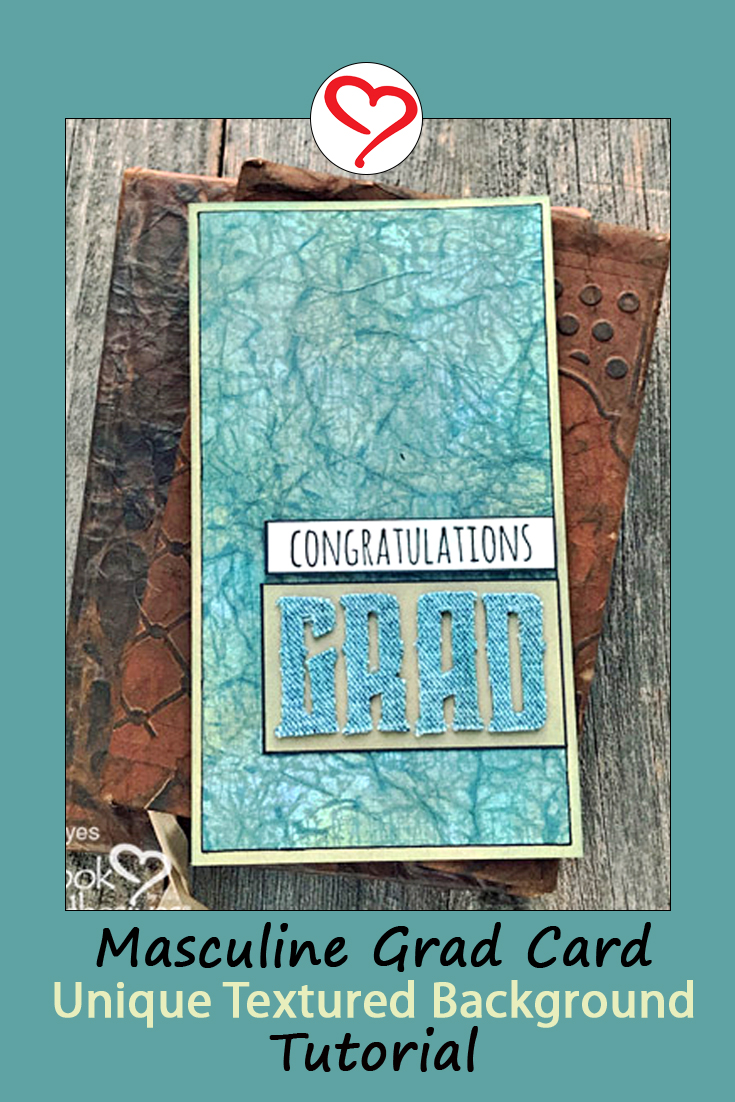
Hello crafty friends! It’s Judy here with a textured grad card with a masculine look. It’s that time of year, even with all the change in our world, seniors will soon graduate. I’d like to show you how I achieved this wonderful background to make a card for that special grad!
Textured Grad Card Background
Rub and blend several ink colors over a crumpled printer paper. There’s a subtle grid pattern stamped on it for a little more interest. Iron the paper to flatten and smooth it before applying a sheet of Adhesive Sheets 4×6 inch to the back. Then cut to size…keep that excess piece for later.

The Adhesive Sheets 4×6 inch makes it easy to attach the background to a 3.5 x 6.25-inch tan card base. Think like a sticker with edge-to-edge coverage. The paper is quite flexible and soft after inking. Next, I traced around the edge with a black fine point marker for definition.
Add the Grad
Recycle a piece of worn denim by adhering a piece of 3D Foam Creative Sheets Small Black on the back and die-cutting the letters GRAD. Make sure to keep the negative pieces of the material. I’ll show you what I did with them 🙂
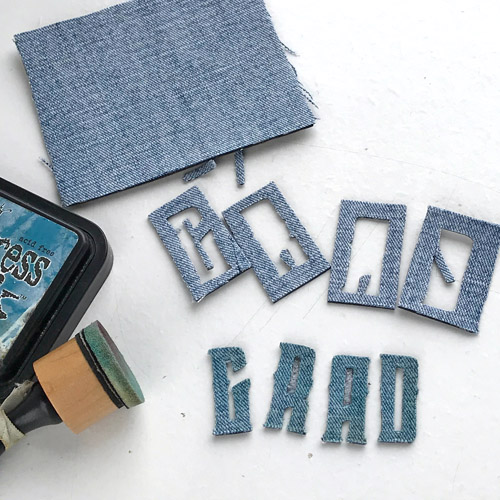
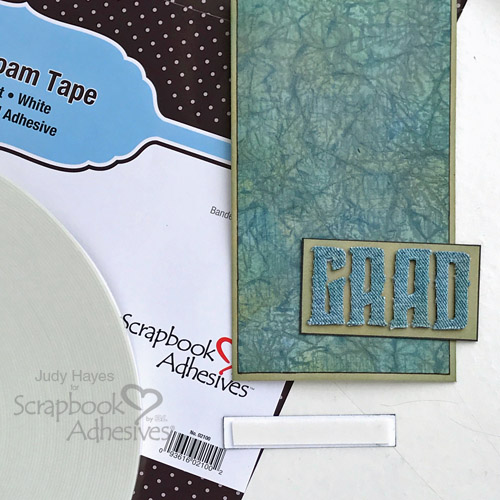
For each letter, I edged with blue ink to coordinate with the background paper. On a piece of rectangular tan cardstock, I distressed it with a combination of blue and brown inks. Then I took off the bottom liner of the letters and adhere them to the cardstock. Next, I edged the cardstock with a black marker. Adhere to the card base with the E-Z Runner® Ultra Strong Refillable Dispenser. When it comes to adhering to a textured or ink surface, the Ultra Strong adhesive is the perfect solution.
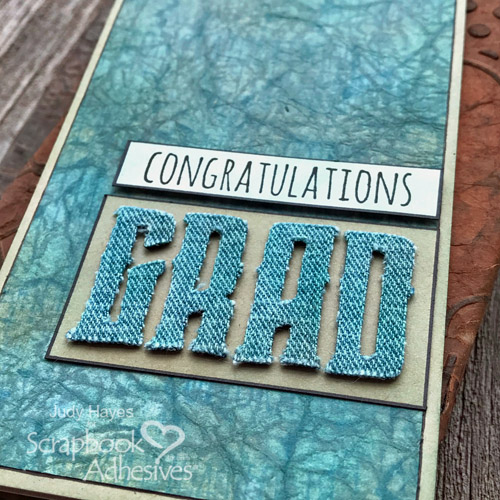
After stamping the Congratulations sentiment with black ink on white cardstock, I distressed it again with the same combination of blue and brown inks. It’s hard to see that in my photos because it’s subtle. With the Crafty Foam Tape White, place it above the Grad sentiment. I really like that Crafty Foam Tape White is not thick! It fit the back of my verse perfectly.
An Encore Card
Remember the negative pieces from the letters? I used those along with scraps of background paper to put together another card. Now I have two cards that I can send out!

Thanks for Visiting!
Judy Hayes

Creative Time: 40 Minutes
Skill Level: Intermediate
Materials Needed
Scrapbook Adhesives by 3L®
- 3D Foam Creative Sheets Small, Black
- Crafty Foam Tape White
- E-Z Runner® Ultra Strong Refillable Dispenser
- Adhesive Sheets 4×6 inch
Other:
Imagine Crafts/Tsukineko Versafine Onyx Black Ink; Ranger Distress Inks – Broken China, Faded Jeans, Bundled Sage, Pumice Stone, Hickory Smoke, Antique Linen; Sizzix Bigz Wonderland Die; Stampers Anonymous Crazy Talk Stamp; Cardstock – White, Desert Storm, Black; White Printer Paper; Black Sharpie Pen
Save It to Pinterest!
Visit our Website and Blog!
Sign up for our Newsletter so you never miss a contest or giveaway!


