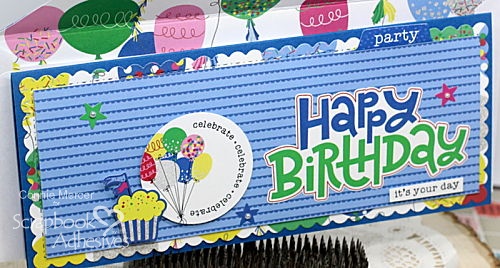
Hi, Connie here with a birthday slimline card using fun and festive patterned papers and die cut shapes. Along with coordinating acrylic stamps, enhance and decorate a special occasion that you can’t help but feel like celebrating!
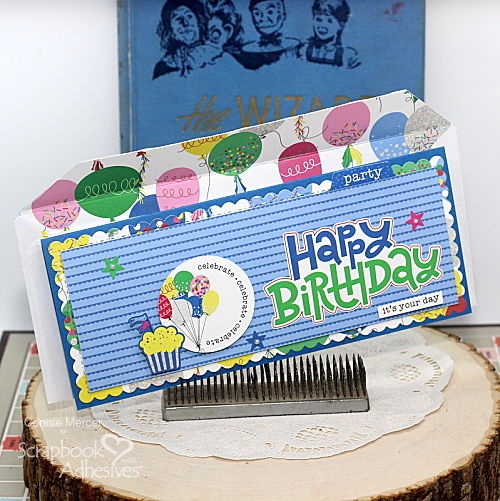
Birthday Slimline Style
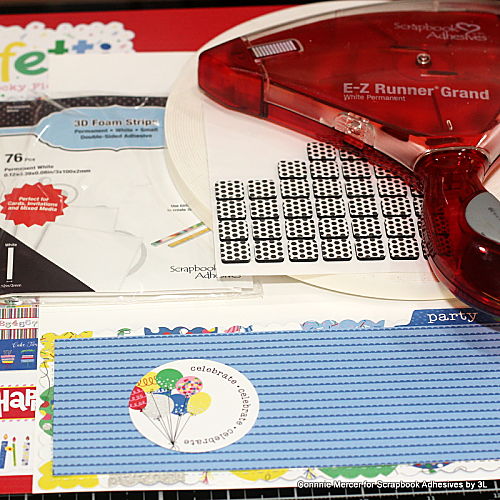
First of all, die-cut the card panels with desired patterned papers. Then gather the die cut shapes that you want to add to the card panel.
Step by Step
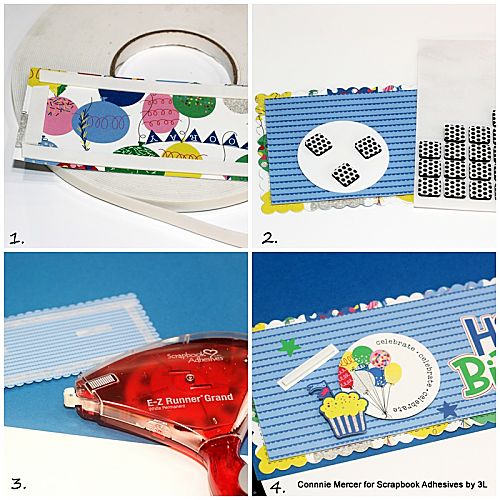
- Add Crafty Foam Tape 108ft to the back of the rectangle card panel and adhere to the top of the scalloped edge card panel.
- Using 3D Foam Squares Black Regular Size pop up embellishments on the card front.
- Add the layered card panel to the card base using the E-Z Runner® Grand Permanent Strips Dispenser.
- Add stamped sentiment under the Happy Birthday sticker using the 3D Foam Strips.
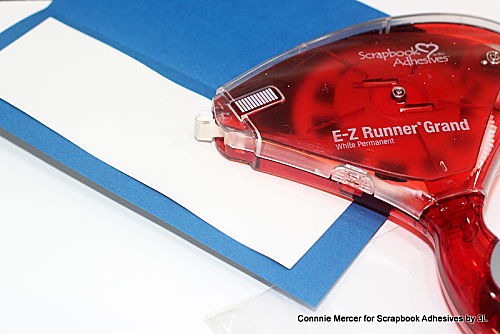
A white rectangle of cardstock piece was added to the inside of the card
for writing a personalized note to finish off the birthday slimline card.
Decorating the Envelope
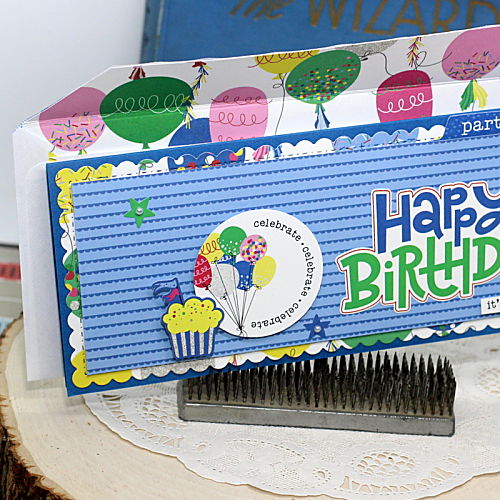
What’s a card without an envelope?! It’s as simple as adding a decorative paper to the inside of the envelope. Secure it with the E-Z Runner Grand Permanent Strips Dispenser for that surprise element when opening.
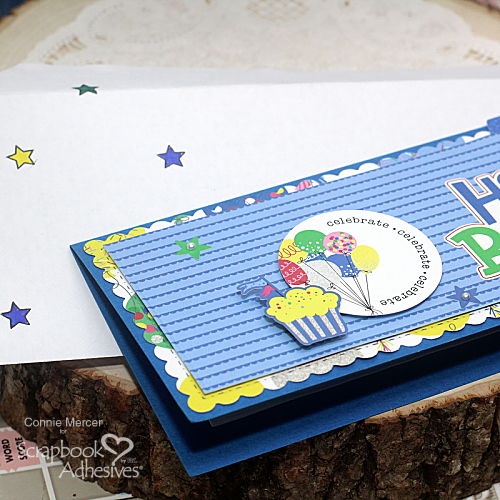
Using the coordinating acrylic stamps, add some stars to accent to the front of the envelope. Then color the stars with markers.
Such a fun card!! Can’t wait for a birthday to come around so I can sign my name to the card and give it to a special someone.
Thanks for stopping by~
Connie Mercer
Creative Time: 40 Minutes
Skill Level: Beginner
Materials Needed
Scrapbook Adhesives by 3L®
E-Z Runner Grand Permanent Strips Dispenser
Crafty Foam Tape 108′
3D Foam Strips
3D Foam Squares Black Regular Size
Other
Patterned Papers, Die Cuts and Stamps: PhotoPlay Paper Co. (Confetti Collection); Craft Dies: Kat Scrappiness (Rectangle Slimline Die) and Gina Marie Designs (Scalloped Slimline Die); Flatback Pearls
Save to Pinterest!
Visit our Website and Blog!
Sign up for our Newsletter so you never miss a contest or giveaway!


