
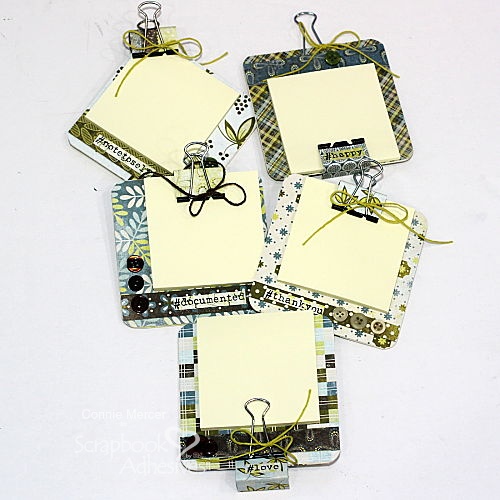
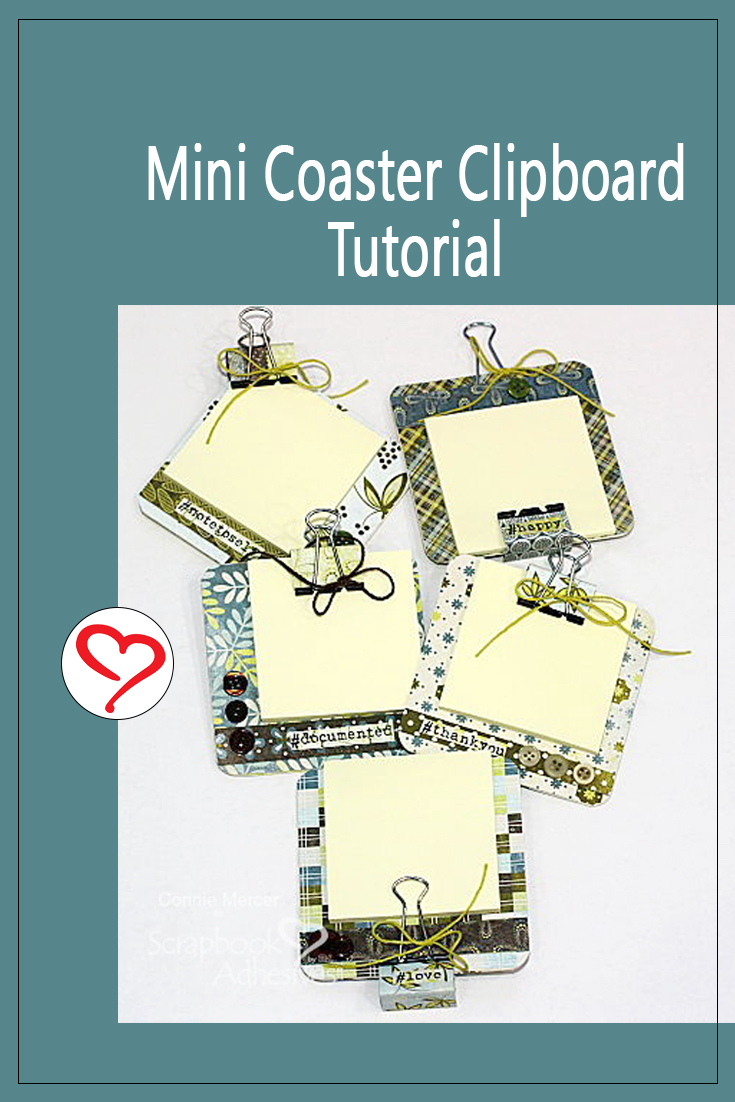
Hi, Connie here with some really cute Mini Coaster Clipboard made from beverage coasters. This is an old school project but I added a twist. They can lay, hang or stand. Take a look!
Mini Coaster Clipboard Supplies
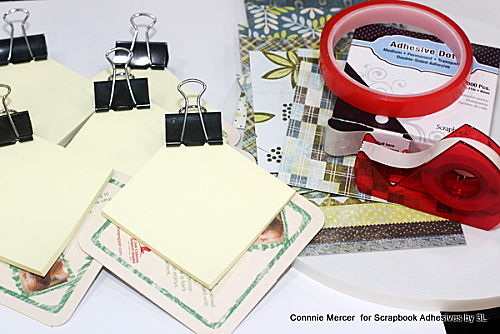
You will need some coasters or 4 x 4-inch heavy chipboard pieces for the base. Pattern paper, medium binder clips, three sets of post-it-notes, buttons, stamps and Scrapbook Adhesives by 3L.
Instructions
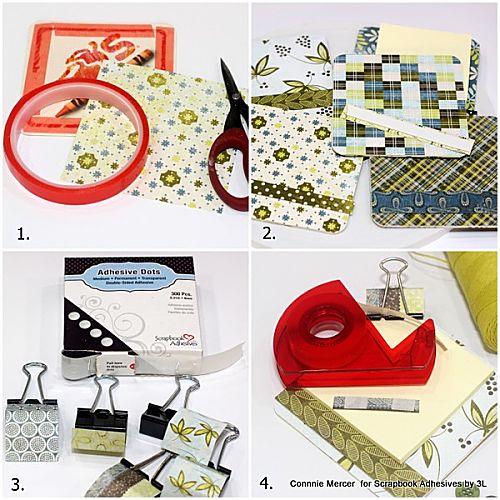
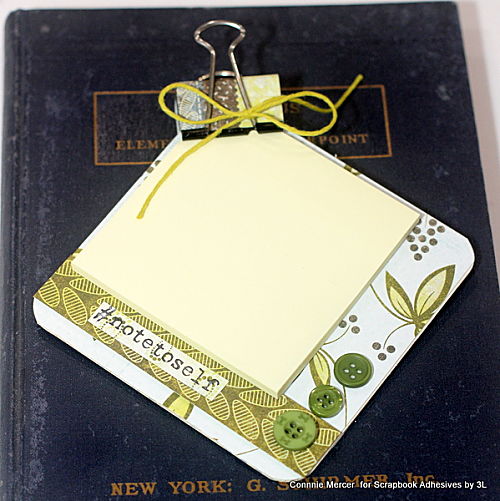
- Cut pattern paper into 4 x 4-inch squares. I made five mini clipboards, so I cut ten squares. Adhere to the coaster using Extreme Double-Sided Tape 1/2″. Sand edges or round corners with scissors.
- Cut 1 x 4-inch strips of pattern paper and adhere to the bottom of the covered clipboard. I used Crafty Foam Tape 108′ to add the dimension I was looking for.
- Cut 1 x 2-inch small strips to cover the clips. I used Adhesive Dots Medium for this. Using this product made it easy to cover the clip. I used two dots on each side, so six for one clip.
- Stamp out sentiments on small pieces of pattern paper and cut out in a strip. Adhere to clip or border using Crafty Power Tape Dispenser 20′.
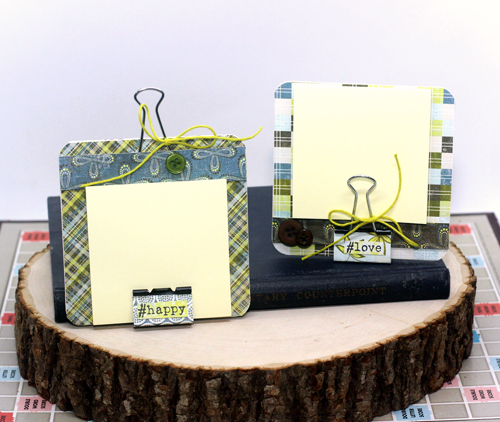
Secure the buttons with Adhesive Dots Medium. To get a hanger for the top, squeeze the clip together and the clip arm will come off.
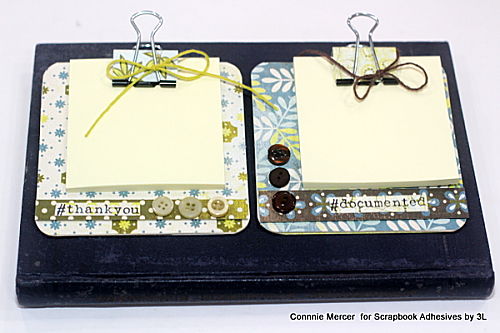
Designer Tip: The post-it-note pad is separated, in the middle, creating two pads. That works best with the medium clips.
Thanks for stopping by!!
Connie Mercer
Creative Time: 40 minutes
Skill Level: Beginner
Materials Needed
Scrapbook Adhesives by 3L®
Crafty Foam Tape 108′
Adhesive Dots Medium
Crafty Power Tape
HomeHobby™ by 3L
Extreme Double-Sided Tape 1/2″
Other
Stamps: Stampers Anonymous; Buttons: Buttons, Galore & More; Coasters, Medium Binder Clips, Twine, and Patterned Paper
Pin It!
Visit our Website and Blog!
Sign up for our Newsletter so you never miss a contest or giveaway!


