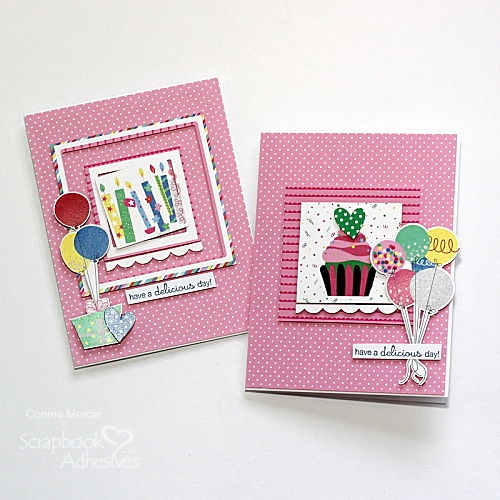
Hi, Connie here with a couple of birthday cards using the Confetti Card Kit by PhotoPlay and adding some awesome 3D Foam adhesives!!
Delicious Birthday Card Supplies
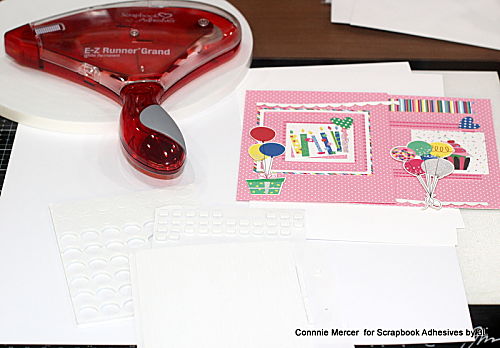
First, I laid out my card design. Then decide what 3D Foam adhesives would work best in the amount of space to adhere the die cut shapes to the card front.
Building Steps on Delicious Birthday Cards
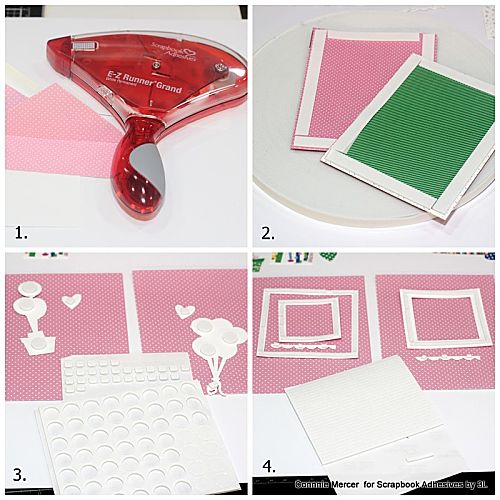
- Create a decorative insert for the inside of the envelope. Use a piece of tracing paper, trace the inside flap area, and then transferred the patterned paper. Use the E-Z Runner Grand Refillable Dispenser to adhere the patterned paper to the inside flap of the envelope.
- To add dimension, apply Crafty Foam Tape 108′ to the back of the panel. Then adhere to the card front.
- Add the 3D Foam Circles White Mix and the 3D Foam Squares Black Small to the die cut shapes and place them on the card front.
- For the frame die cuts that needed very narrow adhesive, I used the 3D Foam Strips which are perfect for this!
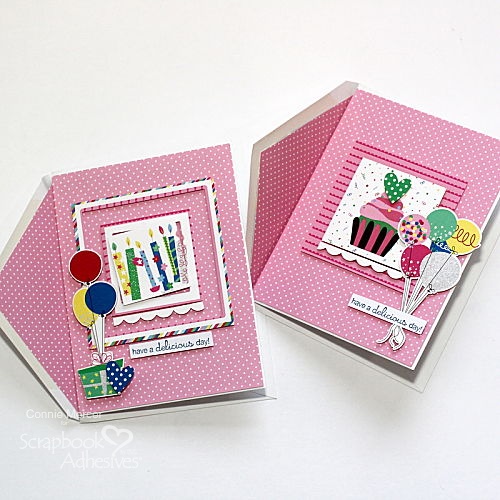
The last step is adding a sentiment to the card front. I stamped a sentiment and added it with the 3D Foam Strips.
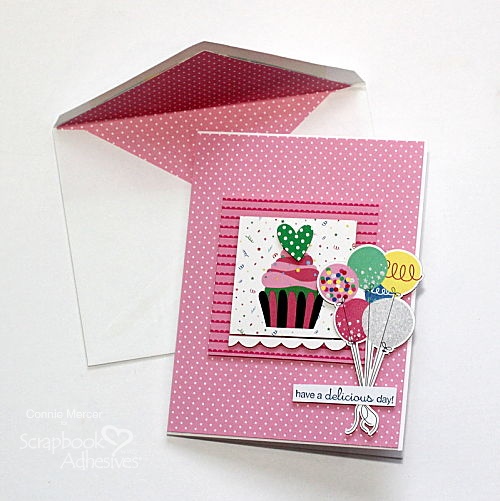
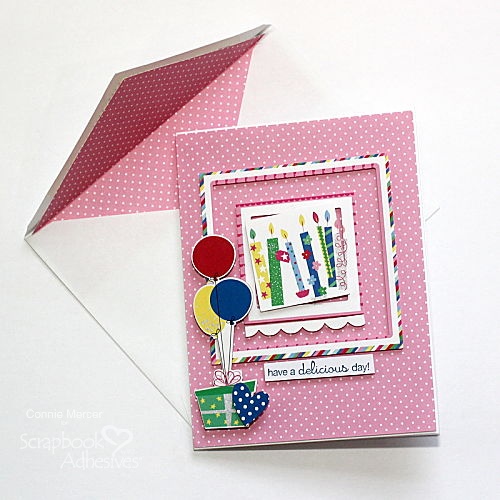
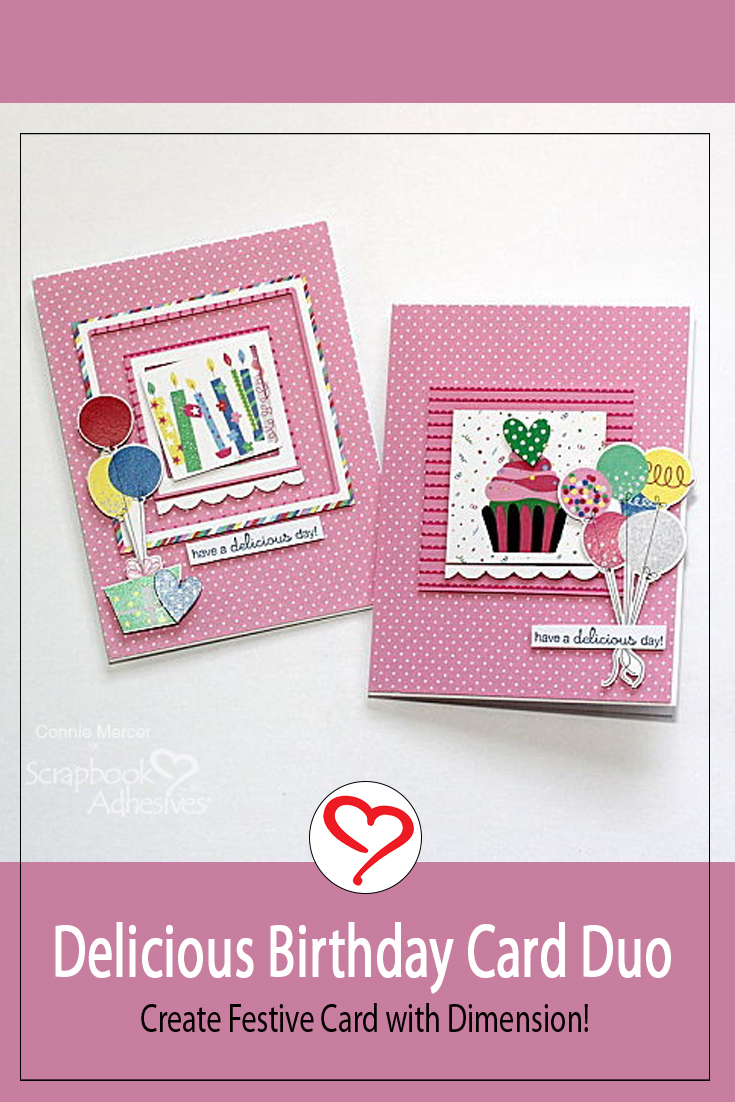
Thanks for stopping by and I hope you enjoyed this project. So start creating cards such as my Delicious Birthday Card Duo for must-have cards to have handy!
Thanks for stopping in,
Connie Mercer
Creative Time: 60 minutes
Skill Level: Beginner
Materials Needed
Scrapbook Adhesives by 3L®
E-Z Runner Grand Refillable Dispenser
E-Z Runner Grand Permanent Strips Refill
3D Foam Strips
3D Foam Circles White Mix
Crafty Foam Tape 108′
3D Foam Squares Black Small
Other
Card Kit: PhotoPlay Paper Co. (Confetti Card Kit); Archival Ink, Sentiment Stamp
Love It? Pin It!
Visit our Website and Blog!
Sign up for our Newsletter so you never miss a contest or giveaway!


