Hi everyone, Yvonne here. Do you like diamond painting and always wonder what to do with the leftover tiny diamond dots? Well, I have the solution for you.
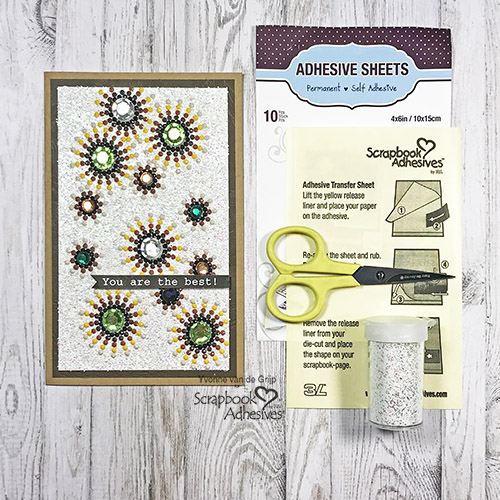
With the help of Adhesive Sheets 4×6 inch you can create your own unique diamond painting design cards. I would love to share how I made my card. Shall we get started?
Prep the Card Base
For a base, I used a piece of white cardstock. First, apply a sheet of Adhesive Sheets 4 x 6-inch on top.
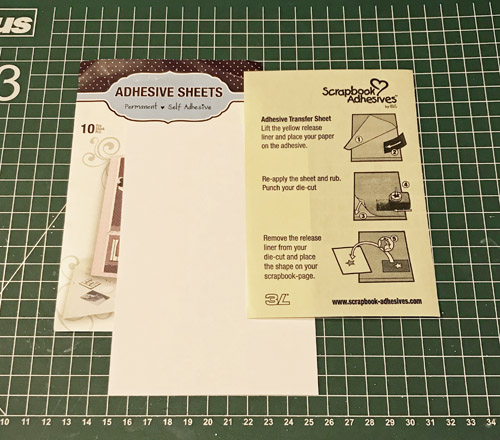
To adhere, simply remove the yellow liner and carefully place the Adhesive Sheets 4×6 inch onto the white cardstock.
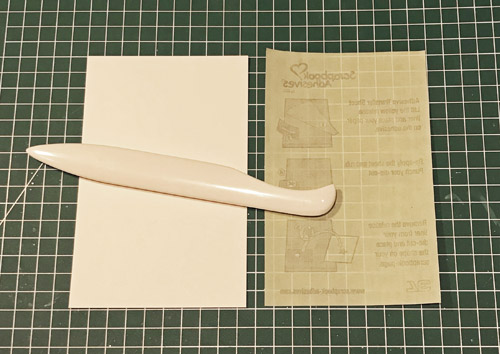
For a good transfer of adhesive to the cardstock, I used a bone folder to burnish it into the cardstock.
Afterward, trim the cardstock to the size of the Adhesive Sheets 4×6 inch and carefully remove the white liner.
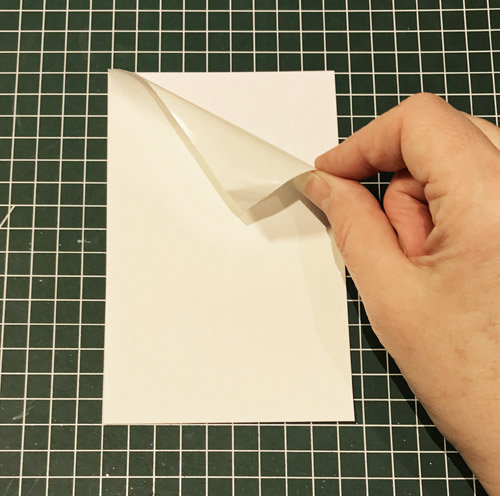
Now your base is prepped for the next step. Make sure you keep your desk clean to avoid any dust adhering to the card panel.
Accenting with 3D Foam Circles
Randomly place some 3D Foam Circles White Mix in both sizes onto the sticky card panel.
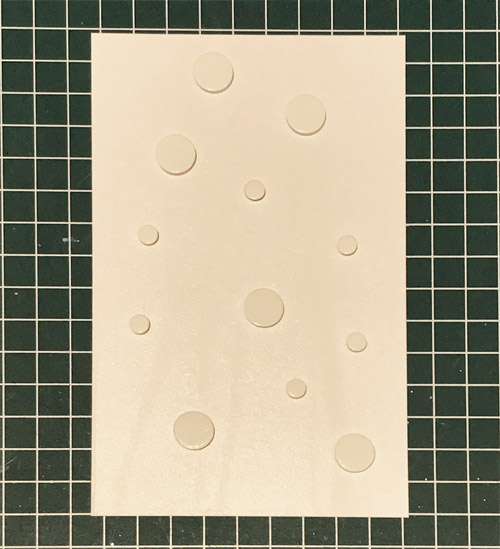
Leave the top liner on the 3D Foam Circles White Mix. This is the pattern you will work from.
Diamond Painting
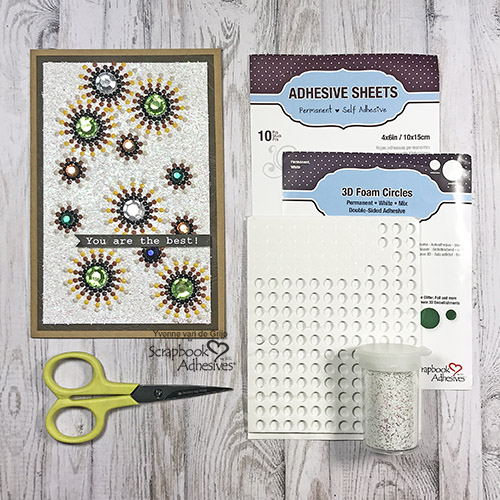
This is where the fun starts! Start by carefully adhering black diamond painting dots around the 3D Foam Circles.
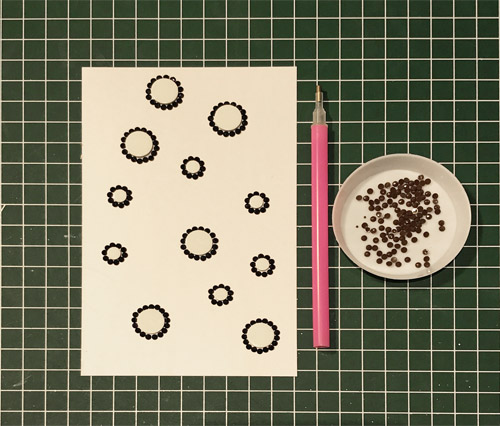
Repeat with various colors of brown and yellow dots. The pattern I made looks a little like flowers, but of course, you can choose your own pattern and dot colors.
To cover the open sticky parts, I sprinkled white glitter over the card panel and gently rubbed the glitter into the adhesive to secure. Then tap off excess glitter.
Designer’s Tip: to remove the glitter from the diamond painting dots I used a soft brush.
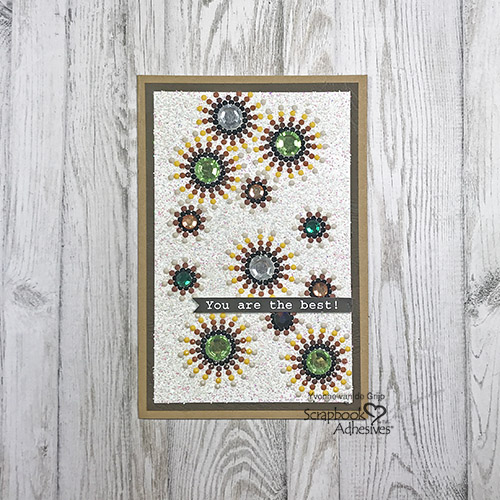
Remove the top liner off of the 3D Foam Circles White Mix and place some rhinestones on top.
All these steps so far are known as Wear Your Adhesive On The Outside – bring your adhesives from behind layers to become an element on a project!
Finishing the Card
I always like to add a sentiment to a card. For this card, I printed a sentiment and cut it into a banner shape. To adhere the sentiment, I used 3D Foam Circles White Mix.
And voila, You are the Best Diamond Painting Card is ready! I hope you enjoyed this tutorial and wish you happy crafting.
Yvonne van de Grijp
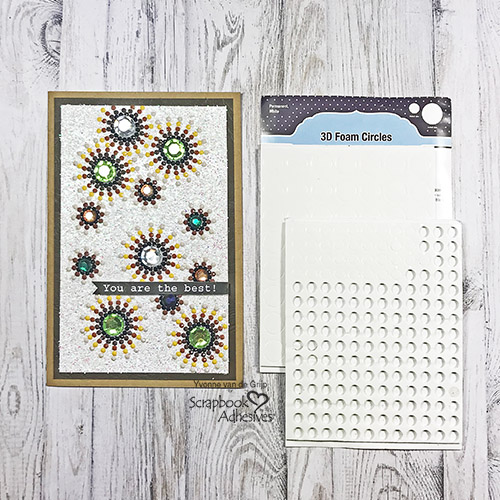
Creative Time: 60 minutes
Skill Level: Intermediate
Materials needed:
Scrapbook Adhesives by 3L®
3D Foam Circles White Mix
Adhesive Sheets 4×6 inch
Other
Cardstock (White, Kraft, Dark Brown); Diamond Painting Dots; Rhinestones; White Glitter; Bonefolder; Diamond Painting Pick Up Tool (or Tweezers); Paper Trimmer; Soft Brush; Printed Sentiment
Save It to Pinterest!
Visit our Website and Blog!
Sign up for our Newsletter so you never miss a contest or giveaway!


