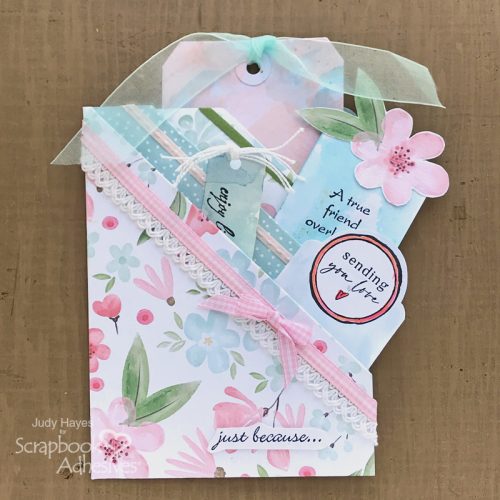
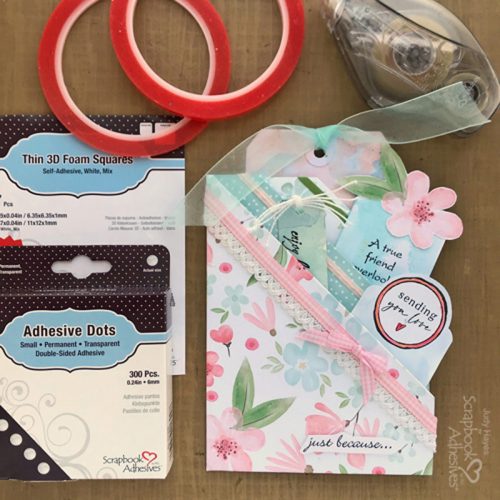
Hello crafty friends! Today, I’m sharing a pretty Pocket of Wishes Card! Credit goes to Kat Kirby, a mixed media artist, for the pocket directions to which I added my own twist on it. I used many pieces from my scrap papers including stamped pieces, the bookmark, watercolor swatch strip, and verse for the pocket front. The inserts are a good project for using bits and pieces.
Make Pocket Card Base
The pocket is created from one sheet of patterned paper cut to 9 x 12 inches.
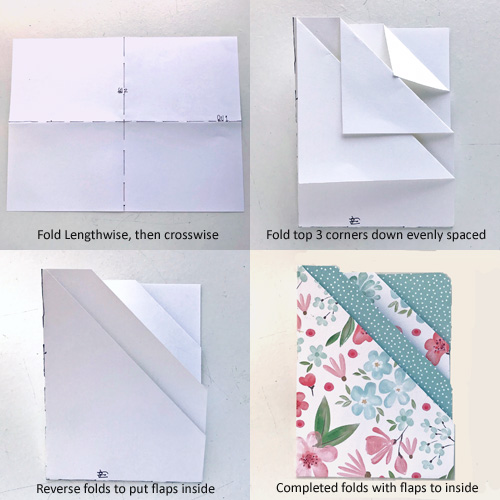
To make a pocket card base, first, fold the paper lengthwise. Then fold it crosswise so it is 4.5 x 6 inches. Use a bone folder to crease folds well.
The next step is to make the pockets. The first pocket is made by folding the top right corner at an angle so the edge aligns with the side fold. Crease well. Continue to make folds on the next two corners with approximate even spacing across the top, and crease well.
Reverse all corner folds to put flaps inside the pockets. Secure them with adhesive using E-Z Runner® Ultra Strong Refillable Dispenser.
Decorate Pockets
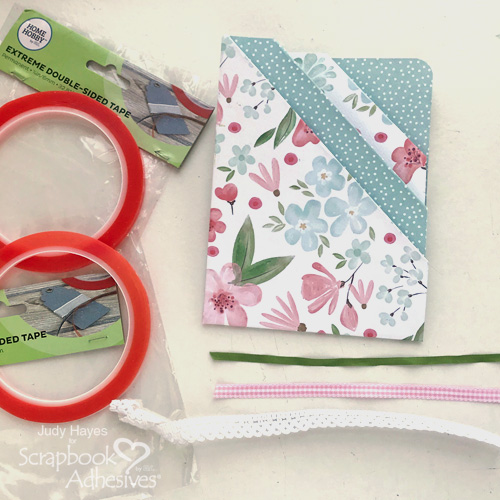
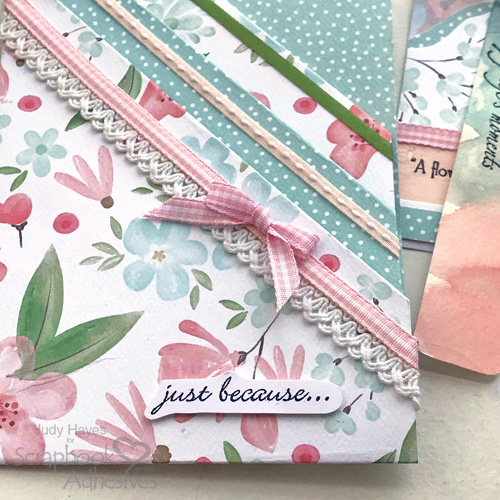
Choose ribbons and lace to decorated the pocket card. Apply Extreme Double-Sided Tape 1/8in along the edge of upper pocket. Remove the liner and place ribbon on adhesive. Press in place. Wrap ends to inside and fasten with Extreme Double-Sided Tape 1/8in.
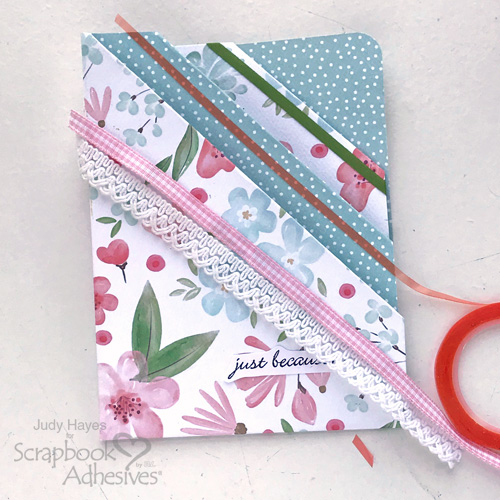
Repeat to fasten the narrow ribbon along the edge of the second pocket. Apply Extreme Double-Sided Tape 1/4in along the front pocket edge for the lace. Remove the liner and secure the lace to it. Wrap ends around edges and attach.
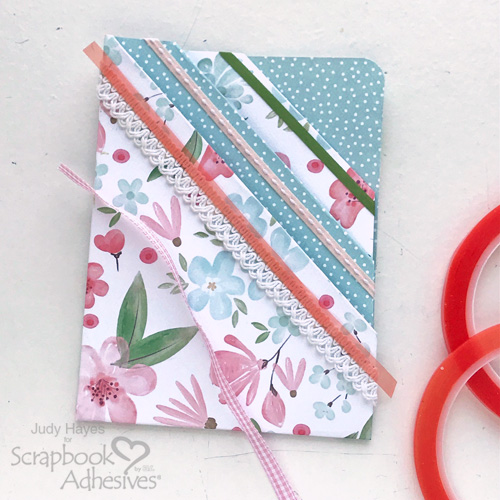
Add a piece of Extreme Double-Sided Tape 1/4in over lace. Press firmly in place. Remove liner and place ribbon over lace. Wrap ends to inside and fasten.
Finishing the Pocket Card
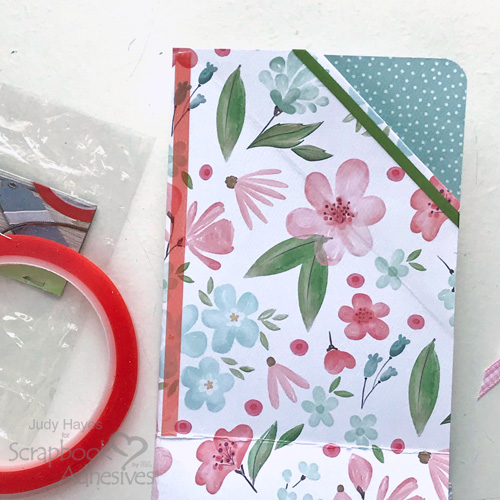
Next to close the pocket side edge, apply Extreme Double-Sided Tape 1/4in inside the folded pocket along the left edge. This will close the edge between the second and third pockets. Remove liner and refold pocket card. Press firmly with bone folder to secure it.
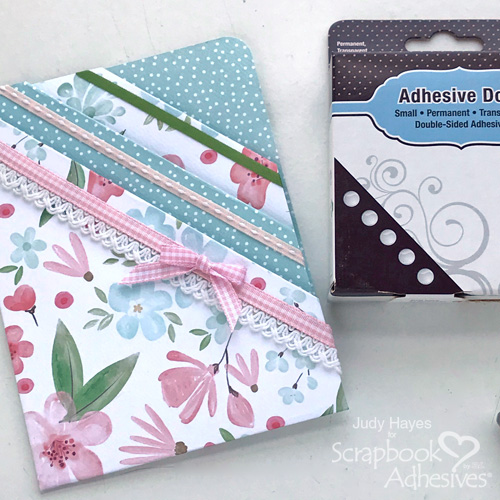
Make a small ribbon bow. Attach it over ribbon on front pocket using Adhesive Dots Small. Stamp verse “just because” on white cardstock and trim around it.
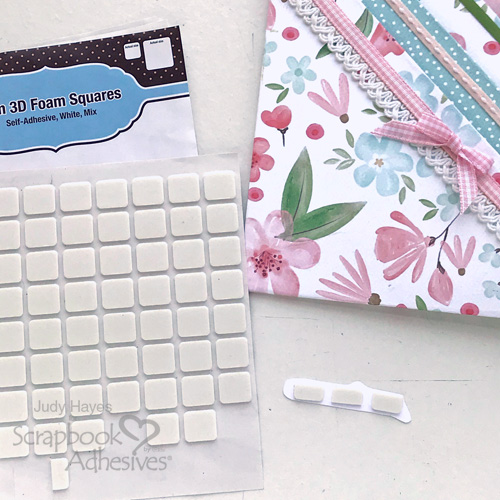
Fasten Thin 3D Foam Squares White Mix to back of verse. Cut the large squares in half or use small ones. Fasten verse to front of pocket card.
Decorate a Tag
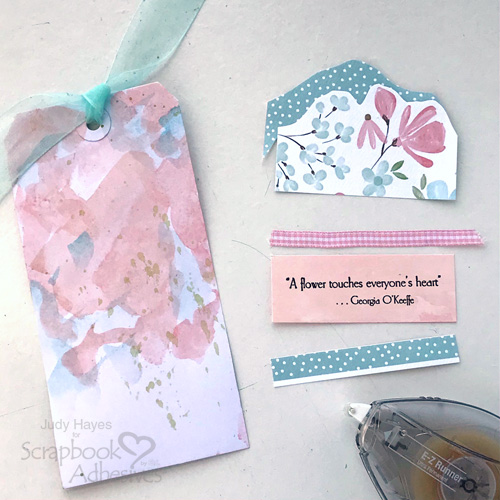
Watercolor #8 white tag for background color. After it dries, tie a sheer ribbon to it. Cut a piece of patterned paper to fit across bottom of tag and a contrasting border piece. With a scrap of watercolor paper, paint with watercolors and allow it to dry. Stamp a verse. Next, cut a narrow strip of contrast dot paper.
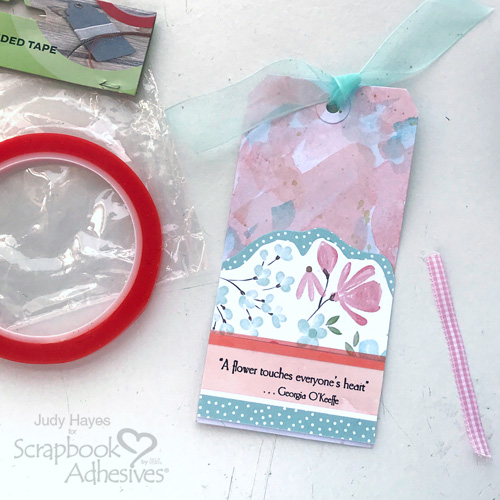
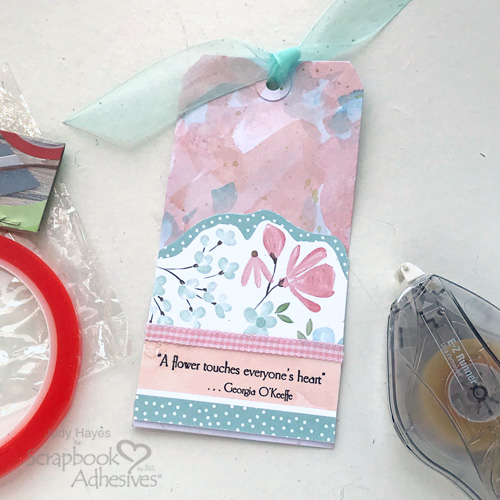
Attach all the papers to the tag using E-Z Runner® Ultra Strong Refillable Dispenser. Apply a strip of Extreme Double-Sided Tape 1/4in above the verse. Press firmly in place. Remove the liner and place ribbon over it. Trim the ends of the ribbon even with the tag edge.
Make a Bookmark
Cut a strip of watercolor paper 2 x 5.5-inches. Use a corner rounder to round all corners. Apply a wash of watercolor to the front and back. Allow to dry or dry with a heat tool. Stamp a verse with black ink,
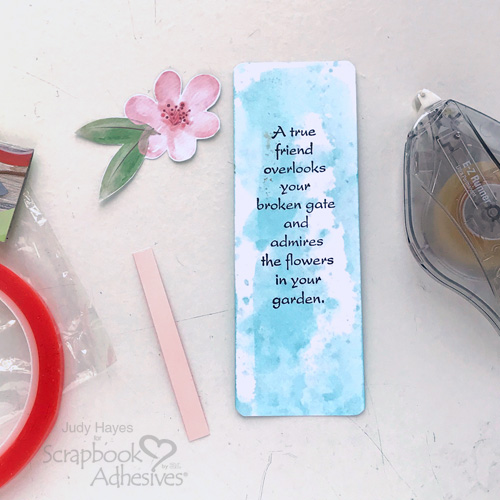
Fussy cut a flower from a patterned paper and adhere at top of bookmark using E-Z Runner® Ultra Strong Refillable Dispenser. Cut a narrow strip of peach paper (I used the same paper as on the tag) and a piece of ribbon.
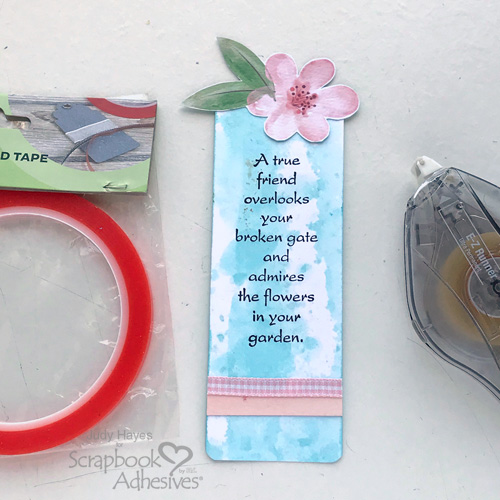
Secure the paper to bookmark using E-Z Runner® Ultra Strong Refillable Dispenser, and apply a piece of Extreme Double-Sided Tape 1/4in along the paper. Next adhere the ribbon to it and trim the ends even with bookmark edge.
More Inserts
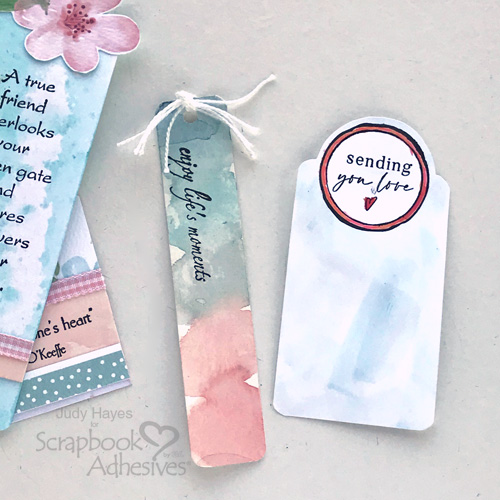
Stamp circle verse at top of a piece of 2 x 4-inch white cardstock and cut a curve following the top half of the circle verse. Add color to the verse with watercolors or markers and then add a wash of watercolor around the verse.
Watercolor a 1 x 5-inch swatch strip and round the corners. Stamp verse with black ink. Punch a hole and tie it with pearl cotton.
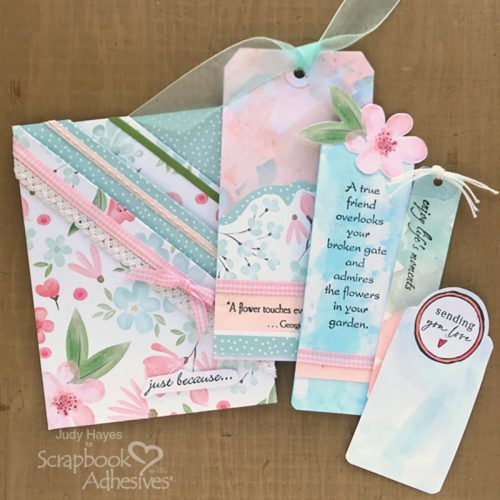
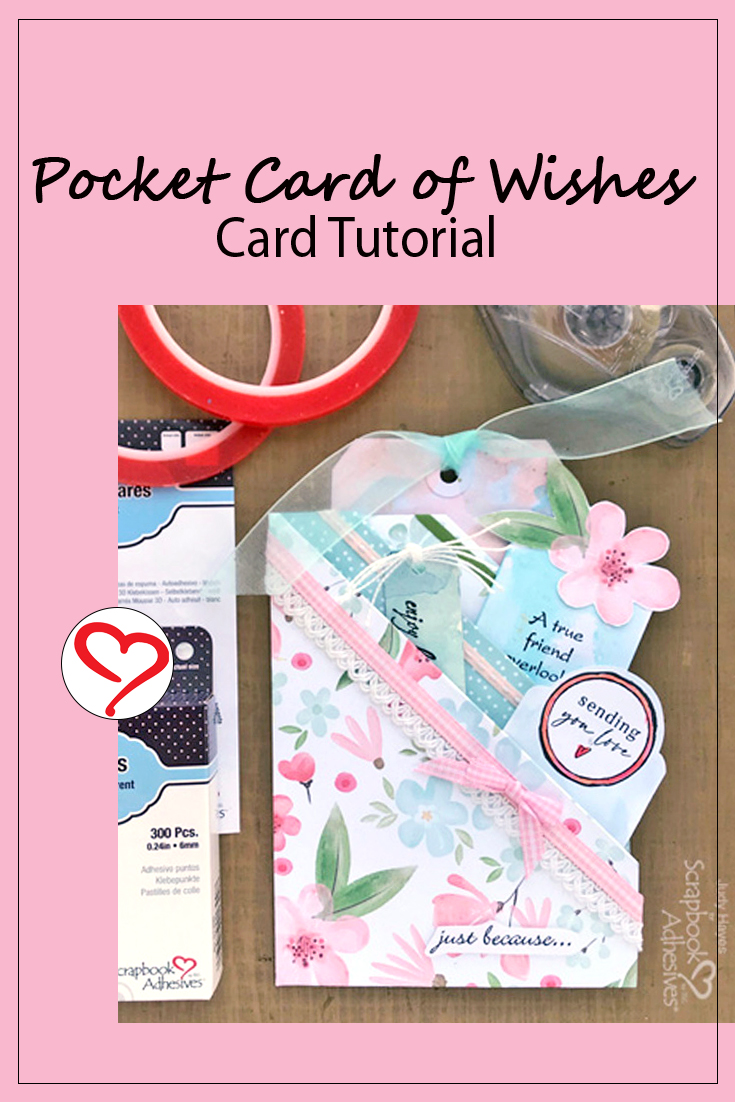
All that’s left is to tuck the tag, bookmark, and other inserts in the pocket card and it’s ready to give to someone special! I hope you enjoyed the Pocket Card of Wishes project and that you give it a try.
Thanks for Visiting!
Judy Hayes
Creative Time: 40 Minutes
Skill Level: Intermediate
Materials Needed
Scrapbook Adhesives by 3L®
HomeHobby™ by 3L
Other
Carta Bella Paper Company “Flower Garden”; Dare 2B Artsy “Thinking of You” Stamp Set; Hampton Art SC1000 Stamp Set; Ranger Dina Wakley Media White Tags #8; Prima The Classics Watercolors; Tsukineko Versafine Onyx Black Ink; Verse Stamps: Watercolor Paper; Ribbon, Pearl Cotton. Lace
Save it to Pinterest!
Visit our Website and Blog!
Sign up for our Newsletter so you never miss a contest or giveaway!


