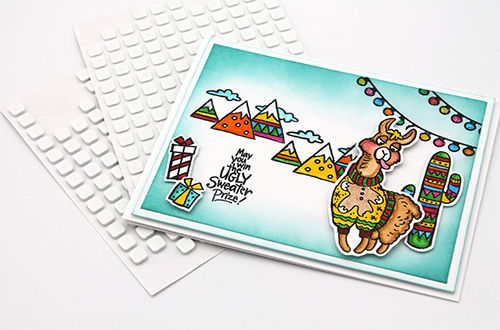
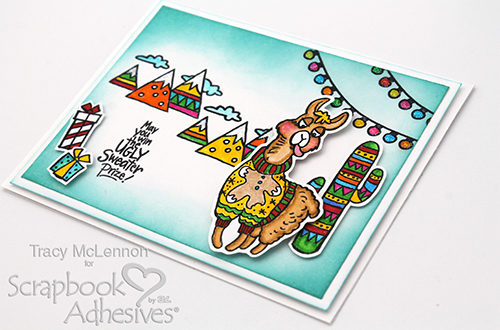
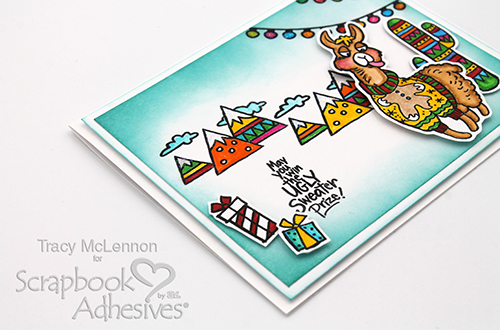
Hello crafty friends! Tracy here, and today I have a fun and festive card to share. Have you started making your Christmas cards yet? Well, here is a little inspiration featuring Stampendous stamps and your favourite adhesives. Here are all of the details.
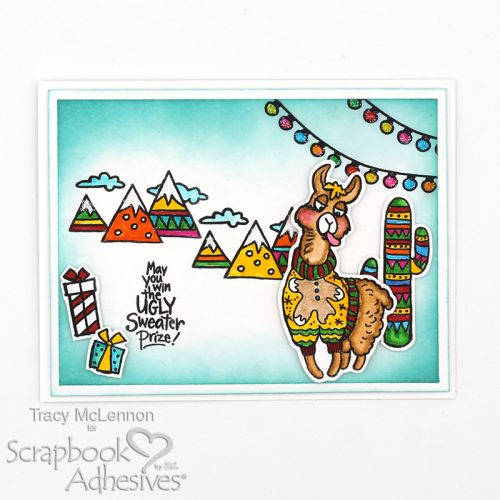
Let’s Get Started
Firstly, I cut the card front for my fun and festive card to 3.75 x 5-inch and stamped some background images. Then I stamped my other images onto a separate piece of white cardstock. I added colour to the images using Zig Clean Color Markers and a water brush. Fussy cut out the images stamped onto the separate piece of white cardstock.
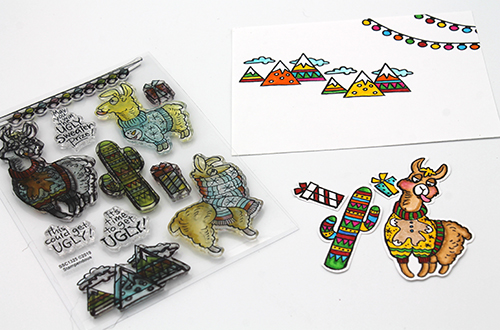
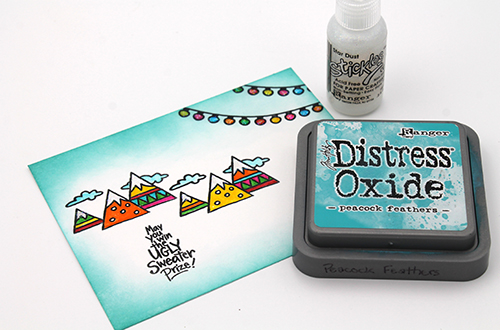
Using Distress Oxide Ink and a blending tool, I added colour around the edges of the card front.
I added Stickles to some of the background images, the lights, and the snow on the mountains. Next, stamp the sentiment onto the card front using black ink.
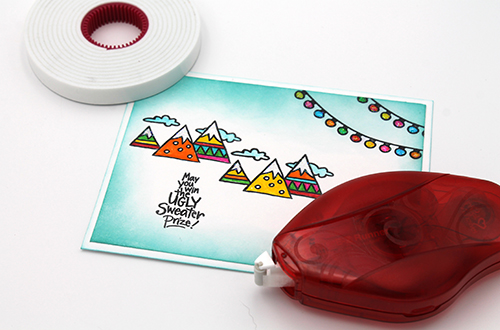
Mat the card front in white cardstock using the E-Z Runner® Permanent Strips Refillable Dispenser to adhere the layers together of this fun and festive card. Then add this to a white cardstock card base using Crafty Foam Tape White 108ft.
Add the fussy cut images to the front of the fun and festive card using a combination of 3D Foam Squares White Small Size and Thin 3D Foam Squares White Mix which gives your card so much more dimension.
Thanks so much for stopping by!
Tracy
Creative Time: 30 Minutes
Skill Level: Intermediate
Materials Needed
Scrapbook Adhesives by 3L®
Thin 3D Foam Squares White Mix
Crafty Foam Tape White 108ft
3D Foam Squares White Small Size
E-Z Runner® Permanent Strips Refillable Dispenser
Stampendous Products Used:
Llama Sweaters- Perfectly Clear Stamps
Other: Archival Ink- Jet Black; Distress Oxide Ink- Peacock Feathers; Blending Tool and Mat; Stickles- Star Dust; Zig Clean Color Markers; Waterbrush; Cardstock- White
Save to Pinterest!
Visit our Website and Blog!
Sign up for our Newsletter so you never miss a contest or giveaway!


