Hi, friends! Need a birthday card? Teri here to show you how to make some super cute birthday celebration cards to make ahead and send out when you need them!
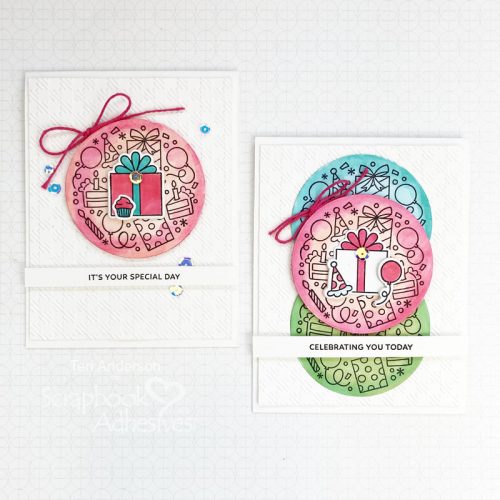
Birthday Celebration Cards Step Outs
Start by stamping a birthday design on cardstock and adding color to it with markers or ink. Then die-cut it out with a circle die. Next, die-cut a second circle, a slightly smaller circle size die, from 3D Foam Creative Sheet Medium.
By the way, if you don’t have a cute birthday circle stamp to use, try creating your own design by mixing together small birthday images or using patterned paper instead.
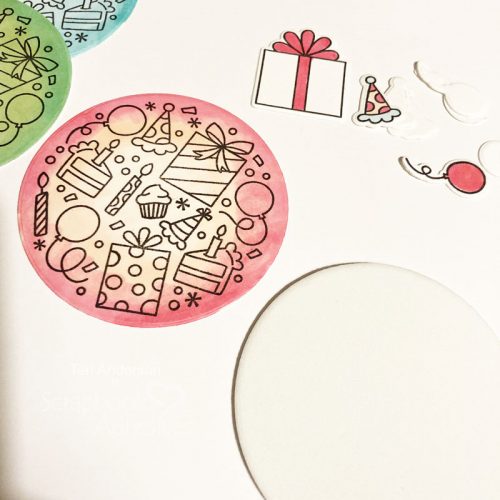
Stamp, color in, and die-cut a couple of birthday-themed images to place on your circle. Cut a few additional blank shapes to stack up and adhere to the back of your stamped images. This will give them a subtle dimension.
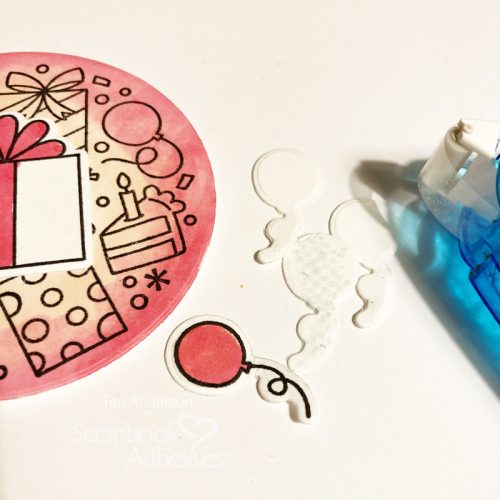
Mount the images onto your circle and then the foam circle behind it. Set it aside.
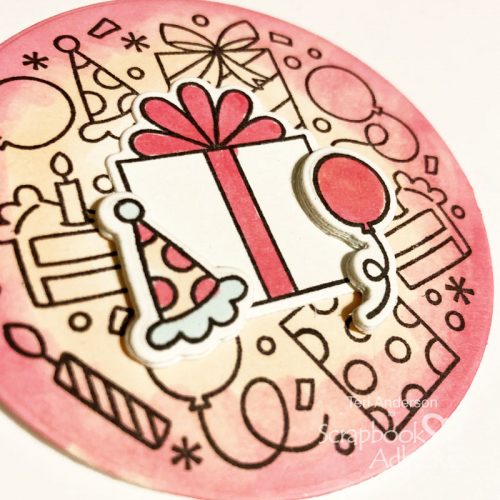
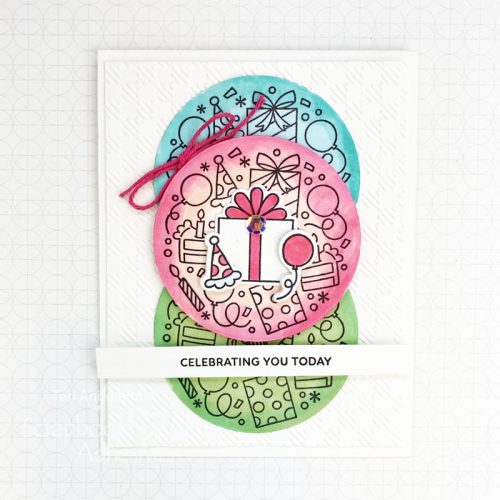
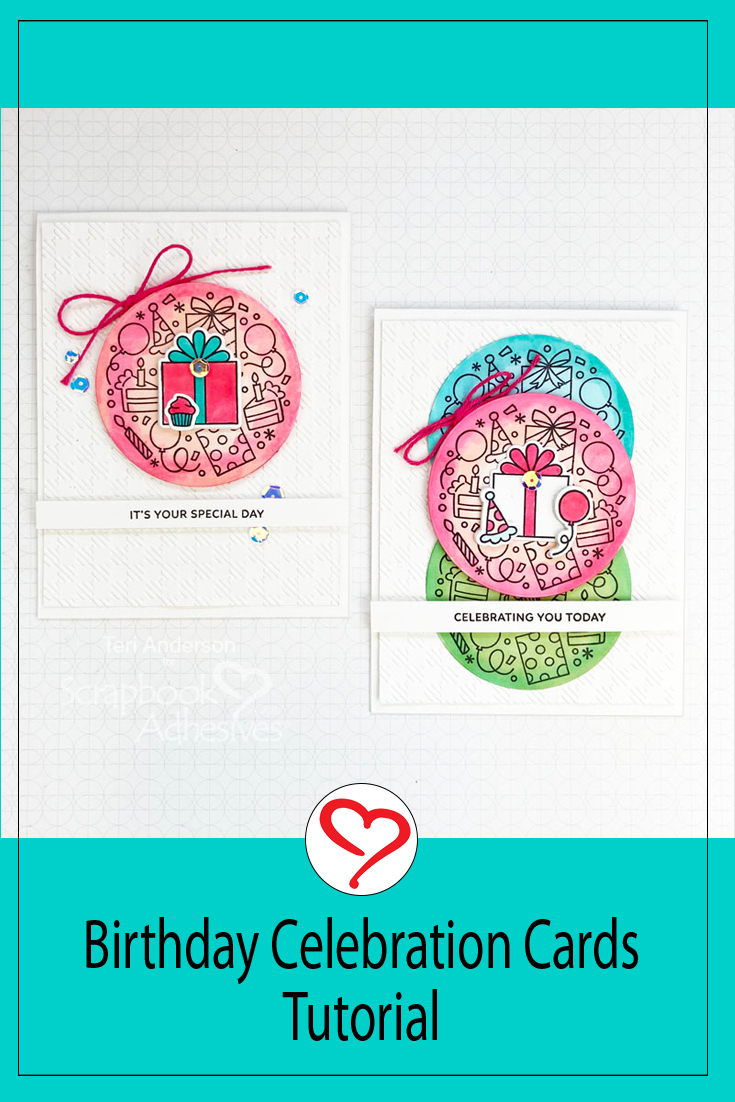
Stamp, color in, and die-cut two more large circles. Dry emboss a pattern on white cardstock. Mount it an A2 card and then add those two circles to it.
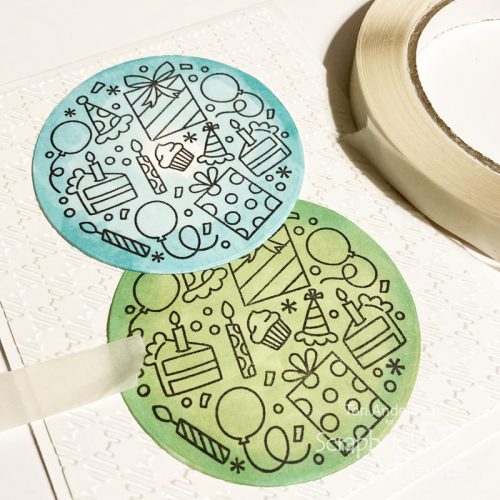
Place your first stamped circle in the middle and over the two other circles. Tie twine around the middle circle, adding a bow at the top side.
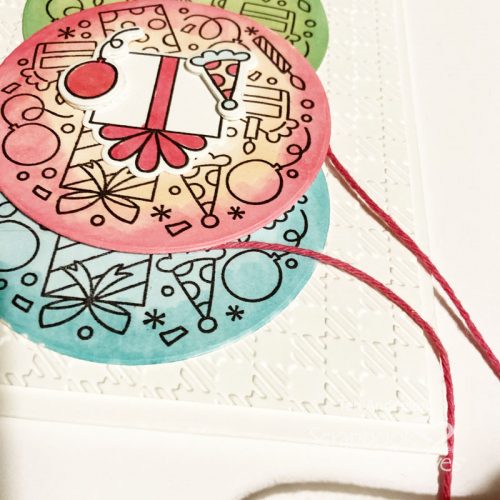
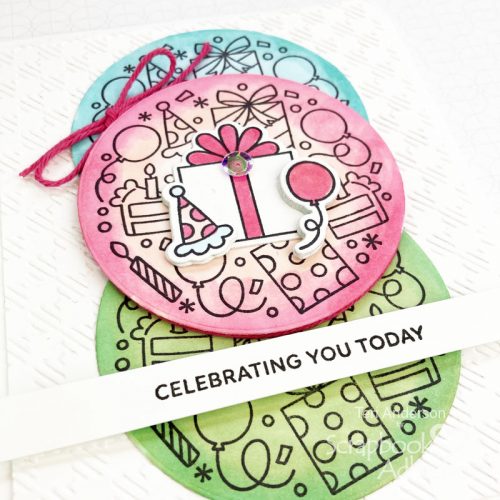
Stamp a sentiment on a strip of cardstock. Mount it to your card with foam strips. Complete your card by adding a sequin or gem to the circle.
Change Up Your Card Design
Try making a similar birthday card by using only one big circle on it.
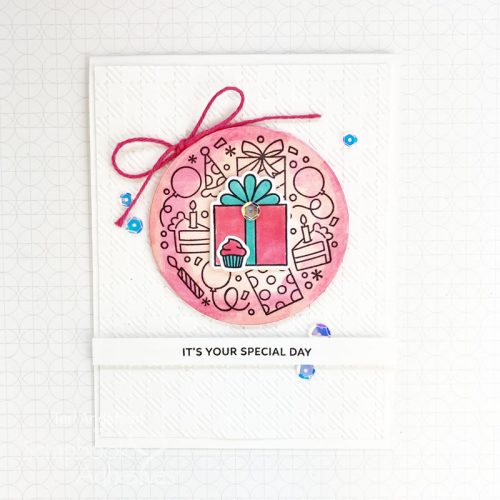
To “fill out” your card design, add some sequins or gems around the circle and sentiment strip. You could even use buttons if you wanted!
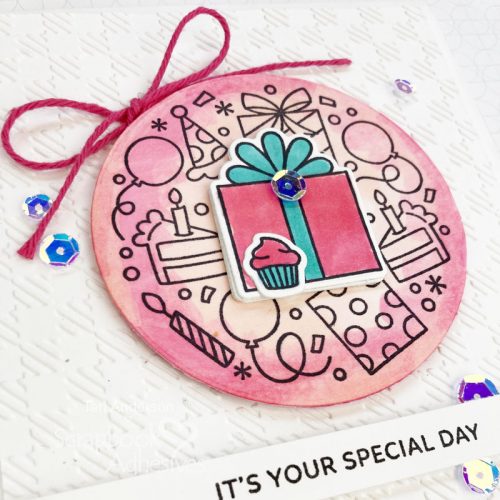
I hope you are inspired to make a few birthday cards of your own! Thanks for stopping by today!
Happy creating,
Teri Anderson
Creative Time: 60 Minutes
Skill Level: Intermediate
Materials Needed:
Scrapbook Adhesives by 3L®
- 3D Foam: Strips and Creative Sheets Medium White
- Adhesive Dots Micro
- E-Z Dots® Permanent Dots Refillable Dispenser
- Crafty Power Tape Polybag 81ft
Other
White Cardstock: Neenah Paper; Stamps and Dies: Pretty Pink Posh (Let’s Party Stamp Set and Dies); Embossing Folder: Sunny Studio Stamps (Buffalo Plaid); Ink Pad: Ranger Ink; Markers: Copic; Sequins: Pretty Pink Posh; Twine: The Twinery
Save to Pinterest!
Visit our Website and Blog!
Sign up for our Newsletter so you never miss a contest or giveaway!


