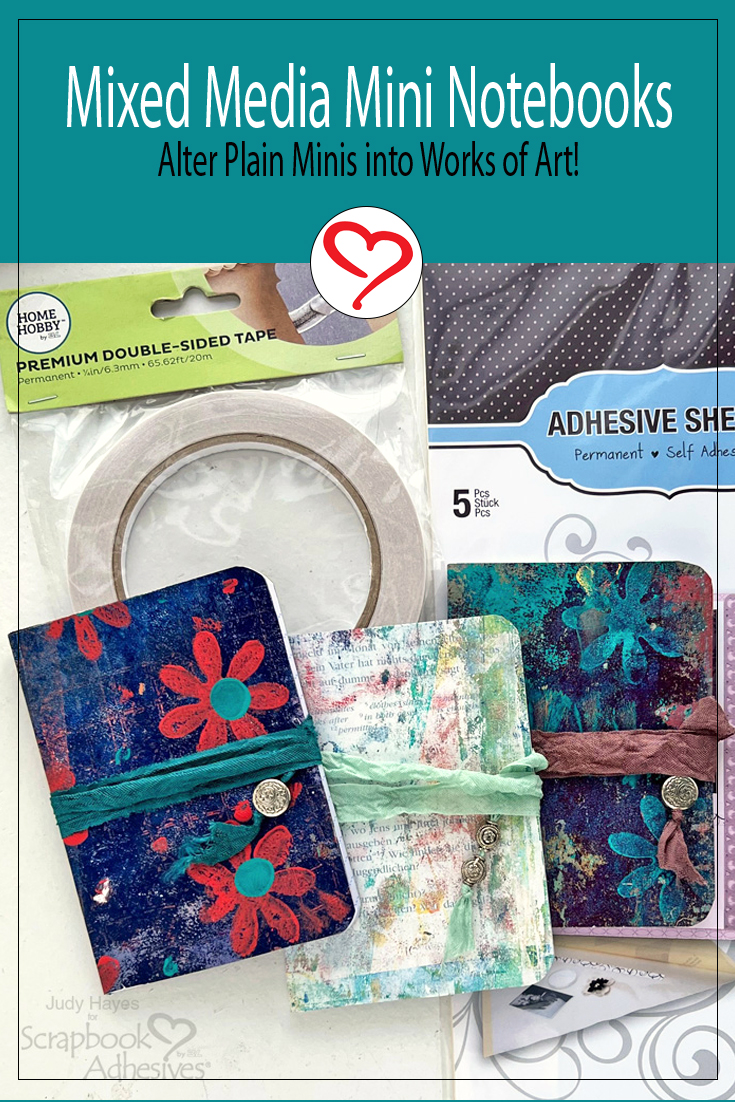
Hello crafty friends! Today, I’m sharing an easy way to cover mini composition notebooks for yourself or gifts. I like the size to fit in a purse or to have in the car to write down those things needed to buy or do that suddenly pop into one’s head when out shopping. They can usually be found in packs of 3 in dollar stores.
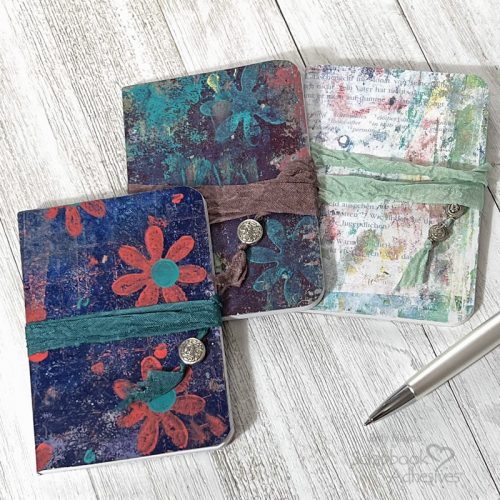
Apply Adhesive Sheets on Mini Notebooks
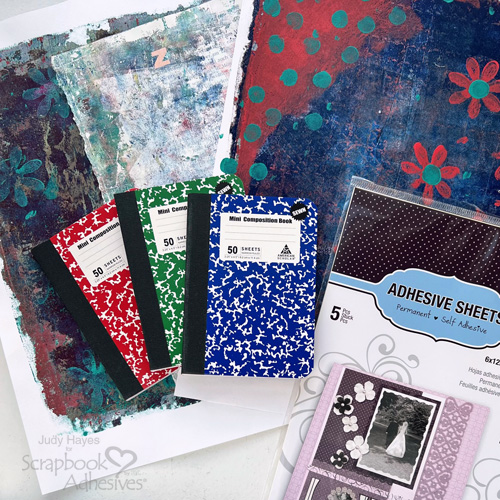
The best paper to use is text weight or slightly heavier. I chose some gel plate printed papers, the lightest one was printed on a page from an old book.
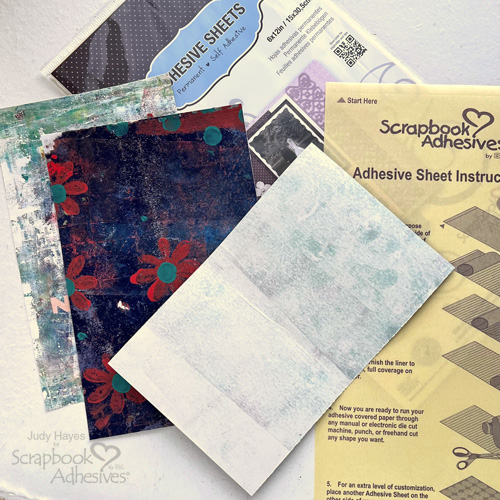
Cut paper slightly larger than needed to cover a notebook and apply Adhesive Sheets 6×12 inch to the back of it. Rub with hand or bone folder to secure adhesive well.
Cut with Paper
Measure spine of notebook and length from edge of front cover around the spine to the edge of back cover. Cut paper same width and slightly longer than length. The composition notebooks I used are 4.5 inches at the spine and about 7 inches in length to wrap around the cover. So cut the paper to 4.5 x 7.25 inches.
Marker on Edges
Optional: Use a permanent marker to cover notebook cover edges. This covers the cover color in case the paper doesn’t quite cover the edge.
Add Premium Double Sided Tape
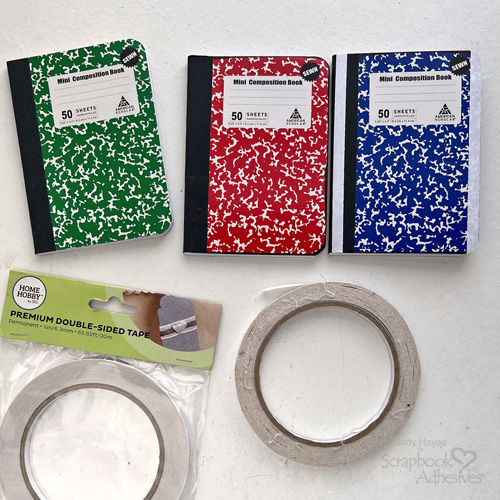
Apply Premium Double-Sided Tape 1/4in to front and back opening edge of the notebook and along the spine. Use a bone folder to press tape securely onto the notebook. Trim tape at corners following the edge of the cover.
Photo shows red notebook with a black marker around edges and blue notebook with Premium Double-Sided Tape on it.
Attaching the Seam Binding
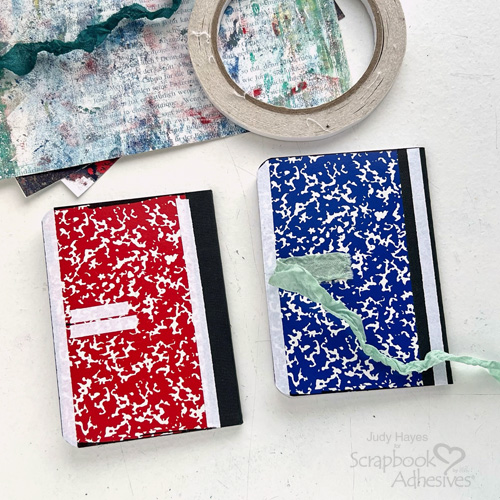
On the back cover of the notebook mark center at the outer edge. Place about a 1-inch strip of Premium Double-Sided Tape 1/4in on each side of mark perpendicular to cover edge. Peel liner from tape and place end of seam binding in place. Then add a strip of Premium Double-Sided Tape 1/4in across seam binding along the edge of cover and press firmly in place.
Apply Cover Paper
Peel liner from Premium Double-Sided Tape at the front edge of the notebook.
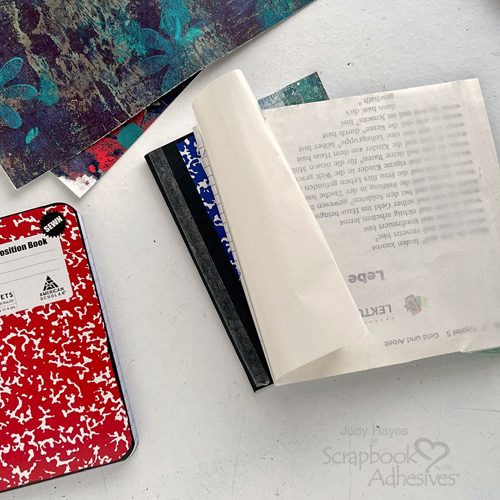
Peel and fold back about 1 inch of Adhesive Sheets liner on paper for the cover. With the paper edge aligned with the front edge of the notebook and long edges of paper aligned with the top and bottom edge, press paper onto the cover. Peel liners from Premium Double-Sided Tape at spine. Continue to peel the liner from the back of the paper and press the paper onto the cover. Remove liners from tape on the back cover and finish wrapping paper over the notebook cover. Use scissors to trim paper even with notebook edges at corners and edges as needed. Rub well with a bone folder to seal paper to the notebook.
Add Bead
Thread bead on the end of seam binding. I use a denture flosser to pull a pointed end of seam binding through the bead.
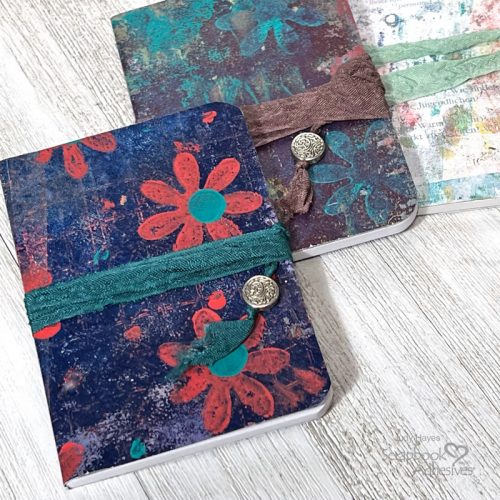
Wrap seam binding around the notebook to determine the best placement for the bead. Tie a knot below bead at end of seam binding. Trim end as needed.
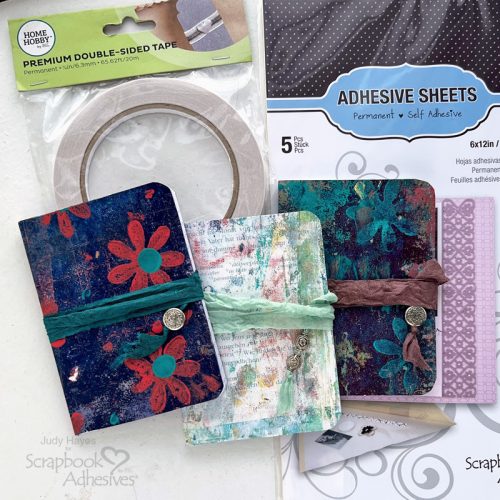
Repeat to make more covered notebooks!
Thanks for Visiting!
Judy Hayes
Creative Time: 20 Minutes
Skill Level: Easy
Materials Needed
Scrapbook Adhesives by 3L®
HomeHobby™ by 3L
Other: Mini Composition Notebooks; Printed Papers (Gel Printed Paper, Lightweight Patterned Paper); Seam Binding or Ribbon; Beads
Save to Pinterest!
Visit our Website and Blog!
Sign up for our Newsletter so you never miss a contest or giveaway!


