
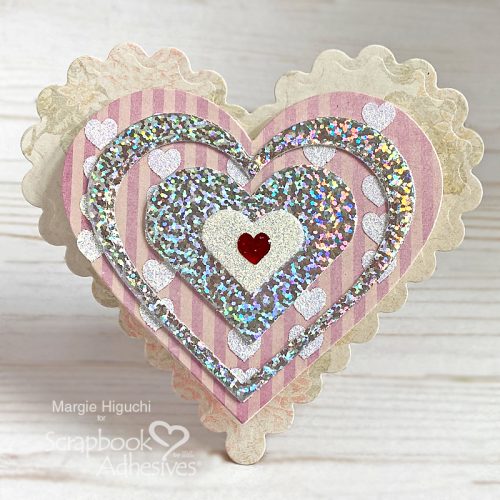
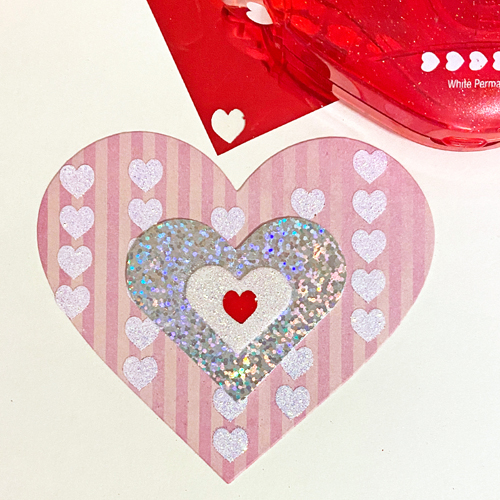
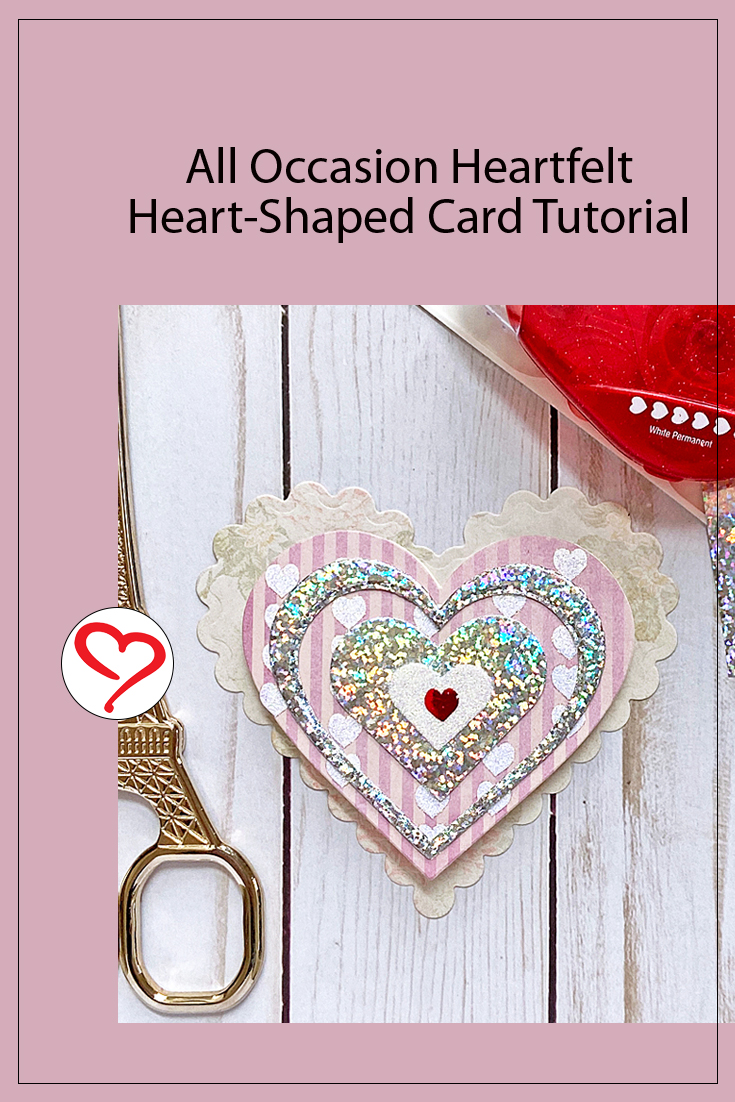
Happy 2022, everyone! I am thrilled to be posting the first project for the new year with this heartfelt 2022 greeting with this heart-shaped card.
Heart-Shaped Card Front
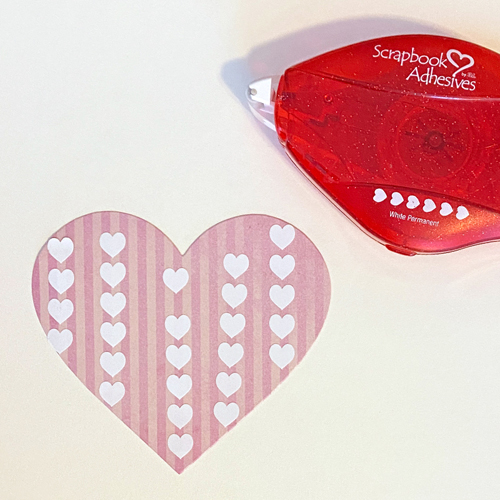
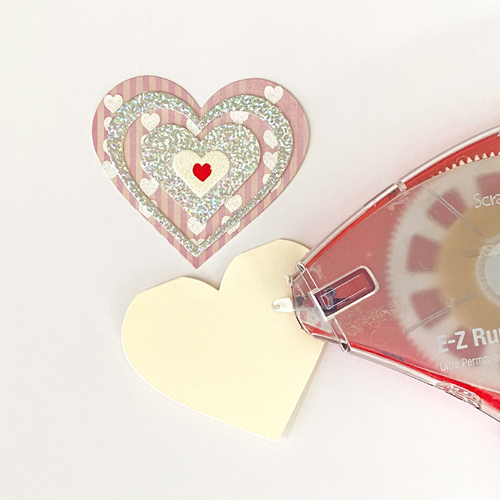
To create my heart-shaped card front, I die-cut a #-inch heart from a pattern paper. With the E-Z Runner® Hearts, I applied several vertical rows of hearts to fill the shape. My purpose is to create an interesting background from a plain striped pattern.
Sprinkle fine white glitter to cover the hearts, press into the hearts to secure and tap off excess. Note: a clean paint brush may help to get rid of those pesky lingering glitter.
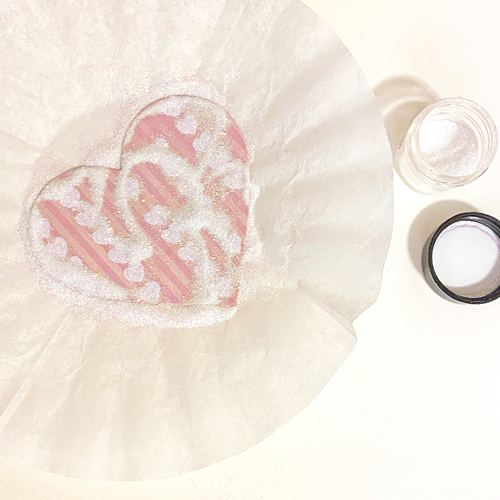
This technique is called Wear Your Adhesive on the Outside. Use adhesives as an embellishing element instead of adhering between layers. You can also use our Metallic Transfer Foil sheets, pigment powder, flock and even embossing powder to melt into the shapes.

Layering Heart-Shaped Elements
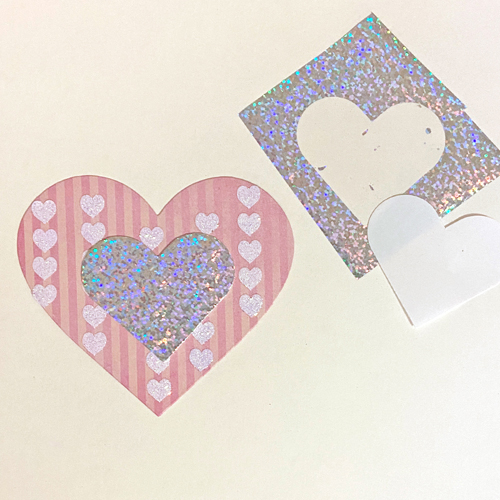
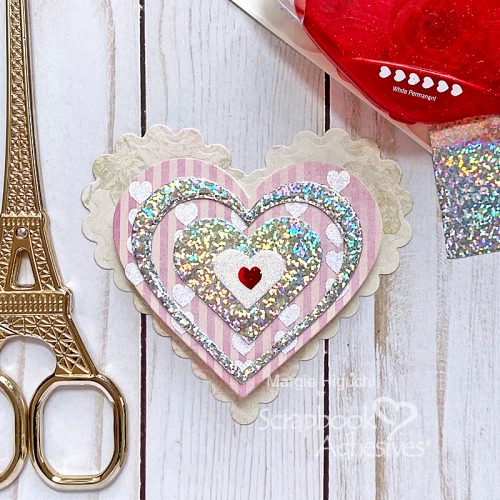
Since this wasn’t enough, I layered the largest heart from the 3D Foam Hearts. Using the chunky silver glitter foil from the Metallic Transfer Foil Sheets in Holographic Colors set, I placed it over the foam heart color side UP and rub gently to transfer the color to the shape. Peel off and done! If there are missed areas, simply reapply the foil.
Yup, added more layers! LOL! I centered a medium size heart from the 3D Foam Hearts onto the larger foiled heart and used the same fine white glitter to tie in the background hearts. Next, I took a heart from the E-Z Runner® Hearts and adhered it to the center of the glittered heart. I foiled it with the red foil from the 3D Foam Creative Embellishment Kit with Foil. Don’t forget to foil color side UP!
Add More Interest
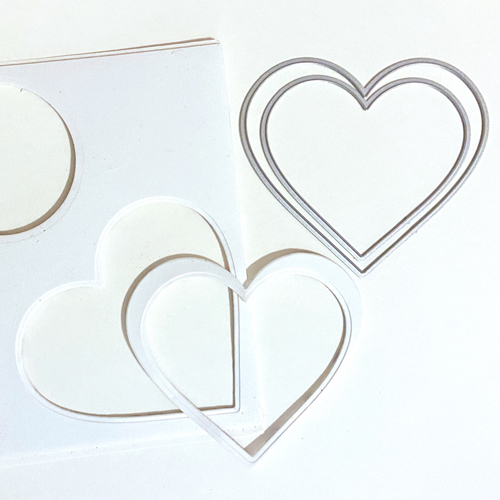
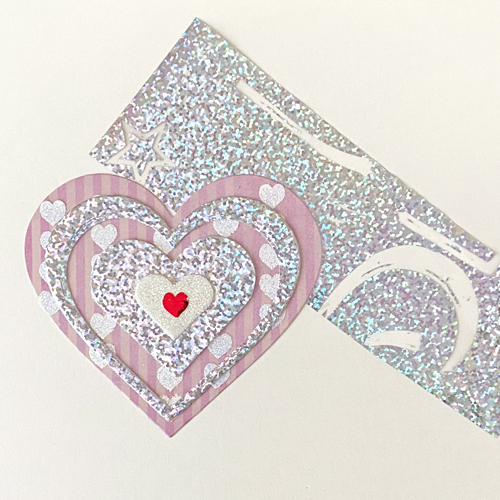
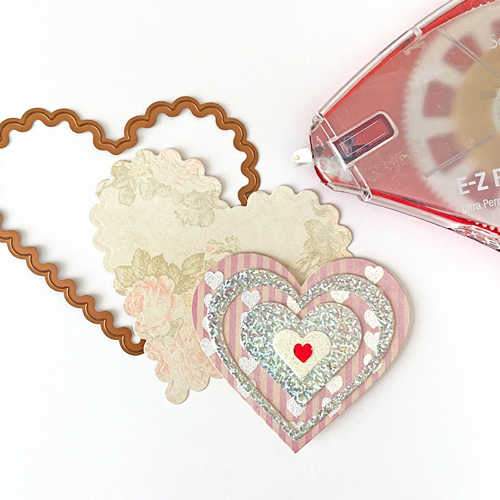
I couldn’t resist because I had this 3D Foam Creative Sheet left from the 3D Foam Creative Embellishment Kit with Foil that I had to use. LOL! Nesting two hearts together, I die-cut them from the foam sheet to make a heart-shaped frame. If you’re looking for a dimensional element, this is perfect to die-cut any shape you want to customize for your projects!
Place on the card front, remove the top liner, and apply foil in the same previous steps (color side up). LOVED how it turned out!
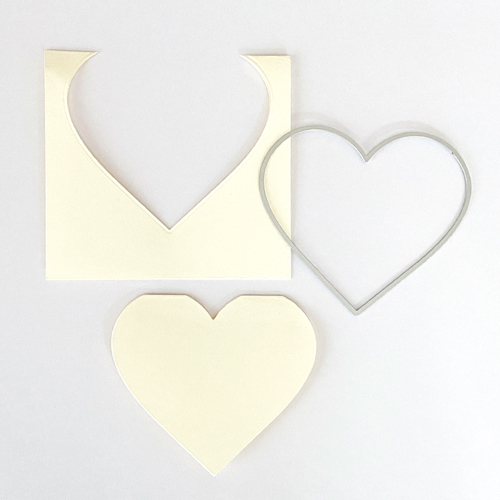
Create the Heart-Shaped Card Base
Let’s create the shaped card base. Fold a piece of cream cardstock and place the heart die just enough that the top is over the crease. This part act as a hinge for the shaped card. It won’t be a full heart shape but that’s OK. The card front will cover that part in the next step.
Apply E-Z Runner® Grand Ultra Strong over the cream card base and place the embellished card front on top. Make sure to match up the shape to look like one shape.
Lastly, die-cut a large scalloped heart with a piece of patterned paper and adhere the heart-shaped card in the center with the E-Z Runner® Grand Ultra Strong.
I hope my heart-shaped card inspires you to create this unique type of card creation for someone you like to send a heartfelt greeting to. Happy New Year, friends!
Margie Higuchi
Skill Level: Intermediate
Creative Time: 60 minutes
Materials Needed:
Scrapbook Adhesives by 3L®
E-Z Runner® Grand Refillable Dispenser and E-Z Runner® Grand Ultra Strong Refill
E-Z Runner® Hearts
3D Foam Hearts
Metallic Transfer Foil Sheets in Holographic Colors
3D Foam Creative Embellishment Kit with Foil
Other
Patterned Papers: Kawaii Paper Goods/Memory Place (Floral Collection); Craft Dies: Hearts (Hero Arts) and Scalloped Hearts (Spellbinders® Paper Arts); Glitter: Sparkle ‘N Sprinkle; Cream Cardstock
Save to Pinterest!
Visit our Website and Blog!
Sign up for our Newsletter so you never miss a contest or giveaway!


