
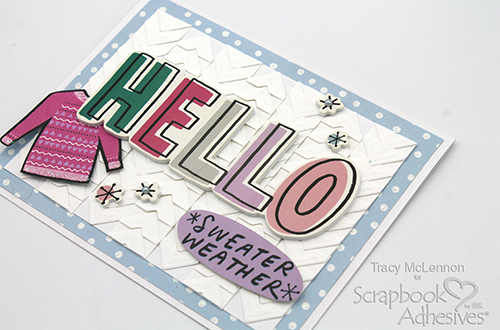
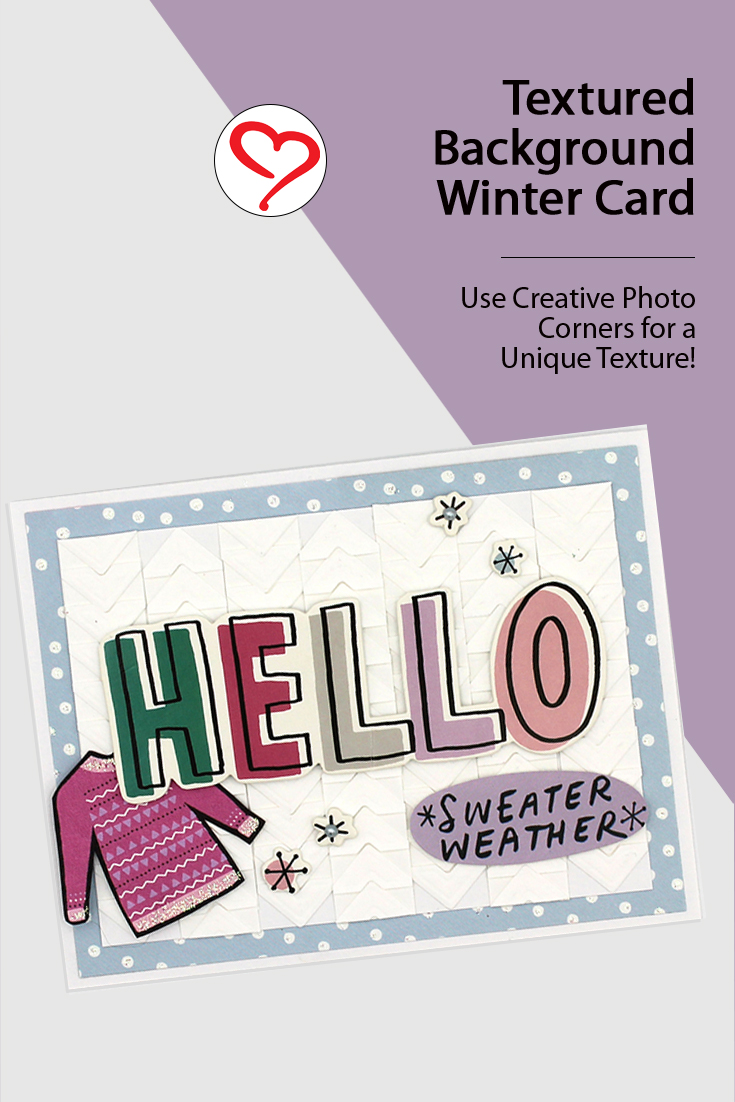
Hello crafty friends! Tracy here and today I have a frosty winter-inspired card to share with an easy textured background that could be perfect for all sorts of cards and projects. Here are all of the details.

Add easy texture
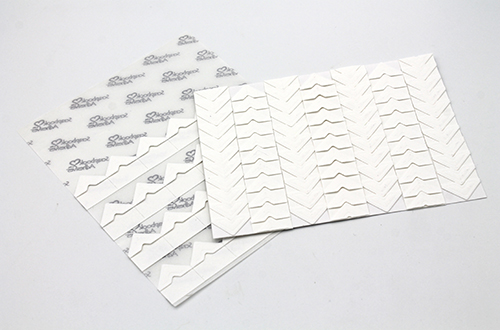
Firstly, start by cutting a piece of white cardstock to 3.5×4.75. Start the textured background with the first row of Creative Photo Corners White going in one direction, and continue layering them up the short edge of the cardstock. You may have to trim off a little bit of over-hang when you reach the edge.
The second row of Creative Photo Corners White are started in the opposite direction. This gives a little bit more visual interest in texture. Continue in opposite directions to cover the entire card front. Trim off any Creative Photo Corners White over-hang from the textured background.
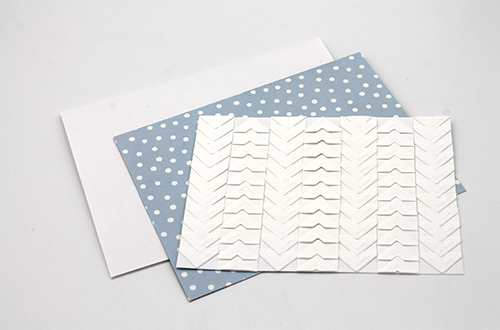
Cut a piece of patterned paper that is 4×5.25 and a white cardstock A2 card base. Adhere these layers and the textured background card front together using the E-Z Runner® Petite Permanent Dots Refillable Dispenser.
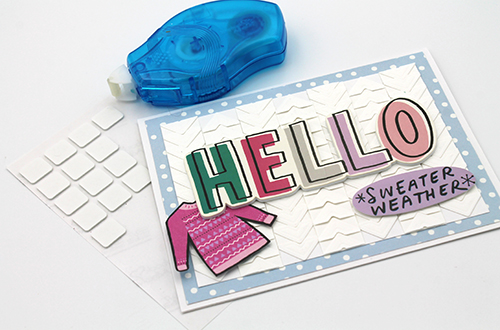
Add the embellishments to the textured background using a combination of the E-Z Runner® Petite Permanent Dots Refillable Dispenser and Thin 3D Foam Squares White Mix.
Add a few more sticker embellishments, pearls and even some Stickles for that extra sparkle.
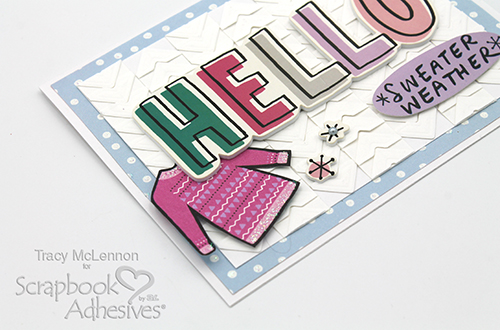
Thanks so much for stopping by to check out this textured background card tutorial!
Tracy
Creative Time: 30 minutes
Skill Level: Beginner
Materials needed:
Scrapbook Adhesives by 3L®
Thin 3D Foam Squares White Mix
Creative Photo Corners White
E-Z Runner® Petite Permanent Dots Refillable Dispenser
Other
Simple Stories- Feelin Frosty Collection; Stickles; Pearls; White Cardstock
Save to Pinterest!
Visit our Website and Blog!
Sign up for our Newsletter so you never miss a contest or giveaway!


