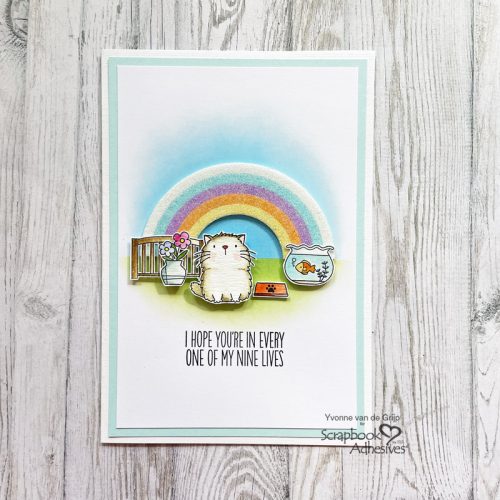
Hi everyone, Yvonne here with a glitter rainbow card. I love cute cards and this one is a sweet one fors ure!
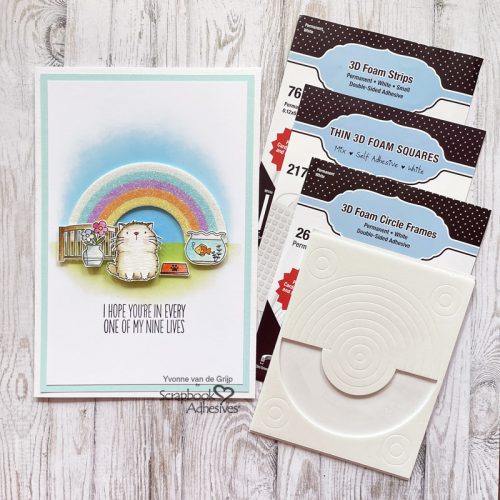
To make the rainbow on my card, I used a technique called Wear Your Adhesive on the Outside. Wanna join me in making this card?
Making the Background
Start by making the background for the Rainbow card. Take a piece of smooth white cardstock and lay a large sticky note horizontally over the cardstock. To make the sky, make sure the sticky part facing down + and in the direction north as shown on the photo below.
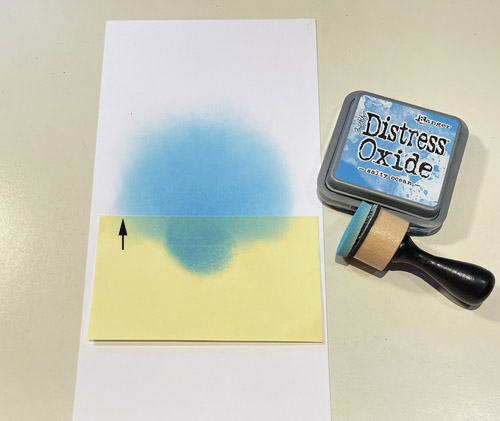
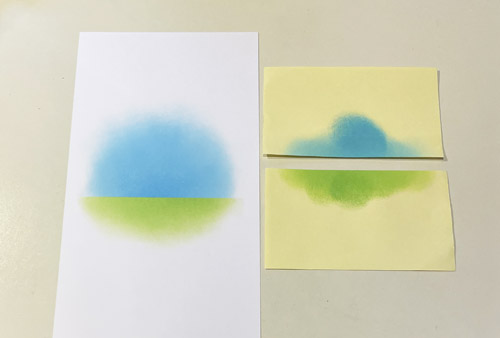
This prevents the sticky note from curling when adding the ink. Now use an ink blending tool and blue ink to create the sky. Then remove the sticky note and add a new one now with the sticky part facing south. Use green ink and an ink blending tool to create the grass.
Making the Glittered Rainbow
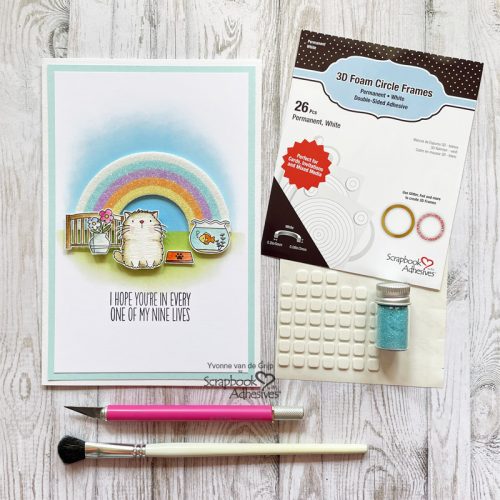
To make the glittered Rainbow I used 3D Foam Circle Frames White. Use a craft knife to cut the biggest 5 circles in half. Now carefully remove the half circle at once from the back liner and adhere to the colored top card panel.
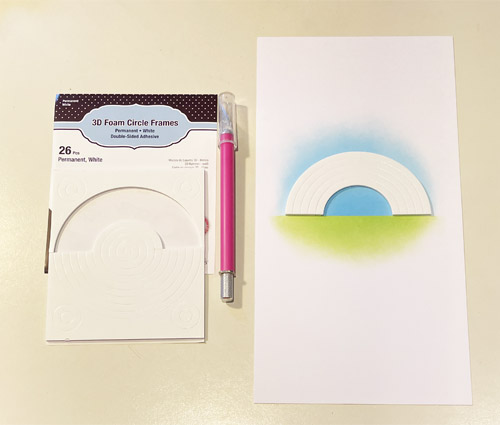
Now carefully remove the top liner of the smallest half circle. Rub some yellow glitter upon and rub the glitter over the sticky half circle.
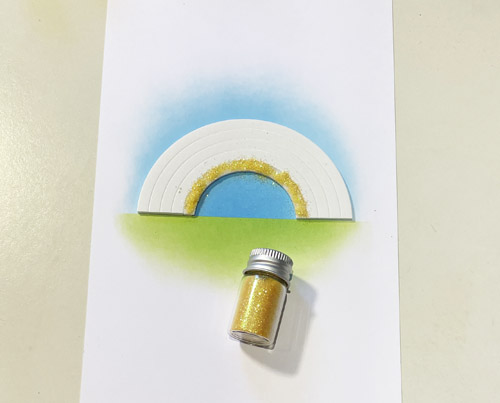
Tap off any excess glitter or like me, use a soft brush to remove the excess glitter. Repeat with the next circles using orange, lilac, blue and white glitter.
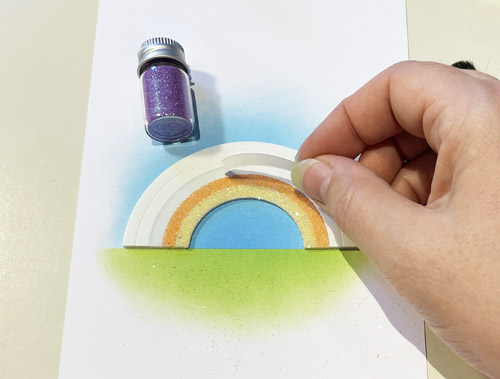
This technique for making your adhesive shine is called Wear Your Adhesive on the Outside.
Adding the Stamped Elements
First, stamp the images onto watercolor paper using a black ink pad. Then color the images. Next fuzzy cut the images using fine scissors and a craft knife. Then adhere the images onto the top card panel using Thin 3D Foam Squares White Mix, 3D Foam Squares White Mix and for the tiny parts 3D Foam Strips.
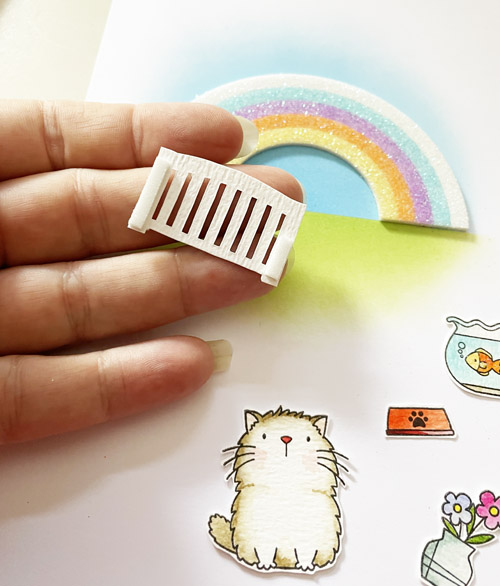
By stacking different heights of 3D Foam Squares you create an extra 3D dimensional effect. Then stamp the sentiment onto the card panel using a black ink pad.
Finishing the Card
Now the top card panel of the glitter Rainbow card is finished, trim the panel to the desired size. Then mat upon a blue card panel and next onto a white card base. For adhering I used the E-Z Runner® Permanent Strips Refillable Dispenser.
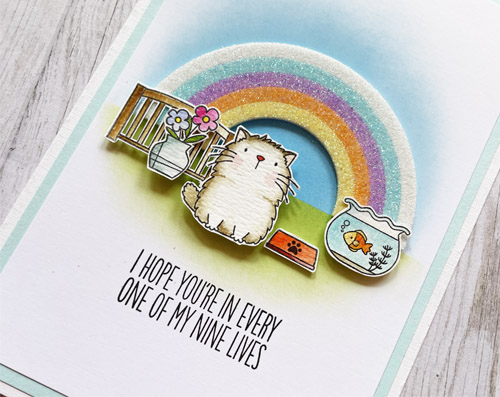
And voilá your Glitter Rainbow Card is ready. I hope you enjoyed this tutorial and wish you happy crafting!
Creative Time: 45 minutes
Skill Level: Intermediate
Materials needed:
Scrapbook Adhesives by 3L®
E-Z Runner® Permanent Strips Refillable Dispenser
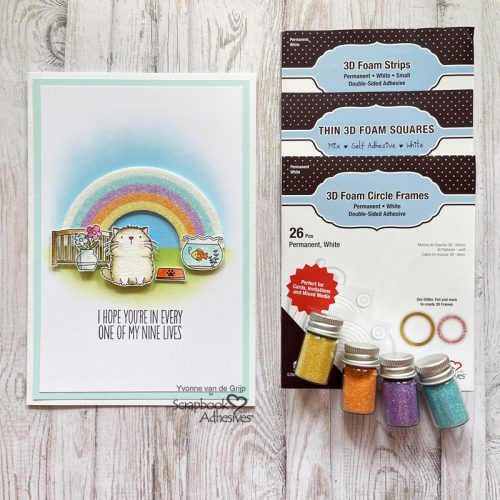
3D Foam Circle Frames White
Thin 3D Foam Squares White Mix
3D Foam Squares White Mix
3D Foam Strips
Other: Stamps: My Favorite Things (Lucky Dog and Cool Cat); Inks and Blending Tool: Ranger Ink (Distress Oxide in Mowed Lawn and Salty Ocean; Versafine in Onyx Black); Acrylic Stamp Block; Watercoloring Brush; Glitter; Craft Knife; Scissors; Paper Trimmer; Soft Brush; White and Blue Cardstock
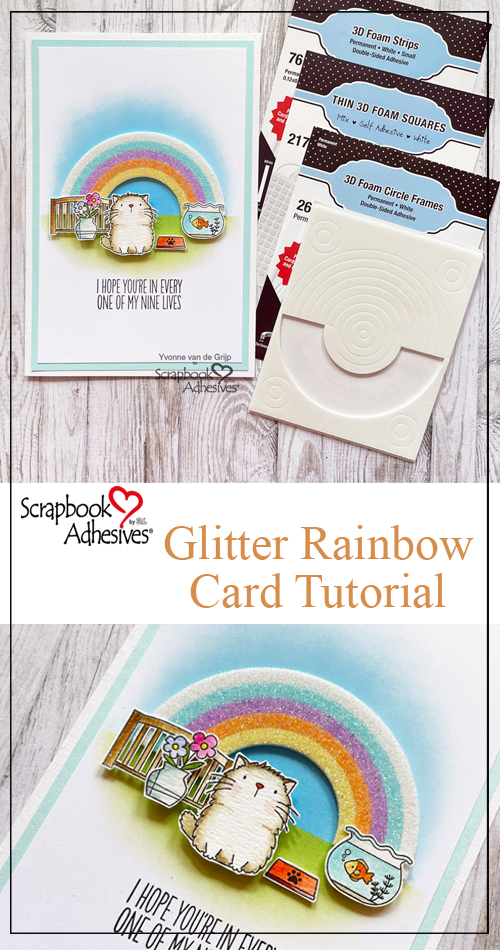
Save to Pinterest!
Visit our Website and Blog!
Sign up for our Newsletter so you never miss a contest or giveaway!


