
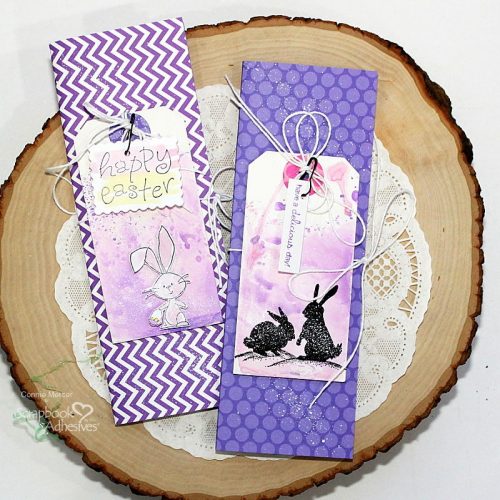
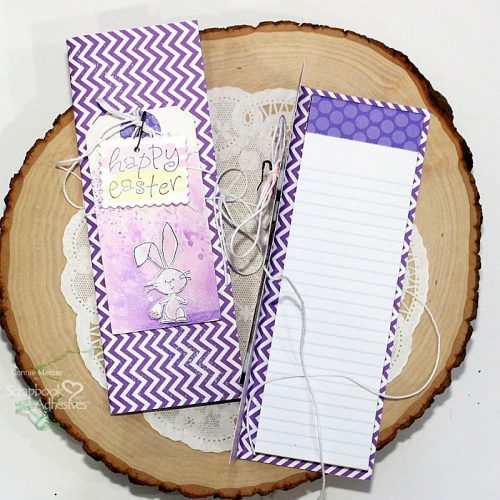
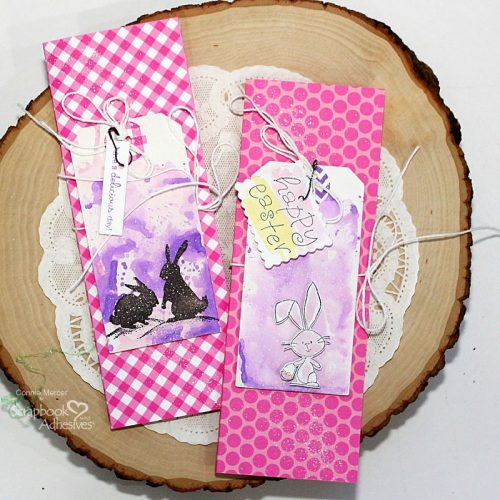
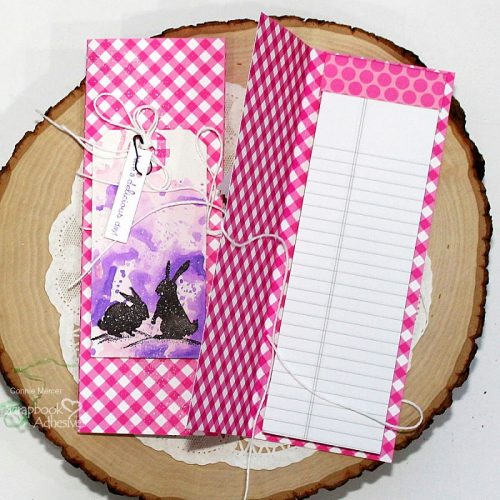
Hi, Connie here with a Happy Easter Notepad that would make a wonderful family project. The tags, on the front, could be created separately and then added to the notepad cover. The covers are created from half a sheet of pattern paper. I used two sheets of double-sided pattern paper making four notepads.
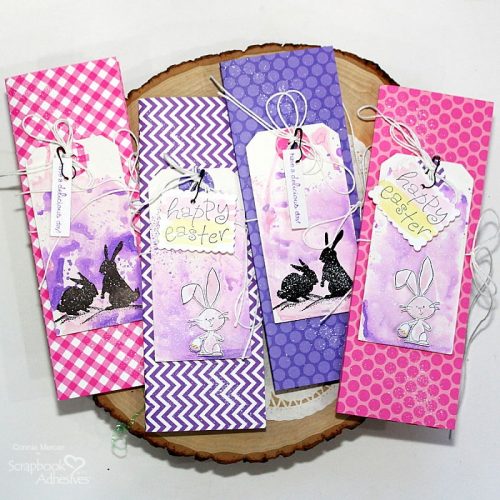
Easter Notepad Step Outs
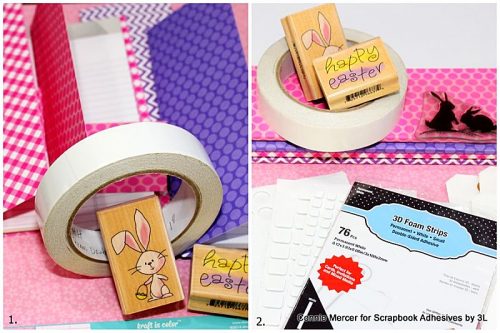
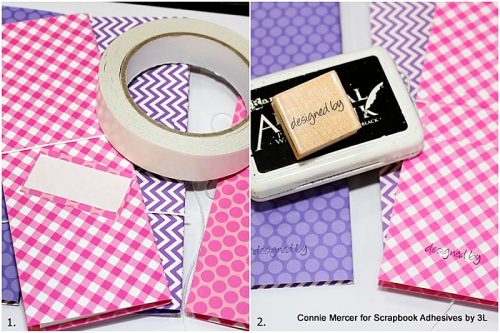
You will need to gather some supplies to get started. Your favorite pattern paper, stamps, tags, inks, and 3D foam adhesive.
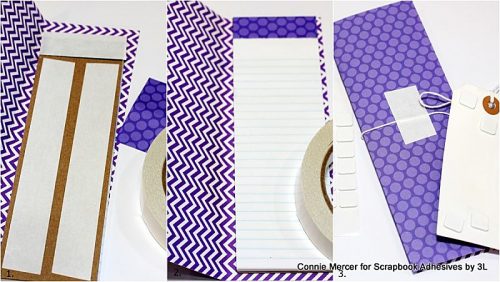
- 1. To get started you will need a notepad 5″ x 8″ cut down the middle making two notepads 2 1/2″x 4″. I buy a pack of six at the office supply store and have them cut them. The charge is minimal for this service. To create the covers you will need to cut the pattern paper to 6″ x 8 1/4″. Find the middle of the paper and score 1/8″ on each side of that line. The topper for the notepad needs to be cut at 2 1/2″ x 2 1/2″.
2. Next you will create the tags that will go on the covers of the notepads.
The Notepad
- 1. Use Premium Double Sided Tape 1″ by HomeHobby to secure the notepad to the inside of the folder. Don’t stick it down yet.
2. Attach the topper piece and press the notepad into place.
3. Wrap a piece of twine around the folder and secure the twine with the Premium Double Sided Tape 1″ by HomeHobby. Don’t remove the tear away paper.
Tag Creations
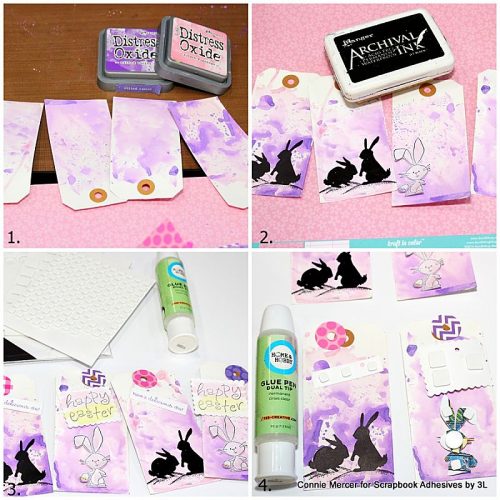
- 1. Make a water mixture with Distress Oxide inks and run the tags through for a mixed media look.
2. Stamp images on the tags or stamp on white cardstock and trim out. I did both.
3. Using the Creative Memories cutting tools reinforcers were cut, in matching pattern paper, the center hole punched and then adhered with the Dual Tip Glue Pen.
4. Using the 3D Foam Square White Mix and the 3D Foam Circles White Mix to adhere the embellishments to the tag front.
Twine Placement
One last thing left to do. Secure the twine on the back of the notepad.
- 1. Cut a piece of pattern paper 2 1/4″ x 1 1/4″ and place Premium Double Sided Tape 1″ to the back of the rectangle and place it over the twine to stabilize.
2. Stamp and sign your work. Ready for gift giving!!!
Thanks for stopping by~
Connie Mercer
Skill Level: Intermediate
Creative Time: 60 minutes (making 4 notepads)
Materials Needed:
Scrapbook Adhesives by 3L®
3D Foam Squares White Mix
3D Foam Circles White Mix
HomeHobby™ by 3L
Premium Double Sided Tape 1″
Dual Tip Glue Pen
Other: Pattern Paper: Doodlebug Designs, Stamps: Lavinia, Inkadinkado, Stampabilities, A Muse Art Stamps, Twine: white, Ink: Distress Oxide inks, Archival, Dies: Spellbinder (for sentiments). Tags: white.
Save to Pinterest!

Visit our Website and Blog!
Sign up for our Newsletter so you never miss a contest or giveaway!


