
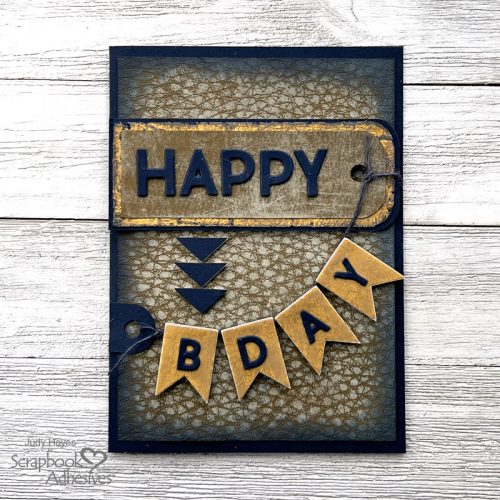
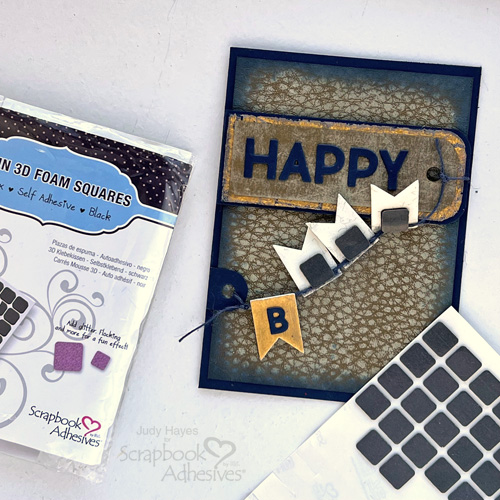
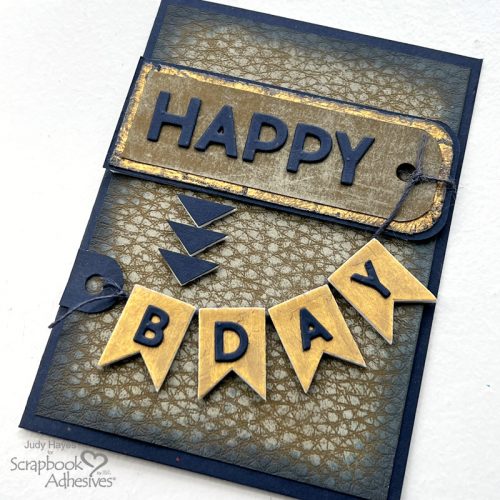
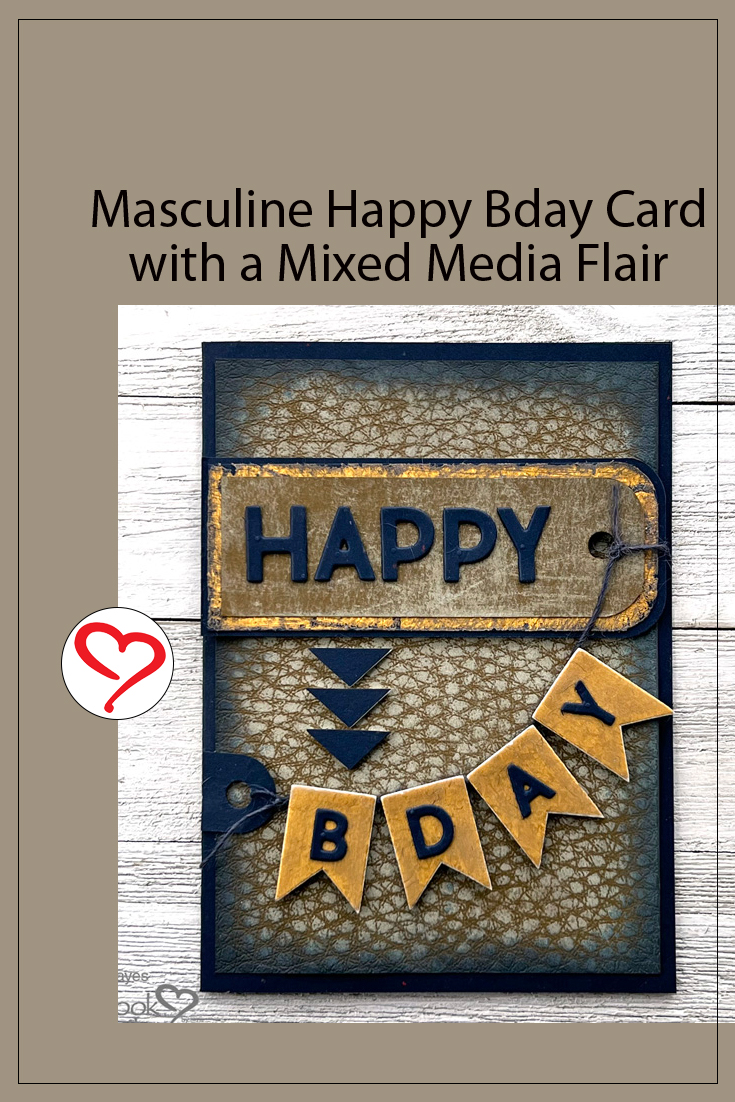
Hello crafty friends! Today, I’m sharing a masculine Happy Bday card with a touch of metallic! Notice the pennants are gold. That’s gold holographic foil from Metallic Transfer Foil Sheets Holographic Colors. In the directions below, I tell you how to change them from shiny bright to matte gold.
Embossed Panel
Form a side fold 4.25 x 5.75-inch card base from navy fleck cardstock. Next, cut a 4 x 5.5-inch olive cardstock panel and emboss it with the Cracked Leather embossing folder.
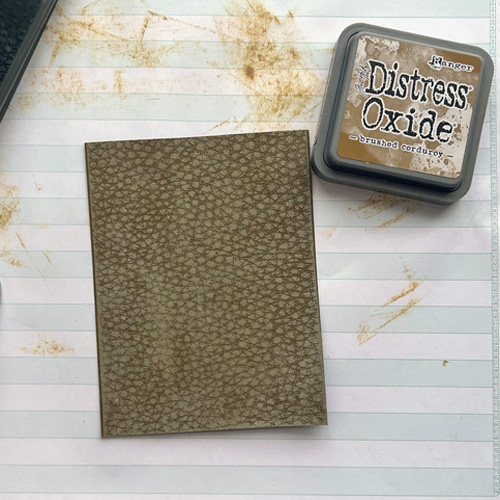
Rub Distress Oxide Brushed Corduroy ink pad over embossed pattern direct to paper. Mist lightly with water. Use foam applicator to rub Distress Chipped Sapphire ink around edges. Then rub Distress Black Soot along the outer edges.
Apply adhesive to the back of the embossed panel using E-Z Runner® Ultra Strong Refillable Dispenser and fasten to the card front.
Cut Happy BDAY Letters
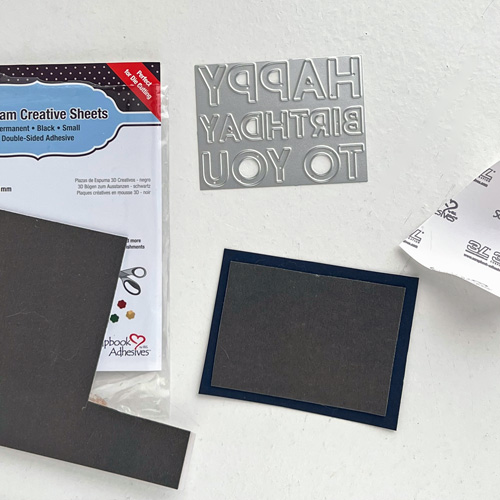
Cut navy cardstock to fit the birthday greeting die. Adhere it with a piece of 3D Foam Creative Sheets Small, Black to the backside. Place die on cardstock side and run through die cutting machine 2-3 times to cut letters
Apply Foil to Pennants
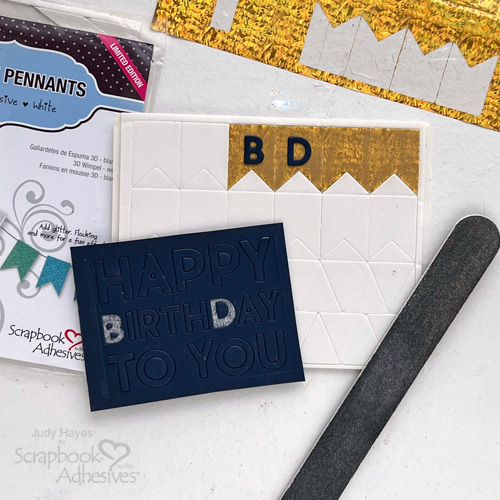
Remove top liners from four pennant shapes from the 3D Foam Pennants set.
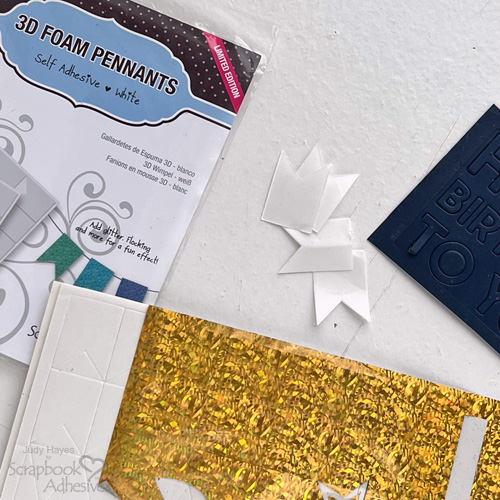
Place the gold sheet from the Metallic Transfer Foil Sheets Holographic Colors over pennants (color side UP), rub well to transfer the color, and then peel off to reveal. Use fine-grade nail emery board (or sandpaper) to rub lightly over foiled pennants to dull the shine.
Using the Letters
Remove letters B, D, A, Y from die cut greeting and place each one on a pennant. Carefully remove pennants from the release sheet and place them upside down on the work surface. Place navy twine across the top of each pennant and press into adhesive.
Use talcum powder or cornstarch to dust adhesive off the backs of the pennants. Tap off excess. Powder takes away stickiness so pennants can be arranged easily before securing to the card.
Make Tag
Cut 1.25 x 3.75-inch piece of olive cardstock. Lightly rub Brushed Corduroy ink pad direct to paper over olive paper. Mist lightly with water. Allow it to dry. Attach “H A P P Y” letters to the tag. Punch hole at the end. Use corner rounder punch to round corners at the end where the opening is located.
Cut 1.5 x 4-inch navy cardstock and round corners at one end. Apply adhesive around the outer edges of the front side using E-Z Runner® Ultra Strong Refillable Dispenser
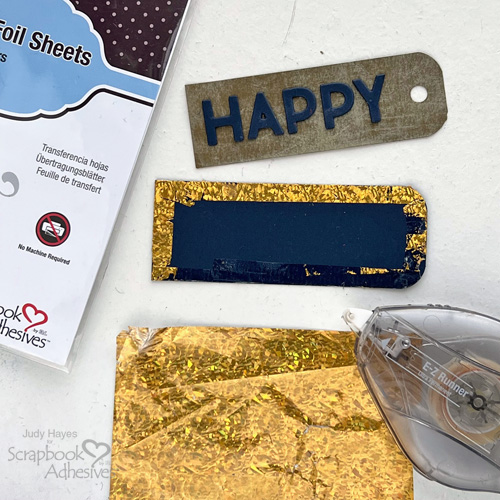
Place gold foil from Metallic Transfer Foil Sheets Holographic Colors over adhesive (color side UP), rub well and remove foil sheet. Rub with nail board to dull shine and slightly distress edges.
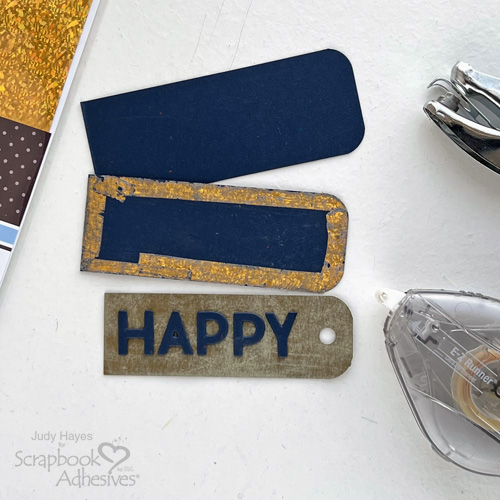
Secure the tag with letters to foiled piece with E-Z Runner® Ultra Strong Refillable Dispenser. Cut slightly larger navy mat, round corners and fasten to back. Punch hole through all layers.
Attach the Tag to the Card
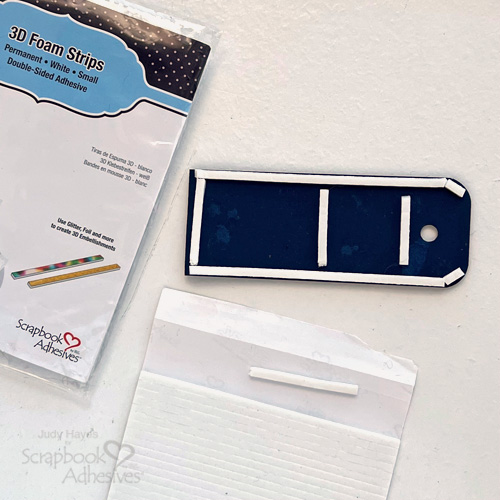
Apply 3D Foam Strips around the outer edge of the tag except for the end with the hole. Cut to size as needed. Peel liners from foam strips and place tag on the card front
Fasten BDAY Pennant
Tie the end of the twine with pennants to tag. Cut a 0.75-inch square piece of navy cardstock, round two corners, and punch a hole. Adhere it to the edge of the card with the E-Z Runner® Ultra Strong Refillable Dispenser.
Arrange the pennant and tie the end of the twine to the tab. Flip the pennants over and place a large Thin 3D Foam Squares Black Mix over twine on the back of each pennant. Remove liners one by one and press pennants in place on the card.
Adding Triangles
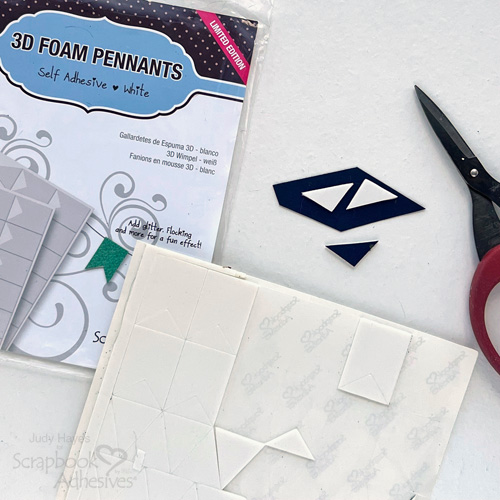
Place 3 triangle pieces from the 3D Foam Pennants sheet on a scrap of navy cardstock. Use scissors to trim close to each triangle. Remove liners from each triangle and place on the card below the tag pointing to “BDAY”.

Thanks for Visiting!
Judy Hayes
Creative Time: 25 Minutes
Skill Level: Intermediate
Materials Needed
Scrapbook Adhesives by 3L®
- 3D Foam Pennants
- Metallic Transfer Foil Sheets Holographic Colors
- 3D Foam Creative Sheets Small, Black
- Thin 3D Foam Squares Black Mix
- 3D Foam Strips
- E-Z Runner® Ultra Strong Refillable Dispenser
Other: Inks: Ranger Ink (Distress Oxide Ink in Brushed Corduroy, Distress Inks in Chipped Saphire + Black Soot); Craft Dies + Embossing Folder: Sizzix (3D Texture Fades in Cracked Leather + Bold Text 1 Dies by Tim Holtz); Olive + Navy Cardstock; Navy Twine
Save to Pinterest!
Visit our Website and Blog!
Sign up for our Newsletter so you never miss a contest or giveaway!


