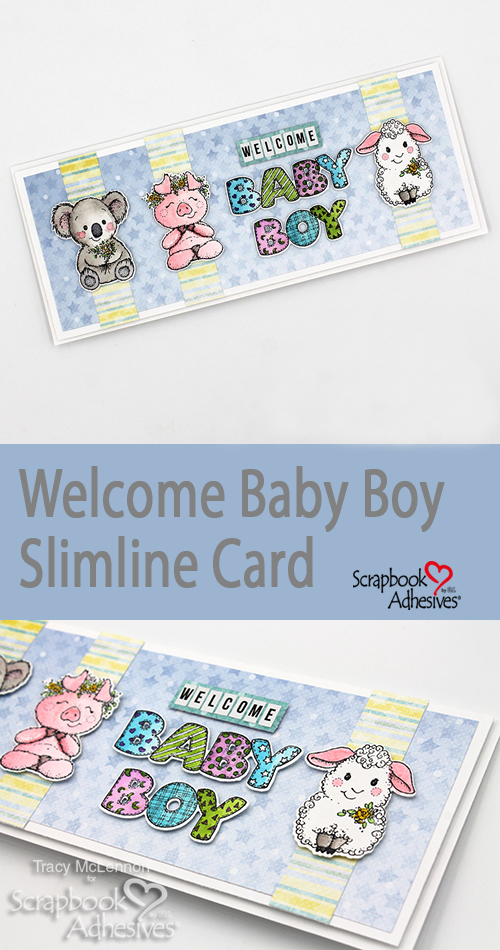
Hello crafty friends! Tracy here, and today I have a simple slimline card to share with lots of cuteness and dimension to welcome a baby boy! Here are all of the details.
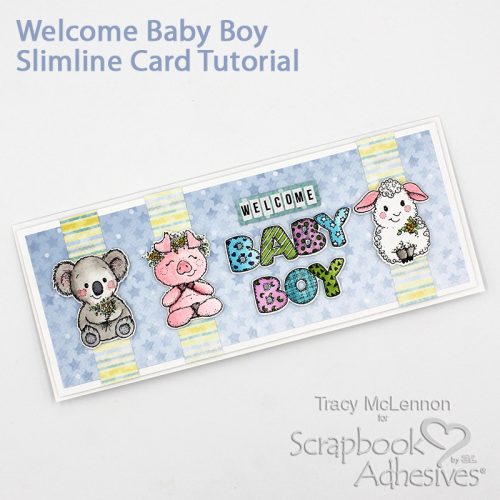
Welcome Baby Card Panels
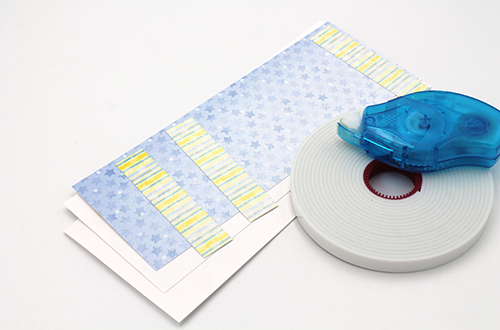
First I created a simple layered card front for the simple slimline card base which is made from white cardstock cut to 7 x 8.5-inch and folded in half. Cut the next white cardstock layer to 3.25 x 8.25-inch and adhere to the card base using Crafty Foam Tape White.
Prep the Card Front
Cut the blue patterned paper to 3 x 8-inch, and adhere to the card front using the E-Z Runner® Petite Permanent Dots Refillable Dispenser. Then I cut three strips of striped patterned paper that are 0.75 x 3.25-inch and adhered them to the card front using the E-Z Runner® Petite Permanent Dots Refillable Dispenser.
It’s in the Details
For this Welcome Baby card, I chose three sweet little animal images to stamp, along with the “Baby Boy” sentiment. I stamped them all onto white cardstock, add color with Zig Clean Color Markers, and then water brush them. Die-cut out the images and place them on the card front using Thin 3D Foam Squares White Mix.
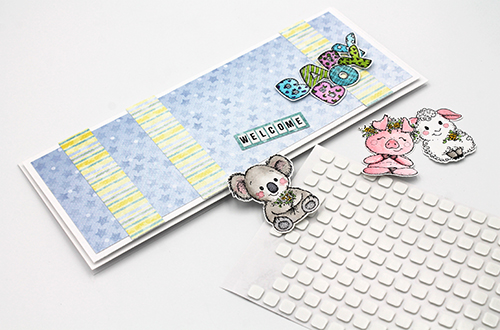
Mat the letter stickers (welcome) to patterned papers to complete the sentiment. Then add that to the card using Thin 3D Foam Squares White Mix.
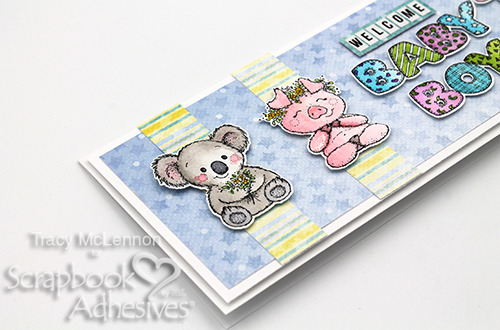
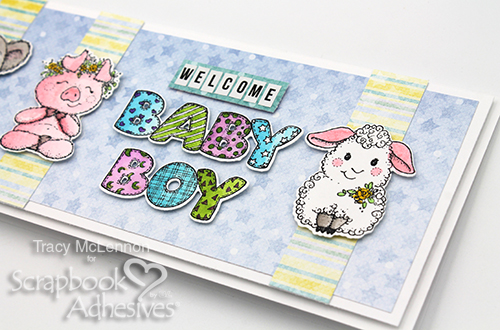
I hope you enjoyed my Welcome Baby Boy slimline card. Thanks so much for stopping by!
Tracy
Creative Time: 60 minutes
Skill Level: Intermediate
Materials Needed:
Scrapbook Adhesives by 3L®
Thin 3D Foam Squares White Mix
Crafty Foam Tape White
E-Z Runner® Petite Permanent Dots Refillable Dispenser
Other: Heartfelt Creations: Tender Moments Collection; Zig Clean Color Markers; Waterbrush; White Cardstock; Letter Stickers; Ranger Ink: Archival Ink in Jet Black
Save to Pinterest!
Visit our Website and Blog!
Sign up for our Newsletter so you never miss a contest or giveaway!


