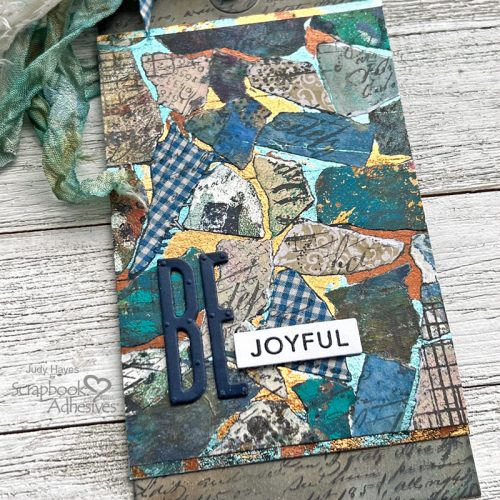
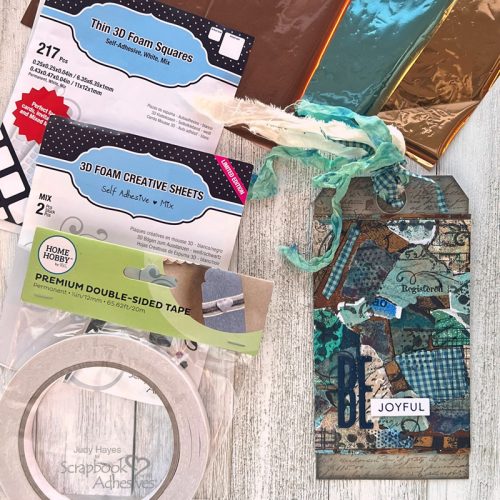
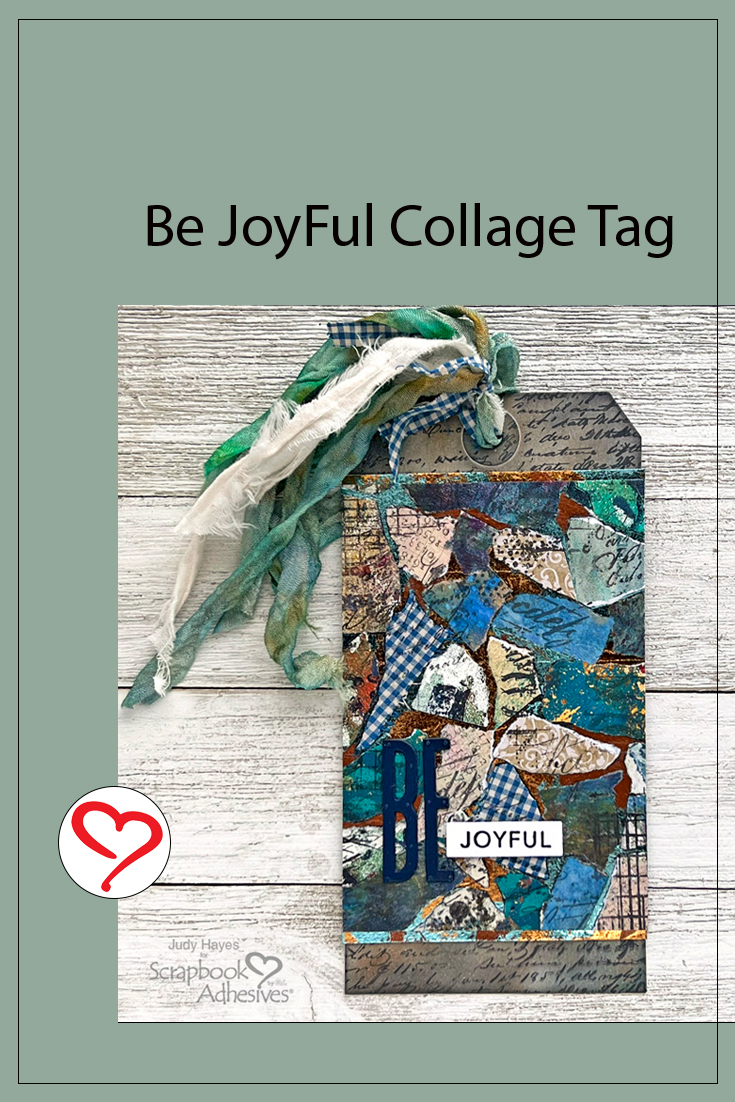
Hello crafty friends! Today I put together a collage tag with foil accents that require no glue or matte medium. Premium Double Stick Tape holds all the bits and pieces of collage and the foil. Trust me, the foil is so pretty but just doesn’t show well in the photo. All the details are below.
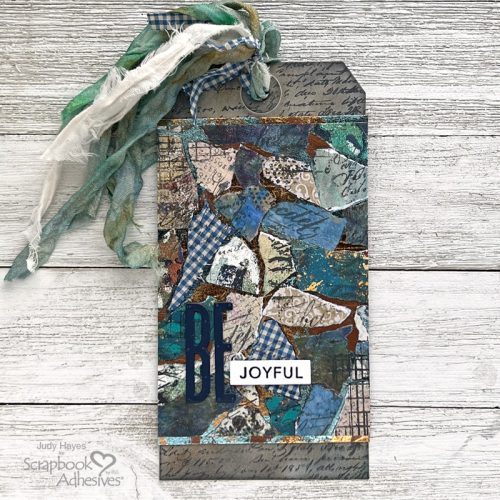
Collage Tag Base
On #8 white tag, stamp script across top and bottom with Archival Distress Black Soot ink. The Center of the tag won’t show as it will be covered with a collage piece.
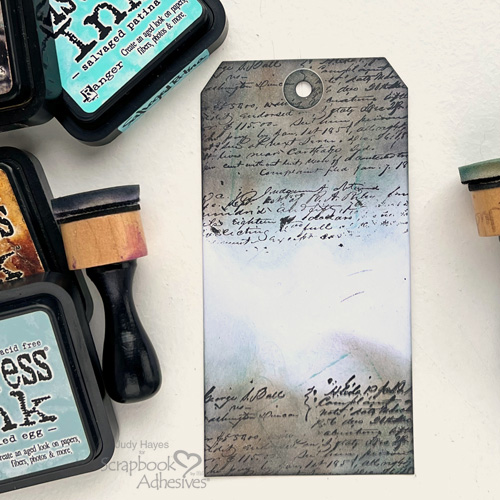
Use a sponge applicator to randomly rub Distress Speckled Egg, Salvaged Patina, Vintage Photo over the script until the desired color is achieved. Rub Black Soot along edges. Set aside.
Collage Base
Cut a scrap of black cardstock about 3.25 x 5 inches and a piece about 1.5 x 3.25 inches.
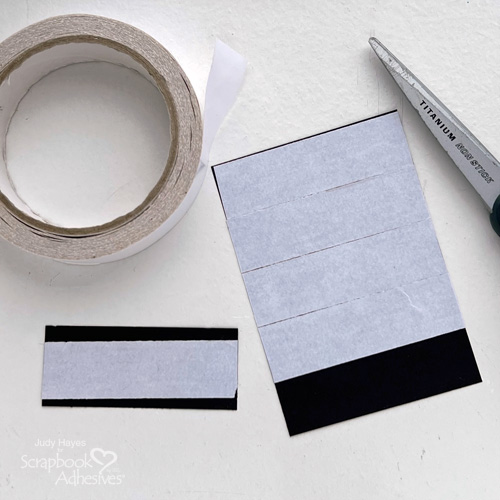
Fasten strips of Premium Double-Sided Tape 1in Permanent over cardstock to completely cover it. (Designer Tip: Any of the Premium Double-Sided Tapes can be used) Place a piece of Premium Double-Sided Tape 1in Permanent lengthwise along the center of the cardstock strip. Cut in half lengthwise.
Make Collage
Collect bits and pieces of decorative pattern papers, gel printed papers, and fabric scraps.
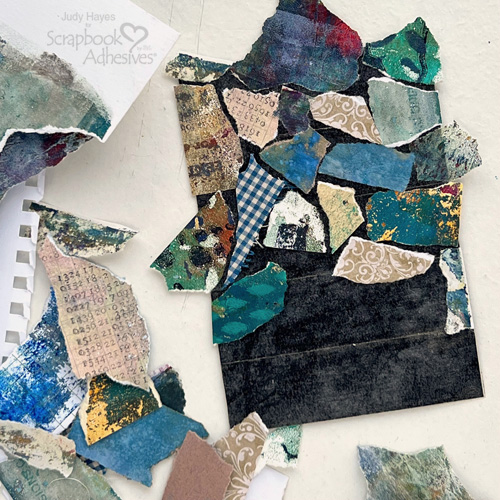
Peel liners from tape. Tear or cut small pieces of paper and randomly place them on the tape. Leave space between each piece.
Wear Your Adhesive on the Outside with Foil
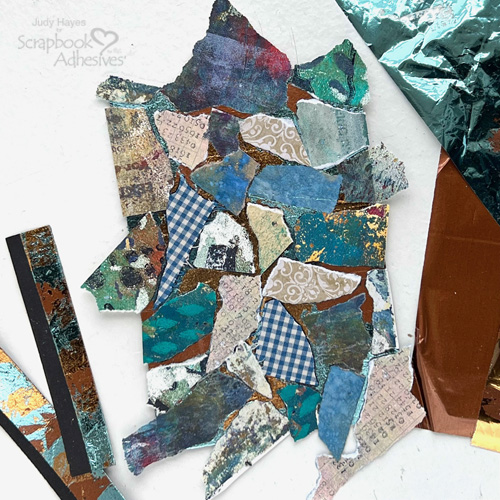
Randomly place foil over the exposed areas of tape, rub foil (with the color side up) with a finger over a small area and lift foil. Repeat with the pastel blue from the Metallic Transfer Foil Sheets Pastel Colors, the copper, and bronze foils from the Metallic Transfer Foil Sheets Nature Colors until all areas are covered. Trim collage piece to 3.125 x 4.5 inches. Repeat the steps on the strips.
Add Interest in the Collage
Use Archival Distress Black Soot ink with assorted stamps to stamp randomly over collage.
Assemble the Tag
Place Premium Double-Sided Tape 1in Permanent across the bottom and top of the back of the collage piece. Fasten the foiled strip to each end. Apply Premium Double-Sided Tape 1in Permanent along all edges of the collage piece, peel liners, and secure to the tag.
Cut Letters
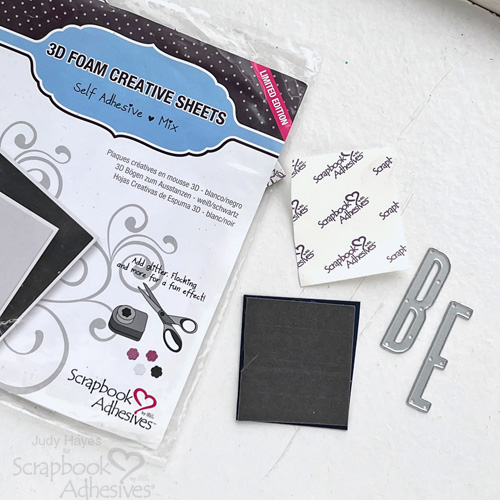
Place a piece of black 3D Foam Creative Sheets Mix onto the back of a navy cardstock piece big enough for the letters. Place letter dies on the cardstock side and die-cut.
Add Title
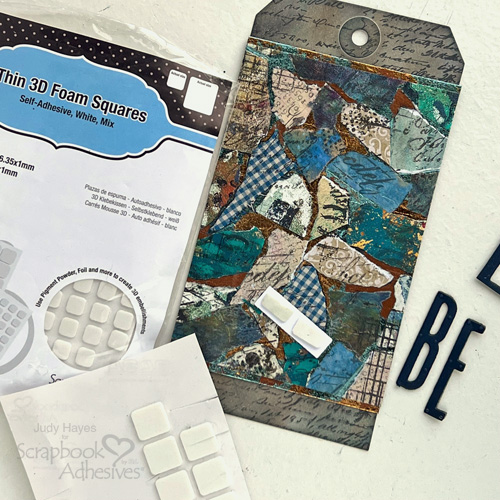
Apply large Thin 3D Foam Squares White Mix cut in half to back of “Joyful” strip. (Designer Tip: The Joyful strip is from a collection of stamped words I keep on hand. It was stamped with black ink and heat embossed with clear embossing powder. )
Peel the liner from letter B and fasten it to the tag. Repeat with the letter E. Peel liners from the Joyful strip and press in place on the tag.
Add Fibers
Color seam binding with inks, mist, and crumple as desired. Combine with torn pieces of fabrics and loop through hole on tag. Tie small piece of fabric around fibers near tag.
Thanks for Visiting!
Judy Hayes
Creative Time: 30 Minutes
Skill Level: Intermediate
Materials Needed
Scrapbook Adhesives by 3L®
- 3D Foam Creative Sheets Mix
- Thin 3D Foam Squares White Mix
- Metallic Transfer Foil Sheets Nature Colors (copper, bronze)
- Metallic Transfer Foil Sheets Pastel Colors (aqua)
HomeHobby™ by 3L
Other: Ranger – Distress Inks (Speckled Egg, Salvaged Patina, Vintage Photo, Black Soot), #8 White Tag, Distress Archival Ink (Black Soot); Sizzix – Tim Holtz Dies (Alphanumeric Classic Upper); Stampers Anonymous – Tim Holtz Stamps (The Poinsettia, Mixed Media, Ledger Script, Faded Type), Taylored Expressions – Stamps( , Assorted Gel Printed, Patterned Papers and Fabric Scraps, Seam Binding, Torn Fabric Strip, Cardstock – Black, Navy,
Save to Pinterest!
Visit our Website and Blog!
Sign up for our Newsletter so you never miss a contest or giveaway!


