
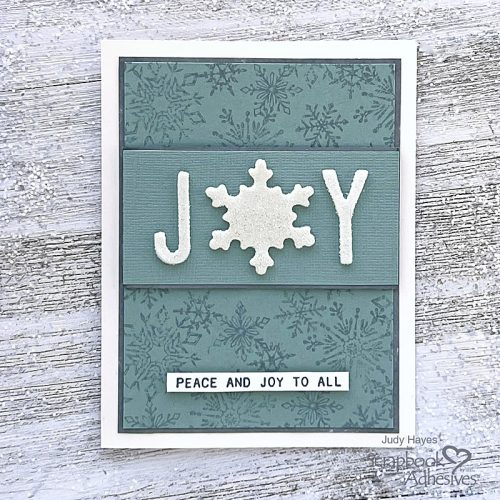
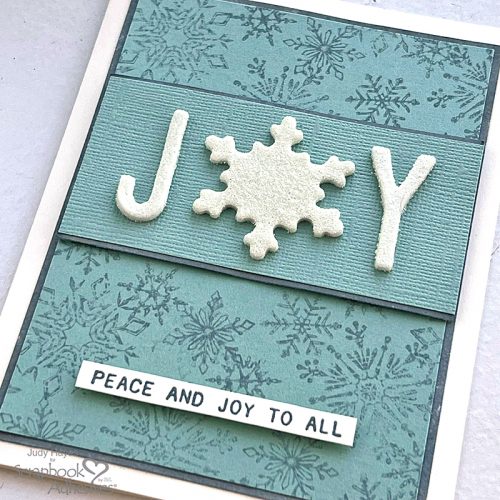
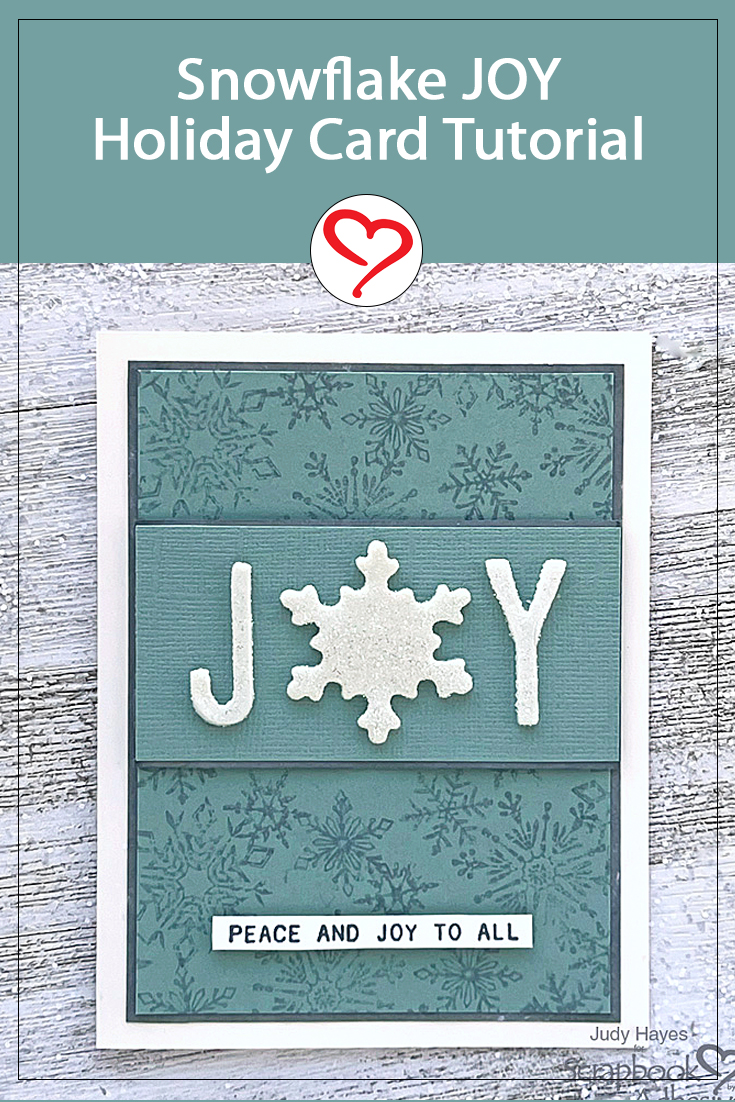
Hello crafty friends! I’m thinking of the holidays in July with this JOY Holiday card featuring the 3D Foam Snowflakes. I cut letters J and Y from 3D Foam Creative Sheets Medium White and covered them all with heat embossed iridescent ice embossing powder. A simple card design to bring Joy this holiday season!
Stamp the Background
Cut a piece of mint green cardstock to 3.625 x 4.875-inches.
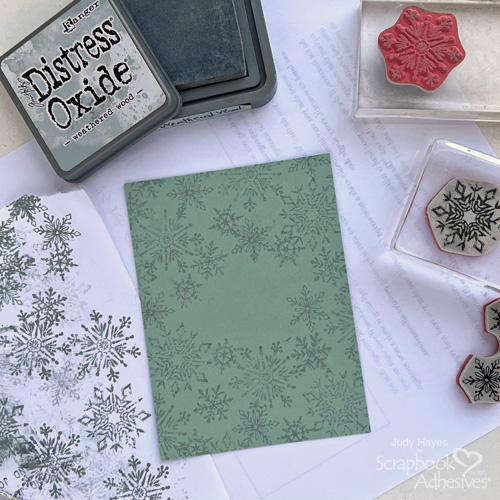
Ink a snowflake stamp with Distress Oxide Weathered Wood ink, stamp once on scrap paper, and then stamp on the background. Repeat with small and large snowflakes to fill the background.
Apply Ink to Mat
Cut a piece of white cardstock to 3.75 x 5-inches and to 1.875 x 3.75-inches
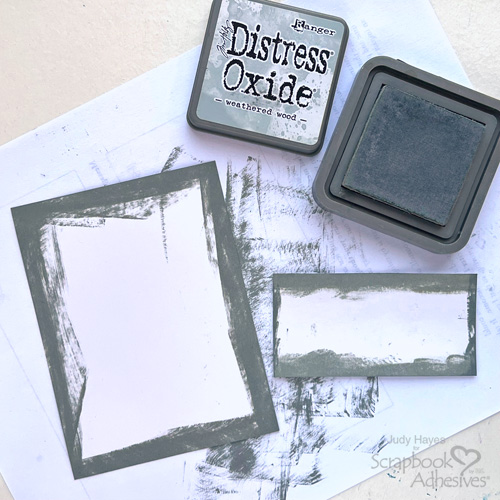
Apply Distress Oxide Weathered Wood ink along the edges of each piece. Set aside a small piece
Assemble Card Base
Cut a 5.5 x 8.5-inch cream cardstock and fold to make a 4.25 x 5.5-inch card.
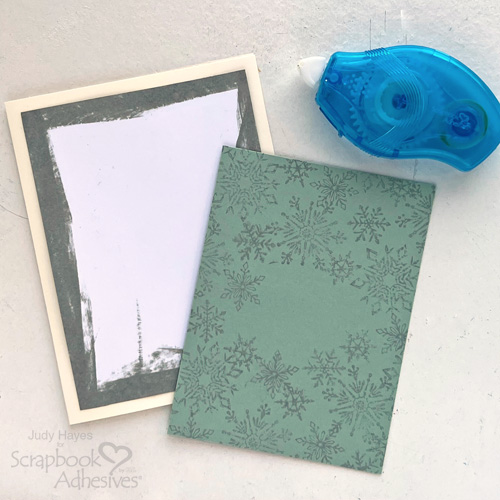
Use E-Z Runner® Petite Permanent Dots Refillable Dispenser to apply adhesive to the inked mat piece and fasten it to the card. Repeat to adhere the snowflake background over the mat on the card.
Cut Letters
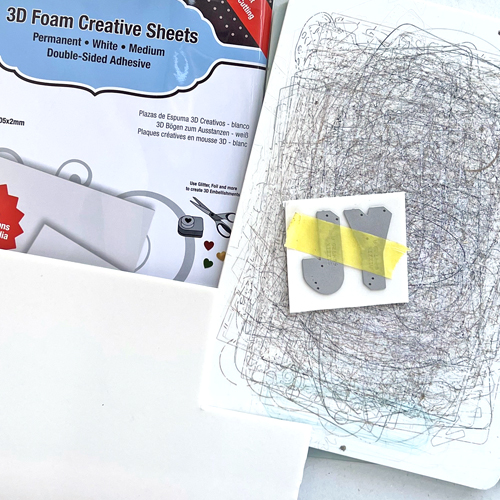
Cut a piece of 3D Foam Creative Sheets Medium White large enough for J and Y letter dies. Secure letters to it with removable tape and run through die cutting machine to cut letters.
Emboss Snowflake and Letters
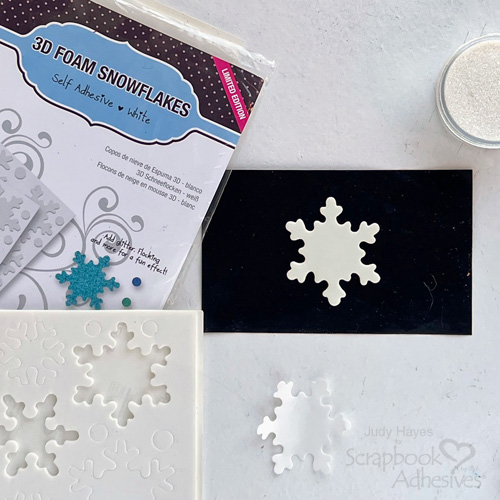
Remove the largest snowflake from 3D Foam Snowflakes and place it on the non-stick craft mat.
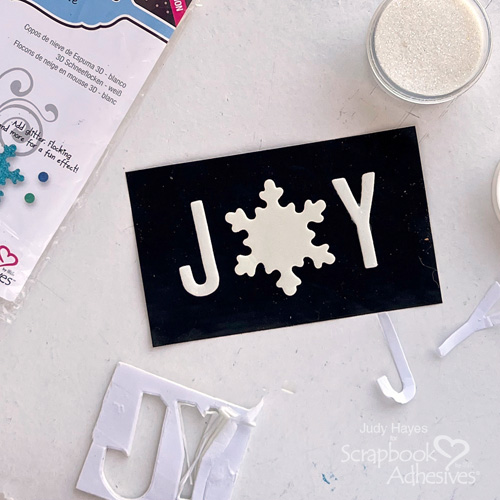
Peel liner from the back of each letter and place next to the snowflake on the craft mat. (Designer Tip: I only used the letter and peeled away the shadow part of each letter)
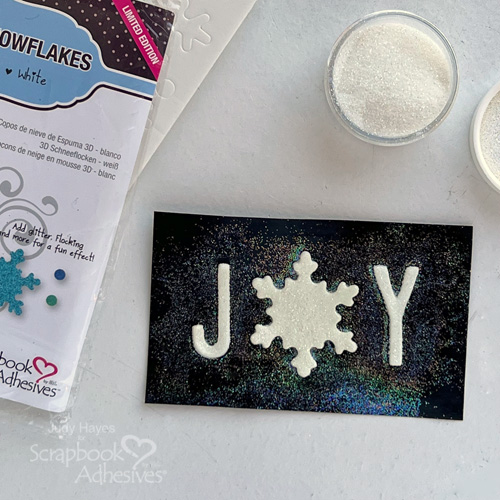
Peel off top liners from letters and the snowflake, cover with iridescent ice embossing powder, remove excess, and heat with a heat tool to emboss.
Make JOY Band
Cut a piece of mint green paper to 1.75 x 3.75 inches.

Secure it to the small piece with the inked edges using E-Z Runner® Petite Permanent Dots Refillable Dispenser to apply adhesive.
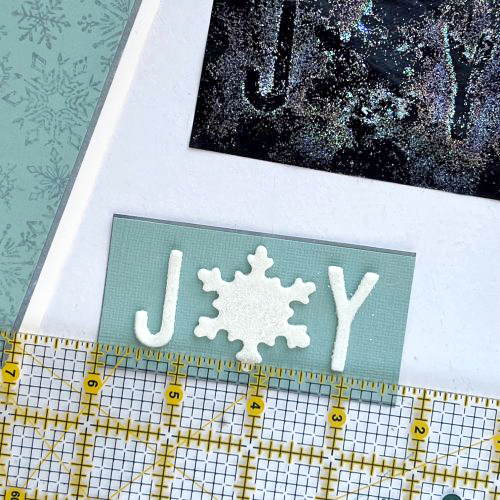
Peel the snowflake from the craft mat, place them in the center of the band and place the letters J and Y on either side. Use a ruler to help align letters evenly spaced from the bottom edge.
Attach the JOY Band
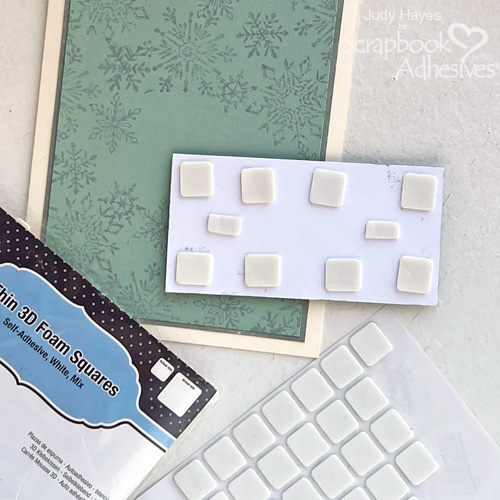
Place large Thin 3D Foam Squares White Mix on the back of the band, peel liners and attach the band to the card front.
Stamp the Verse
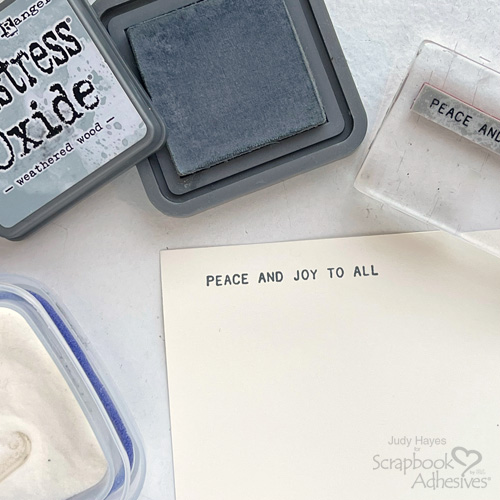
Stamp verse with Distress Oxide Weathered Wood ink on cream cardstock, cover with clear embossing powder, remove excess, and heat emboss with a heat tool. Trim paper around verse to narrow strip.
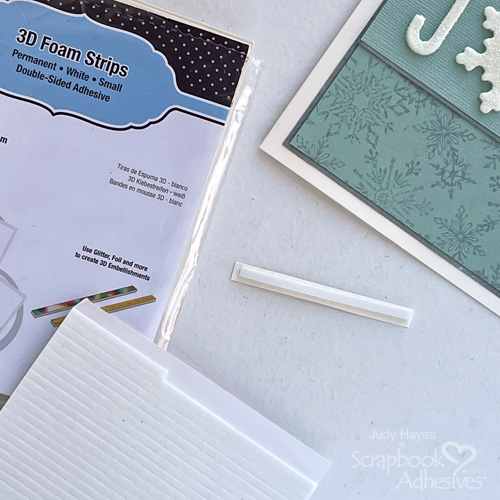
Cut 3D Foam Strips to fit verse, peel liner, and place on the back of verse. Peel liner from the back and fasten the verse to the card front.
Thanks for Visiting!
Judy Hayes
Creative Time: 30 Minutes
Skill Level: Intermediate
Materials Needed
Scrapbook Adhesives by 3L®
- 3D Foam Snowflakes, 3D Foam Creative Sheets Medium White, and 3D Foam Strips
- Thin 3D Foam Squares White Mix
- E-Z Runner® Petite Permanent Dots Refillable Dispenser
Other: Ranger Ink (Clear Embossing Powder, Distress Oxide Weathered Wood Ink), Sizzix Tim Holtz (Alphanumeric Shadow Upper), Stampers Anonymous Tim Holtz (Mini Weathered Winter, Holiday Drawings, Tiny Text Christmas), Cardstock (Cream, Mint Green); Embossing Powder (Iridescent Ice)
Save to Pinterest!
Visit our Website and Blog!
Sign up for our Newsletter so you never miss a contest or giveaway!


