Hello crafty friends! Tracy here, and today I am sharing a quick and easy Dimensional Smile Card. When I create anything, I love to pack in tons of dimension and depth between layers. Even the most simple card can be packed with dimension. Here are all the nitty gritty details.
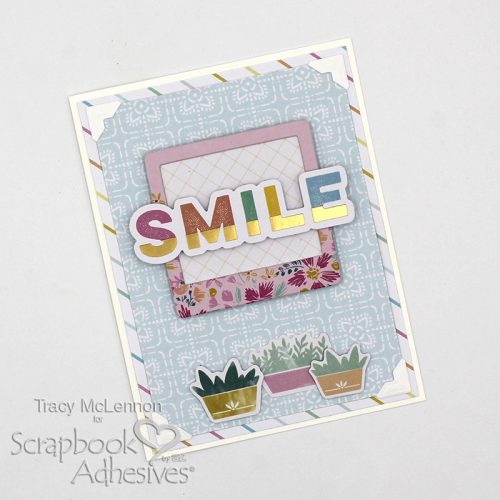
Creating a Dimensional Smile Card
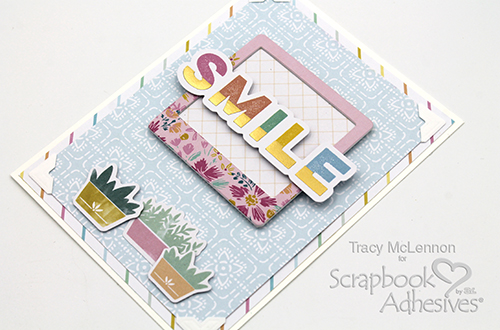
The first step in creating your dimensional card is to cut your white cardstock A2 base, and the background patterned paper layers. Adhere all of these together using the E-Z Runner® Petite Permanent Dots Refillable Dispenser, and I added Creative Photo Corners White to the top layer for a little bit of texture and dimension. Also, use the E-Z Runner® Petite Permanent Dots Refillable Dispenser to adhere the patterned paper behind the chipboard frame.
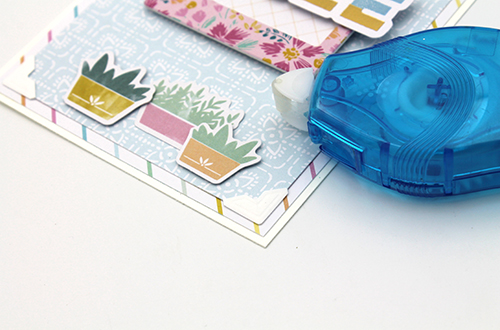
Add the frame to the dimensional card front using Thin 3D Foam Squares Black Mix. This frame will be the perfect base for the card sentiment.
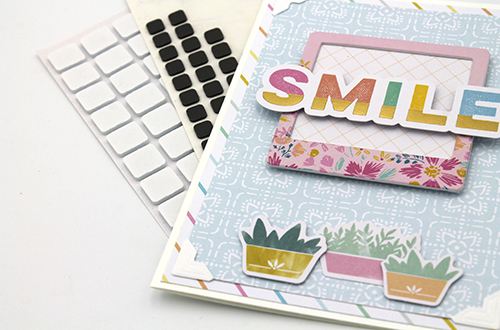
Adhere the sentiment and the embellishments below using a combination of Thin 3D Foam Squares Black Mix and 3D Foam Squares White Mix for additional depth on your dimensional smile card. I love that we have a choice in height with these two foam squares!
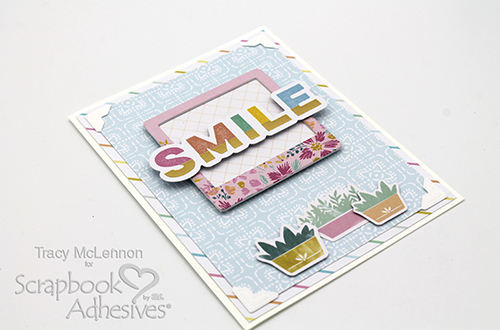
Thanks so much for stopping by and happy crafting!
Tracy
Creative Time: 30 minutes
Skill Level: Beginner
Scrapbook Adhesives by 3L®
Materials needed:
E-Z Runner® Petite Permanent Dots Refillable Dispenser
Thin 3D Foam Squares Black Mix
3D Foam Squares White Mix
Creative Photo Corners White
Other
Patterned Paper and Embellishments: PinkFresh Studios; White Cardstock
Save to Pinterest!
Visit our Website and Blog!
Sign up for our Newsletter so you never miss a contest or giveaway!


