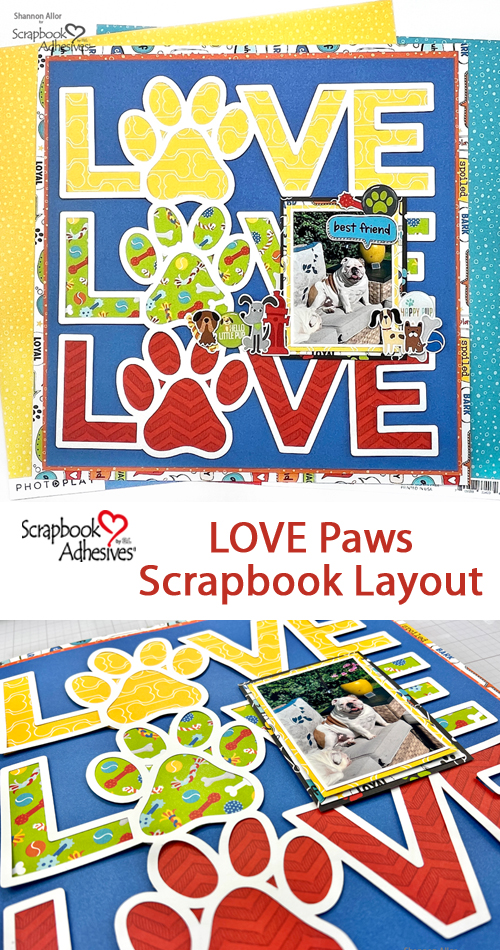
Hello friends! It’s Shannon up on the blog today bringing you this layout full of Love Love Love! I love to use a cut file as a starting point when creating a layout! You can add all kinds of fun dimensions and include lots of little embellishments to make it pop! Let me show you my Love Paw Scrapbook Layout process.
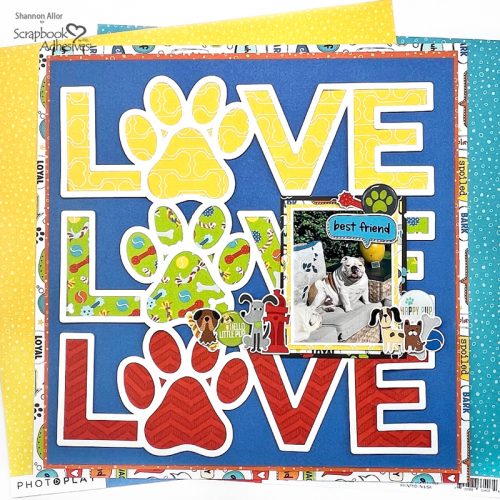
Love Paw Cut File
I started by backing the large cut file using E-Z Dots® Permanent Refillable Dispenser and filling in all of the letters and the adorable dog paw print.
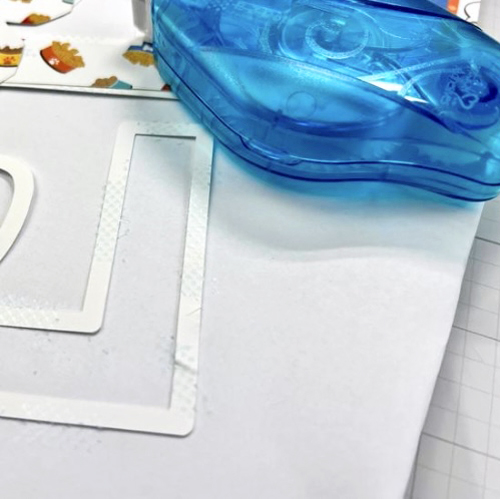
Make It Dimensional
Next, I popped the entire cut file up using my favorite Crafty Foam Tape in White. It has the perfect amount of dimension. For a little extra lift, you can always double up the tape. How awesome that it’s totally customizable!
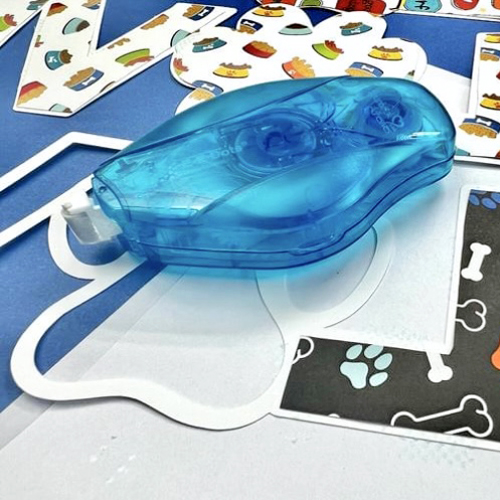
I created the base by double-matting my background paper. The E-Z Runner® Grand Permanent Strips was clutch as it has a nice strong hold. The cut file now has the perfect place to rest.
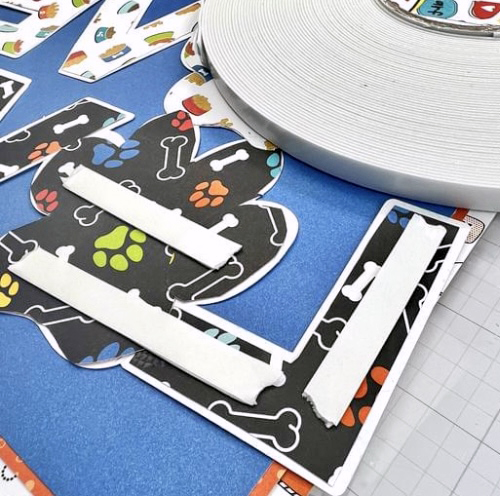
Our base is complete and it’s time to add the photo and some cute little die-cut pieces using the Crafty Foam Tape White 108ft. I included a few adorable flair pieces and this project is complete!
View My Process Video
If you cannot view my video below, please click on this link: https://youtu.be/LIXnR_eJXnc
Thank you so much for spending some crafty time with me today!
Shannon Allor
Creative Time: 60 minutes
Skill Level: Beginner
Materials Needed:
Scrapbook Adhesives by 3L®
E-Z Runner® Grand Permanent Strips
E-Z Dots® Permanent Refillable Dispenser
Crafty Foam Tape White 108ft
Other
PhotoPlay Paper: “Bow Wow” Collection; Flairs: Scrappin’ Happy Studio
Save to Pinterest!
Visit our Website and Blog!
Sign up for our Newsletter so you never miss a contest or giveaway!


