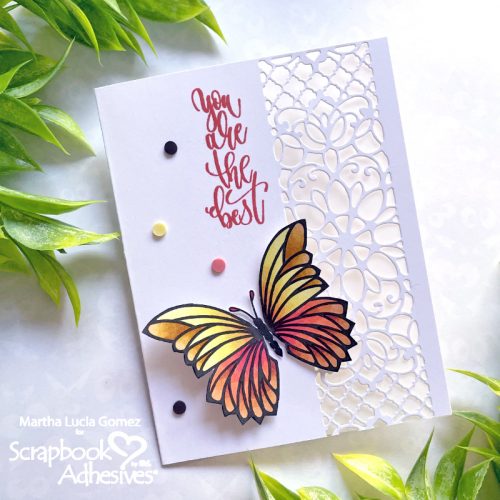
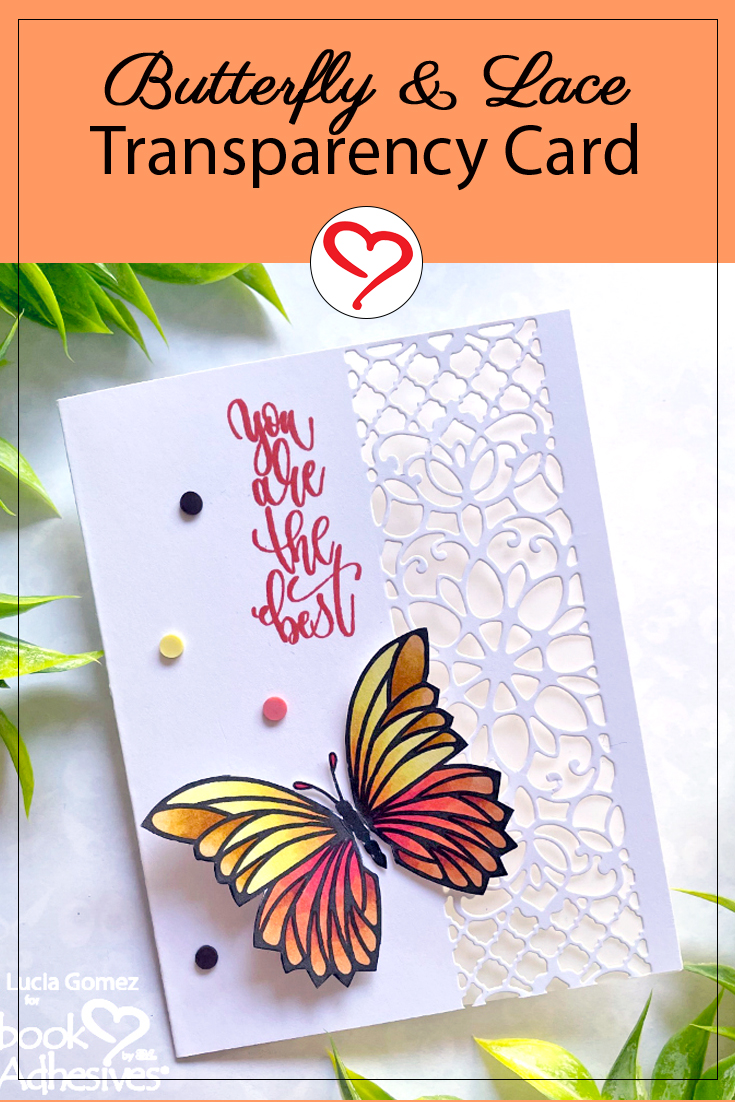
Hello crafty friends, Martha Lucia here to share with you how easy is to make a lovely Butterfly and Lace Transparency Card. To make this, I will feature the E-Z Runner Permanent Fine Adhesive Dispenser. It is ideal when you are using transparent card stock like velum.
Transparency Card Steps
I started with a regular card base of 5-1/2″ x 8-1/2 and score it at 4-1/4″. Keep the card open to cut the die-cut panel on both sides of the card, leaving the same distance from each border.
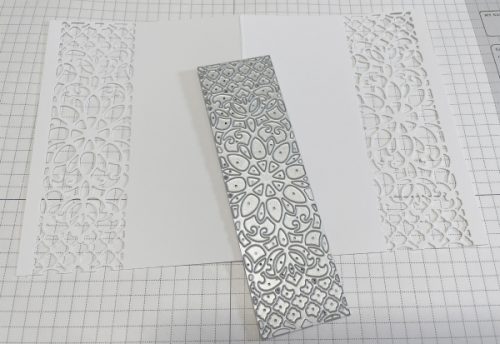
Additionally, I die-cut a piece of Vellum Cardstock of the same size as the card base and made a score line on the center. The idea is to put this transparent piece inside of the card to see through the die-cut window.
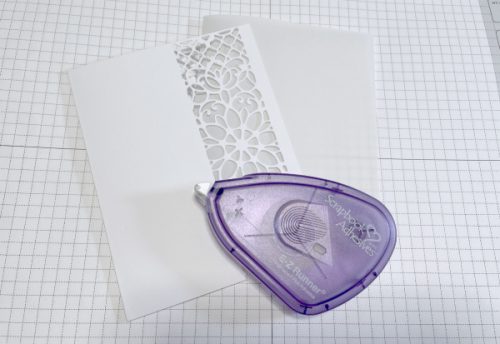
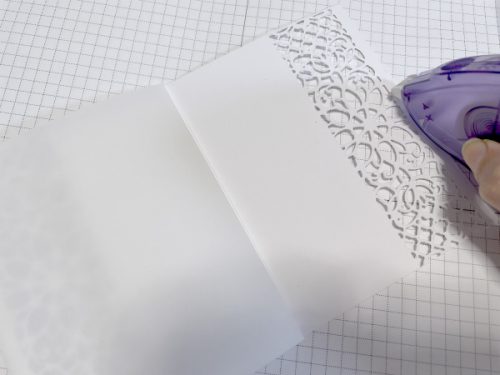
To secure the vellum card to the inside of the card base, I used E-Z Runner Permanent Fine Adhesive. You only need to secure the lateral borders to create a better flexibility of the transparent layer.
Embellish the card:
To don’t compete with the concept of the card, I decided to embellish and decore it with a few elements. First, I printed one of the butterflies included on the digital stamp set Just Butterflies onto white smooth cardstock. Then, I colored it and fussy cut with scissors.
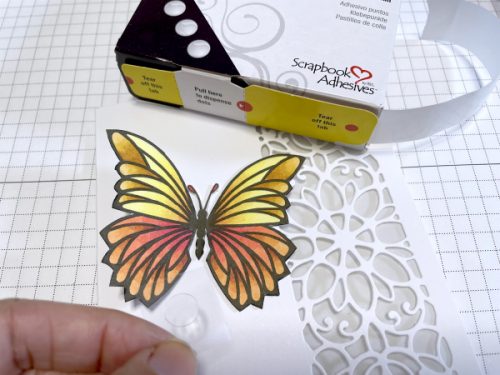
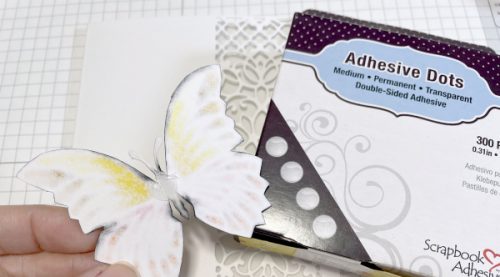
To adhere it to the card, I used one Adhesive Dots Medium. I placed it in the center of the butterfly to give movement to the wings.
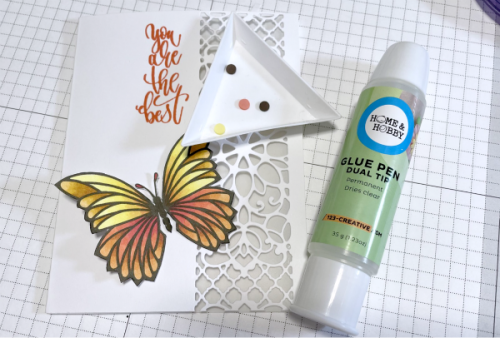
I stamped a sentiment using Memento Ink Morocco and pasted some clay dots in coordinating colors using the Glue Pen Dual Tip.
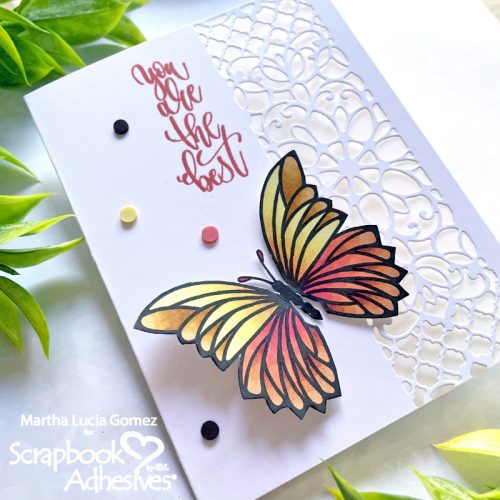
Here a close-up of my card with transparency:
Thanks for stopping by and don’t be afraid to experiment with the unlimited possibilities with your adhesives!
Martha Lucia
Creative Time: 45 minutes
Skill Level: Beginner
Materials Needed:
Scrapbook Adhesives by 3L®
E-Z Runner Permanent Fine Adhesive
Adhesive Dots Medium
HomeHobby™ by 3L
Dual Tip Glue Pen
Save to Pinterest!
Visit our Website and Blog!
Sign up for our Newsletter so you never miss a contest or giveaway!


