
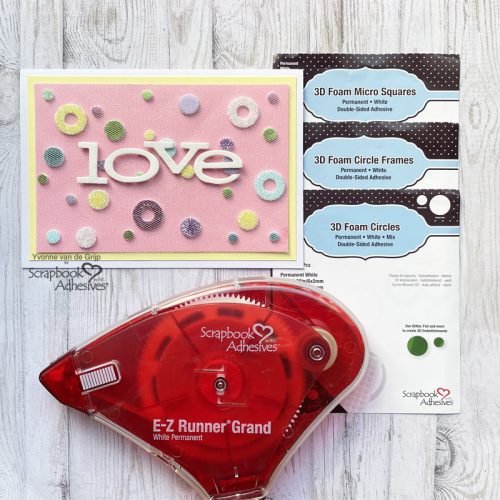
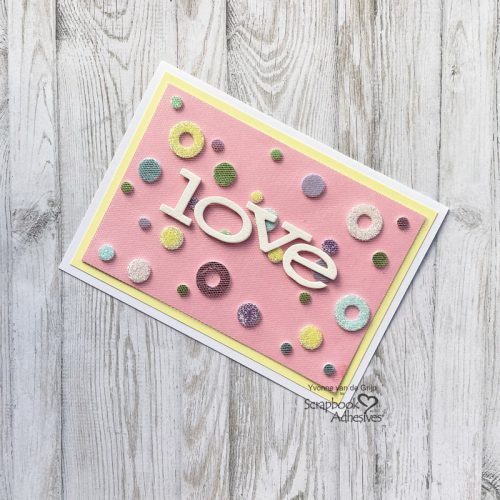
Hi everyone, Yvonne here with a Pastel Love Card. With Valentine’s Day coming up this is a super fun and fairly easy-to-make card. I’ll share some unique ways to embellish the card. So follow along!
Wear Your Adhesive on The Outside
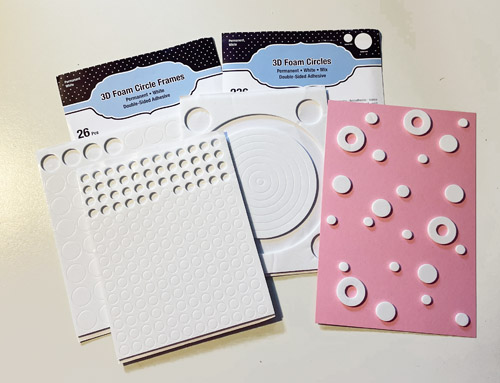
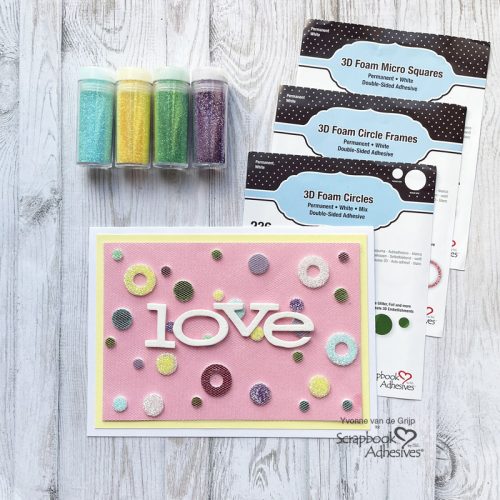
Start by trimming a piece of pink cardstock to a rectangular size for the top card panel of the Pastel Love Card. Then a combination of 3D Foam Circle Frames White and 3D Foam Circles White Mix are randomly placed on the card panel.
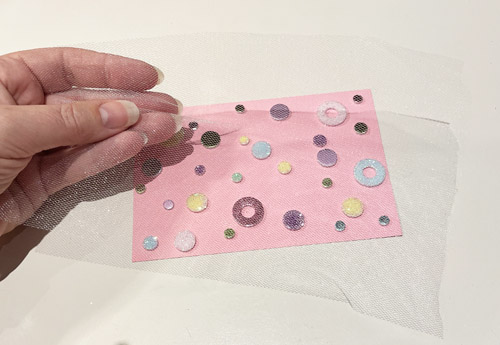
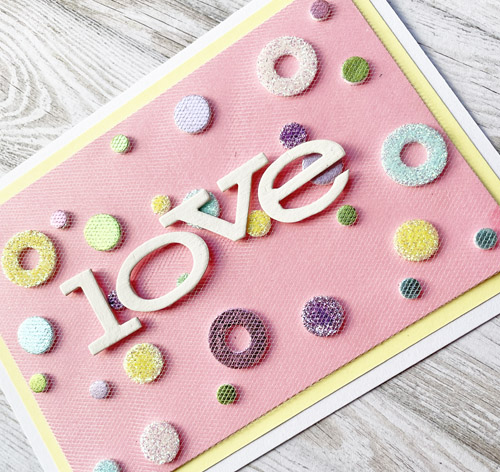
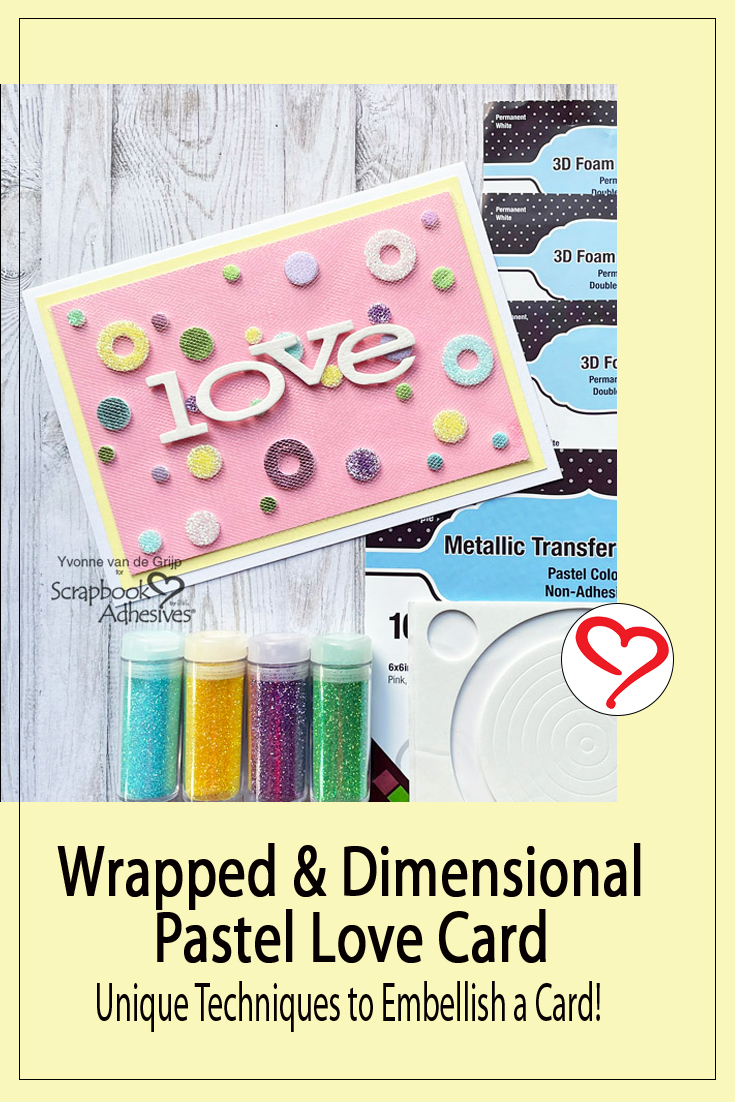
Remove the liner from one of the 3D Foam Circles. Rub a piece of foil from the Metallic Transfer Foil Sheets Pastel Colors (with the colored side facing up) onto the circle. Peel the Metallic Foil off to reveal the color. Repeat with several colors from the Metallic Transfer Foil Sheets Pastel Colors.
For a fun effect, I added glitter to some of the 3D Foam Circles White Mix. Remove the liner, and apply the glitter over the exposed adhesive. Make sure the glitter has securely adhered. Shake off excess.
This type of technique is known as Wear Your Adhesive on the Outside. It is taking the adhesive from between the layers and showcases them as an embellishment. A wonderful way to make the most of your adhesive!
Wrap the Card Panel
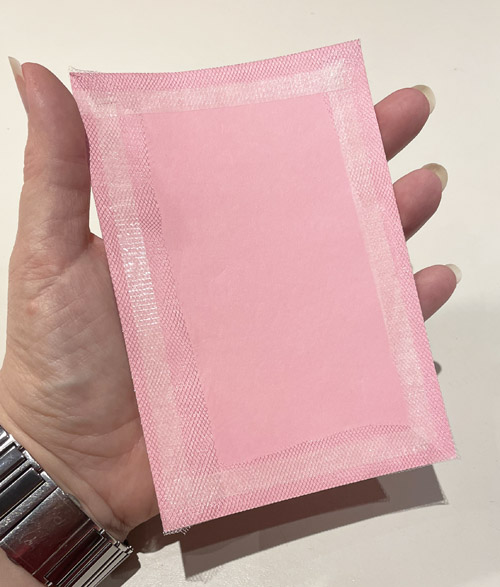
For another unique technique, let’s wrap the dotted top card panel with a piece of tulle! Cut a size slightly larger than the top card panel of the Pastel Love Card.
Flip the top card panel to its back. of the top card panel facing up. Run the E-Z Runner Grand Refillable Dispenser along the edges of the panel.
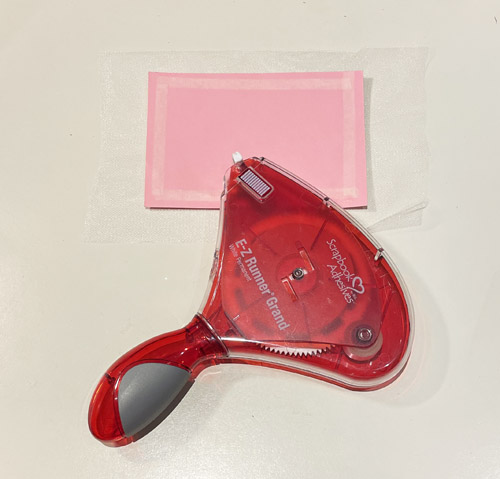
Carefully fold the tulle around the edges and on top of the adhesive. Press down to secure as shown in the picture.
Making the Card Base
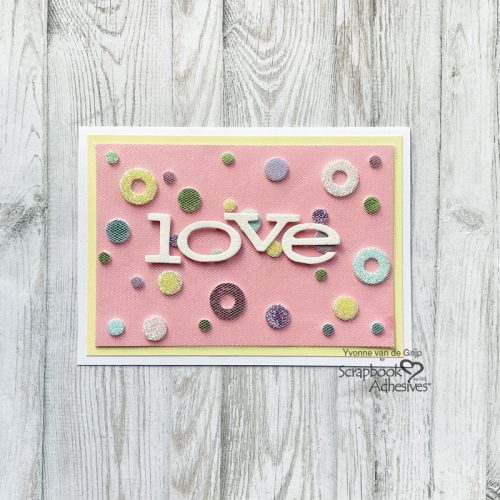
Adhere the wrapped card panel to a yellow mat. Use the E-Z Runner Grand Refillable Dispenser to adhere the layers to the white card base of the Pastel Love Card.
Adding the Sentiment
Die-cut the letters “LOVE” from a white chipboard. Use 3D Foam Squares Micro White to adhere the word onto the card. This helps level the sentiment from the height of the embellishments plus it sticks well on textured surfaces!
And voilá, your Pastel Love Card is ready. I hope you enjoyed this Pastel Love Card tutorial and wish you happy crafting!
Creative Time: 40 minutes
Skill Level: Intermediate
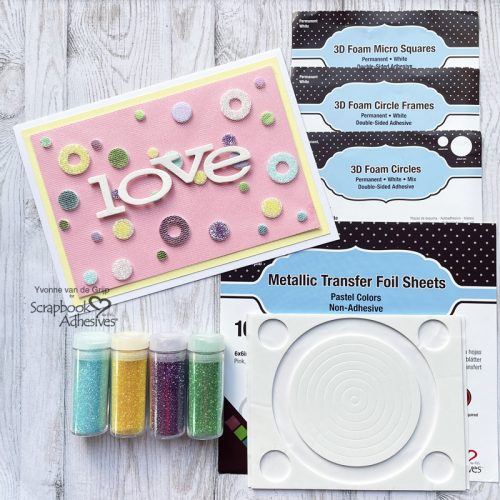
Materials needed:
Scrapbook Adhesives by 3L®
E-Z Runner Grand Refillable Dispenser
3D Foam Circles White Mix, 3D Foam Squares Micro White, and 3D Foam Circle Frames White
Metallic Transfer Foil Sheets Pastel Colors
Other
Cardstock (White, Yellow, Pink); Chipboard (White); Etched dies (Sizzix: Tim Holtz Bigz™: Storybook ); Die-Cutting and Embossing Machine (Spellbinders Paper Arts®: Platinum 6 Machine); Glitter; Tulle: Tweezers: Scissors; Paper Trimmer
Save to Pinterest!
Visit our Website and Blog!
Sign up for our Newsletter so you never miss a contest or giveaway!


