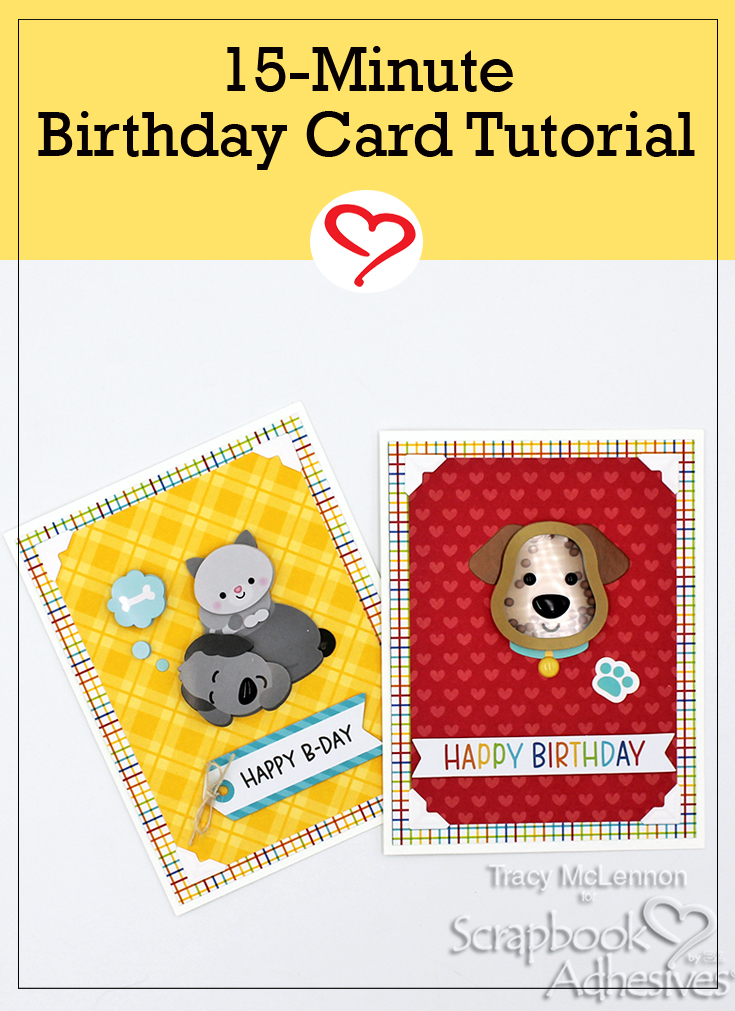
Hello crafty friends! Tracy here, and today I have a tutorial to share on how to create not 1, but 2 super cute cards in my 15-Minute Birthday Cards. Here are all of the details on how I created this pair of birthday cards.
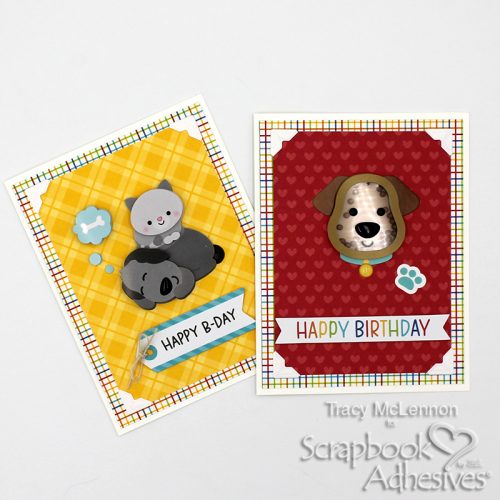
Let’s Get Started!
The first step is to cut the patterned paper pieces for the simple card fronts for both of the 15-Minute Birthday Cards. The card bases are white cardstock.
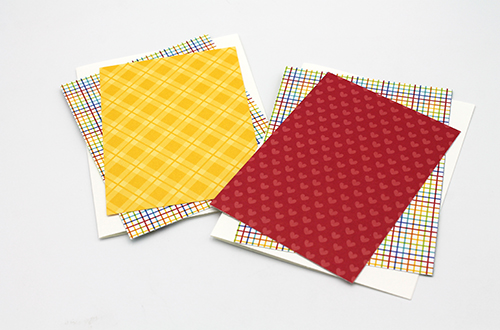
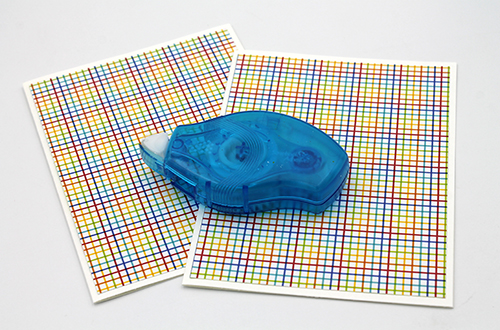
Adhere the patterned bases to the white cardstock card bases using the E-Z Runner® Petite Permanent Dots Refillable Dispenser.
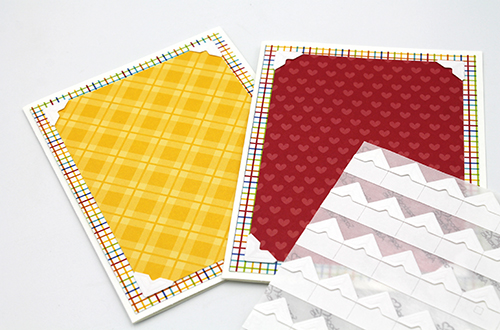
Add the second layer of patterned paper to the 15 Minute Cards using Creative Photo Corners White. Using Creative Photo Corners White on cards just seems to add that little bit of texture and a classy look.
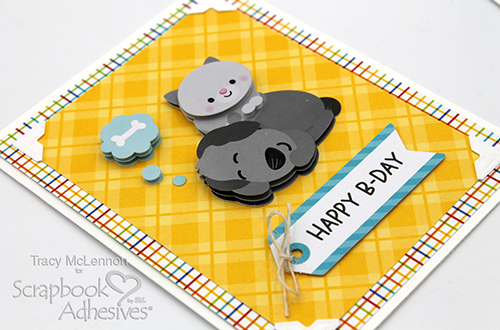
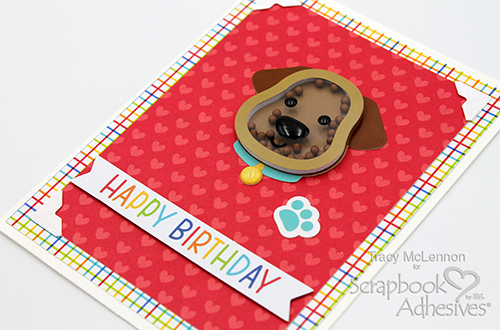
How freaking cute are these Doodlebug Designs embellishments for this Doggone Cute collection. They are self-adhesive, so I simply added the Doodle-Pop and the Shaker-Pop to the card fronts.
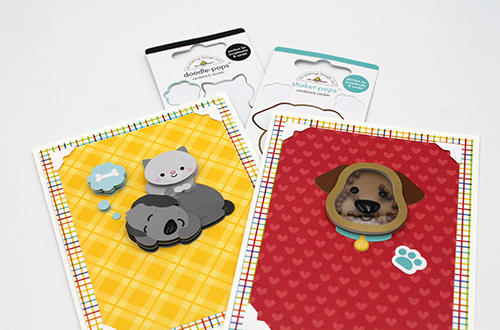
Pick out a sentiment for each 15-Minute Card, and add that to the bottom of the card front using Thin 3D Foam Squares Black Mix. Then I added a burlap string to the tag sentiment.
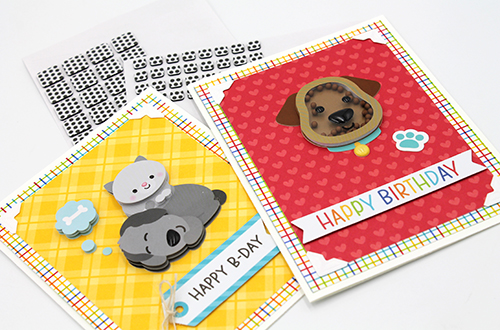
I just adore how easy and cute this pair of 15-Minute Cards turned out, and there are so many sweet options in the Doodlebug collections to create these sweet and simple cards.
Thanks so much for stopping by!
Tracy
Creative Time: 15 mins
Skill Level: Beginner
Materials Needed:
Scrapbook Adhesives by 3L®
Creative Photo Corners White
E-Z Runner® Petite Permanent Dots Refillable Dispenser
Thin 3D Foam Squares Black Mix
Other:
Patterned Papers and Embellishments: Doodlebug Designs (Doggone Cute Collection); White Cardstock; Ivory Burlap String
Save to Pinterest!
Visit our Website and Blog!
Sign up for our Newsletter so you never miss a contest or giveaway!


