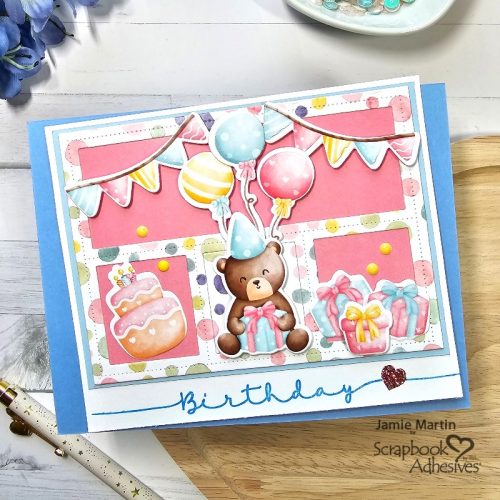
Hi, Jamie here today with a sweet Birthday Bear Card. It is so versatile that this design is perfect for the beginner or advanced card maker to make.
Die-Cutting the Birthday Bear and Elements
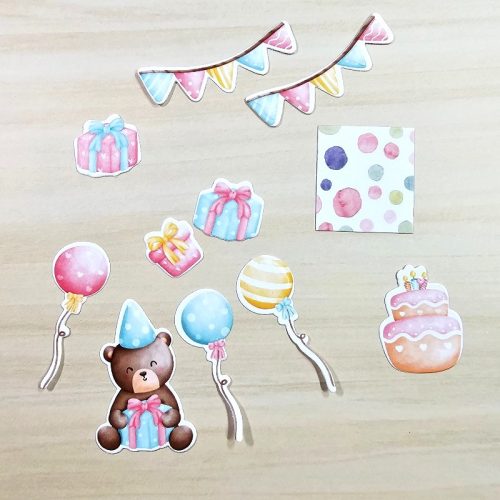
Die-cut the birthday bear, balloons, gifts, cake, and banners from the Birthday Bear Slimline Paper Pad.
Prepare the Panel
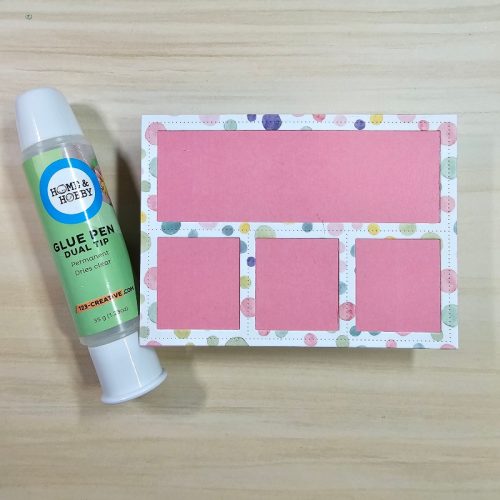
Die-cut the polka-dot decorative paper from the same pad using a die. Glue this to a pink cardstock panel, using the Dual Tip Glue Pen. Also, glue on the square decorative paper panel in the center of the bottom row.
Dimension and Interest
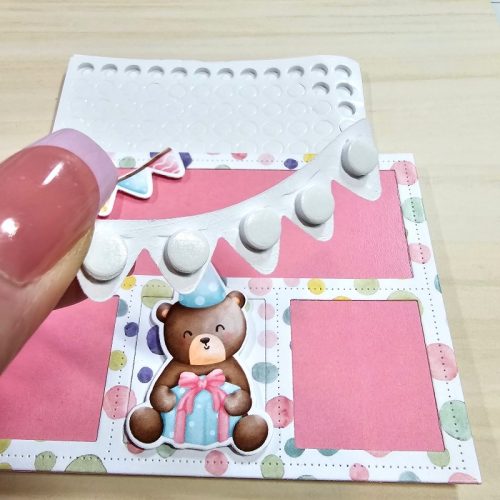
Place 3D Foam Circles White Mix, both large and small on the back of the birthday bear. Then place a large one on the back of each balloon.
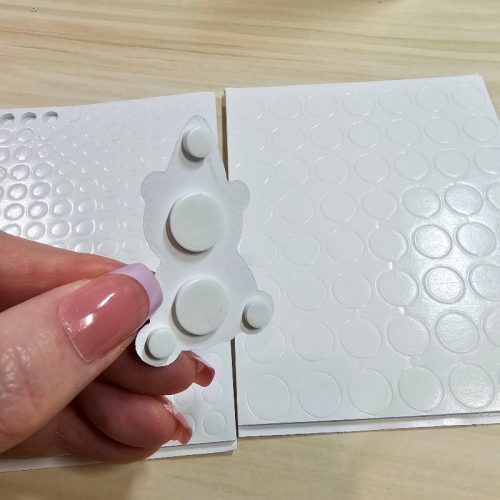
Behind the banner, place small foam circles to pop up on the top cardstock panel, along with the bear and balloons. Glue the cake down using the Dual Tip Glue Pen in the left square and glue two of the presents down in the right square. Pop up the third present up on top of the other two.
Finishing the Birthday Bear Card
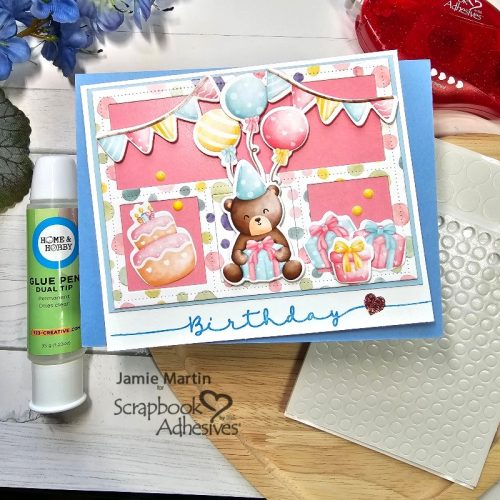
Layer the panel onto a slightly larger light blue cardstock panel, then glue it to a white top folding card, using the Dual Tip Glue Pen. Stamp the sentiment at the bottom with blue ink. Place a heart from the E-Z Runner® Hearts Refillable Dispenser at the end of the sentiment and sprinkle with Grapefruit Ultra Fine Glitter. Finally, randomly add yellow enamel dots.
Thanks for Visiting!
Jamie Martin
Creative Time: 35 mins
Skill Level: Beginner
Materials Needed:
Scrapbook Adhesives by 3L®
E-Z Runner® Hearts Refillable Dispenser
3D Foam Circles White Mix
HomeHobby™ by 3L
Dual Tip Glue Pen
Other:
Rubbernecker Stamps – Birthday Bear Slimline Paper Pad, Birthday Bears Paper Pad Dies, Composable Freehand Borders; Stampendous – Grapefruit Ultra Fine Glitter
Save to Pinterest!
Visit our Website and Blog!
Sign up for our Newsletter so you never miss a contest or giveaway!


