
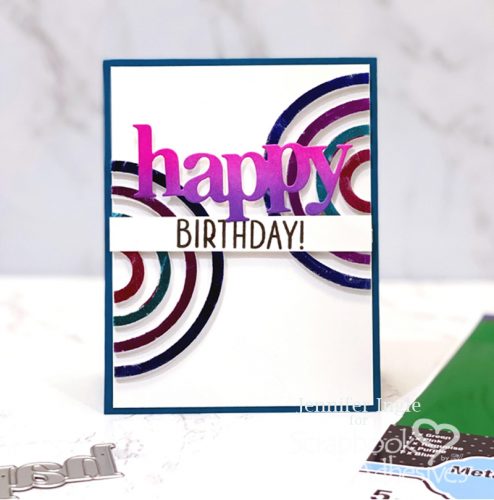
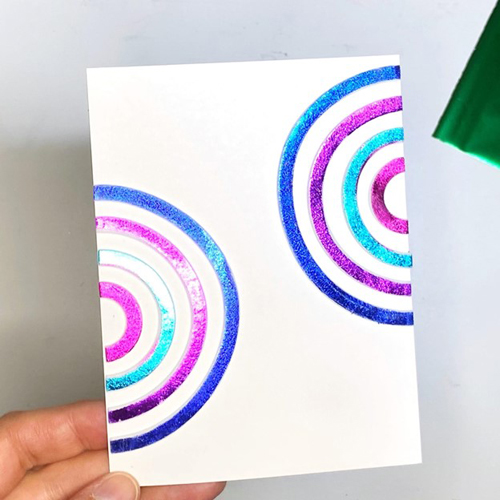
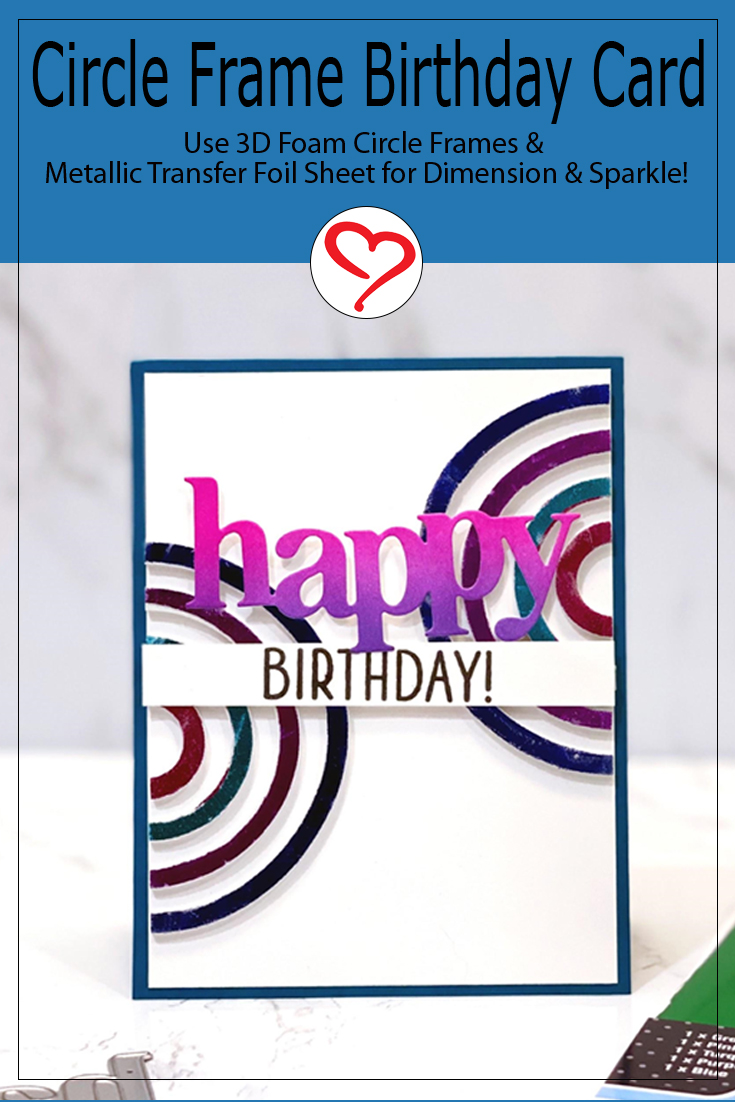
Hello, folks! Jennifer Ingle here today! Back with another fun guest post. This time I pulled out some of the amazing Metallic Transfer Foil Sheets Variety Colors for a super fun look! As you know, it is always fun to Wear your Adhesives on the Outside! I am going to show you how I created this super fun Circle Frame Birthday Card design.
Circle Frame Birthday Card Supplies
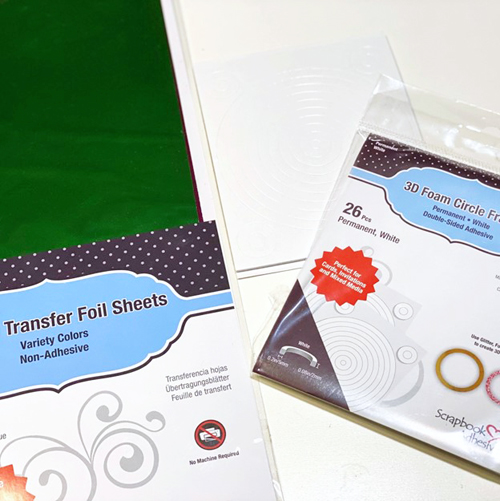
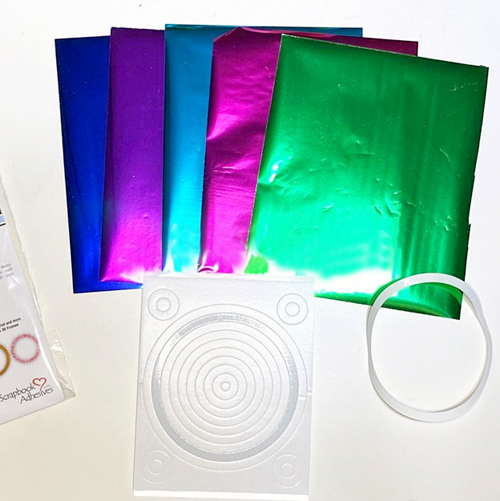
To begin, you will need a cardstock panel (4 x 5.25 inch) and a package of the Metallic Transfer Foil Sheets and the 3D Foam Circle Frames from Scrapbook Adhesives by 3L. These frames are AMAZING and have so many awesome possibilities!
Wear Your Adhesive on the Outside with 3D Foam Circle Frames
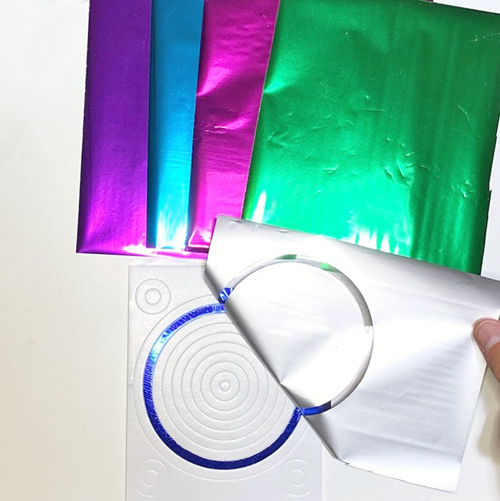
Leaving the 3D Foam Circle Frames White in place, gently peel the liner off the largest circle you plan to use for your card. I used the second largest circle frame.
Place a piece of the metallic transfer foil over the exposed 3D Foam Circle Frames White. Make sure the color side is facing you. Then use your fingers to gently press it into place to transfer the color to the ring.
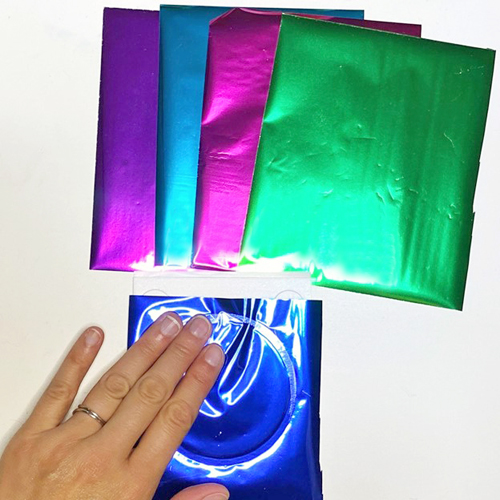
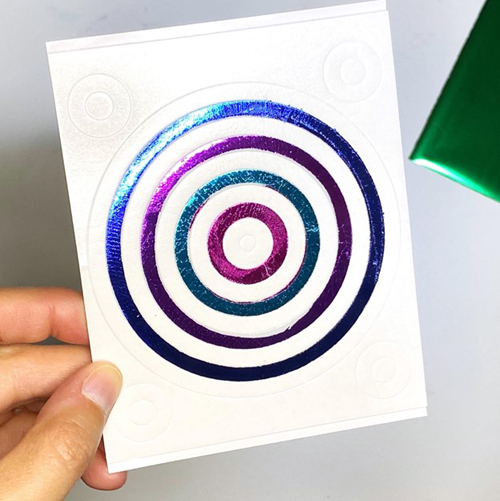
Gently lift the foil to reveal your perfectly foiled ring! If there are missed areas, simply reapply the foil. Repeat the foiling steps for each color and ring size you plan to add to your card. Here you can see the four rings I foiled for placement on my card.
Create the Card Design
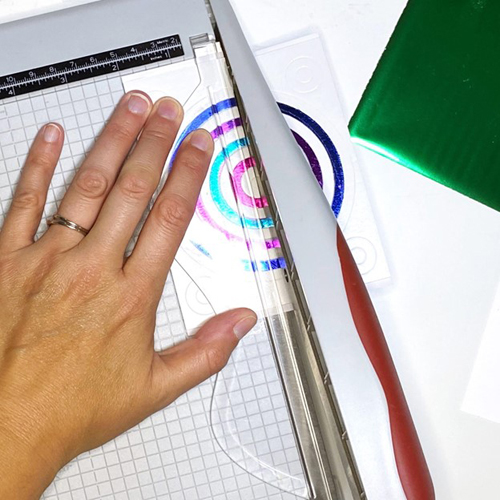
Next, I cut the entire sheet, still on the backing, in half so I could use both sides of the rings on my design. This does mean I now have cut rings for a future project, but that is totally fine. You could absolutely foil all of them and create two designs at once using this same technique.
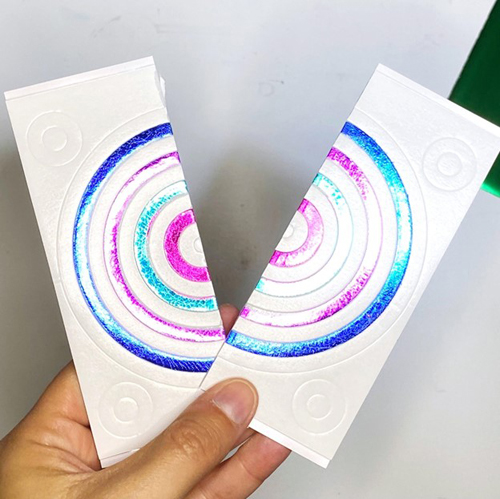
Carefully place the half-rings on the card panel.
Prep the Sentiment
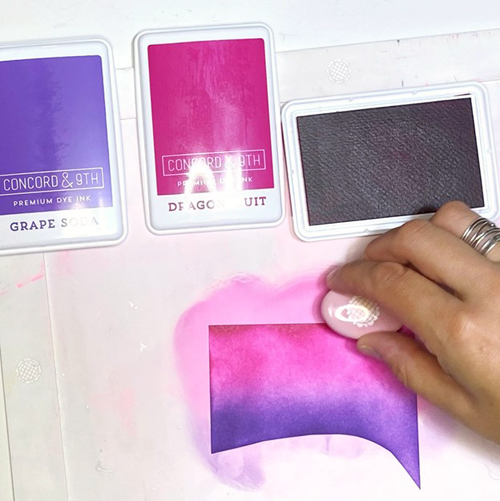
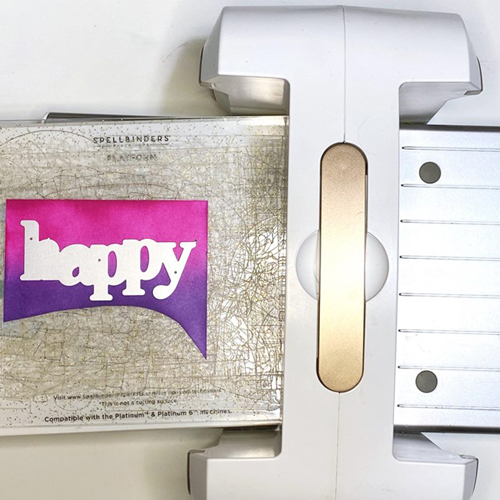
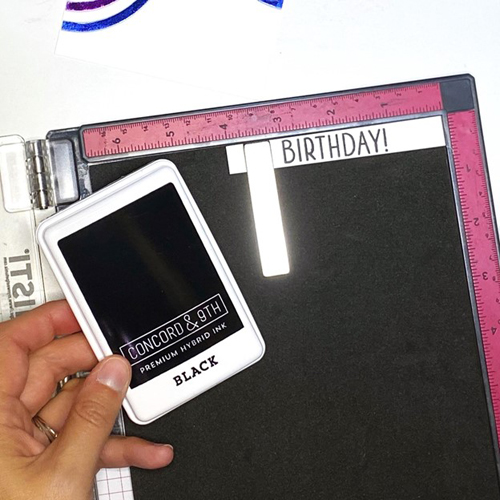
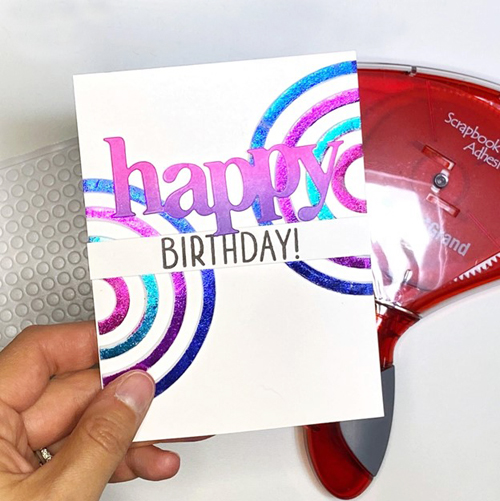
Next, you want to blend Grape Soda and Dragonfruit ink on a scrap of white cardstock for the sentiment. Die cut the word Happy from your blended scrap. Stamp Birthday on a strip of cardstock in black ink. Adhere the sentiment to your card, using foam circles for the die-cut portion (to raise it to the same level as the rings) and using the E-Z Runner® Permanent Strips Dispenser for the strip to ensure it stays put!
Assemble the Card
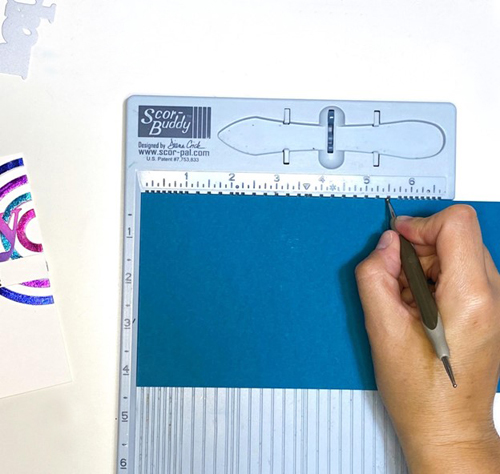
Cut and score a sheet of coordinating cardstock for your card base. I used Hero Arts Adriatic for my base.
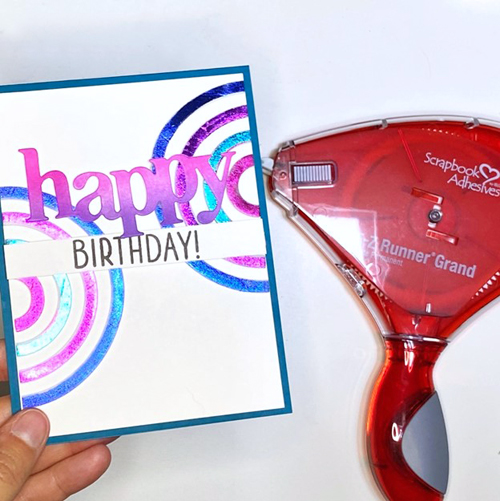
Finally, adhere your panel to the card base with your E-Z Runner® Permanent Strips Dispenser to complete your design. The shine really is absolutely wonderful!
Thank you so much for joining me today with the Circle Frame Birthday Card and happy foiling!
Jennifer
Creative Time: 30 mins
Skill Level: Beginner
Materials Needed:
Scrapbook Adhesives by 3L®
E-Z Runner® Grand Permanent Strips Refillable Dispenser
Metallic Transfer Foil Sheets Variety Colors
Other: Stamp, Craft Dies and Cardstock: Hero Arts (Happy Thanks Stamp and Cut XL Set, and Adriatic Cardstock); Ink: Concord and 9th (Grape Soda, Dragonfruit and Black); White Cardstock: Hammermill; Scoreboard and Crease Tool
Save to Pinterest!
Visit our Website and Blog!
Sign up for our Newsletter so you never miss a contest or giveaway!


