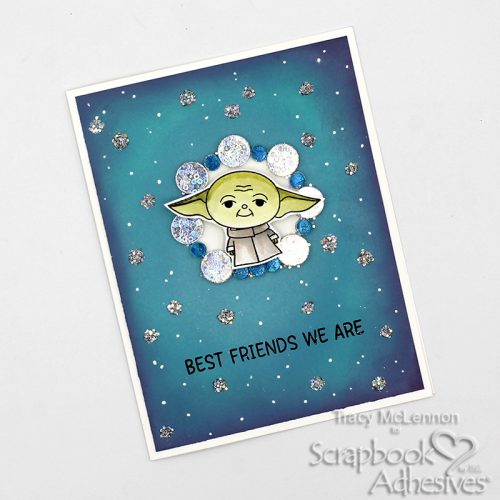
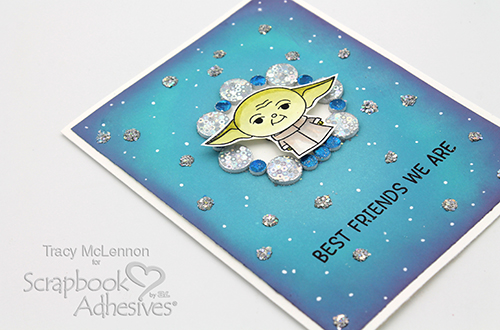
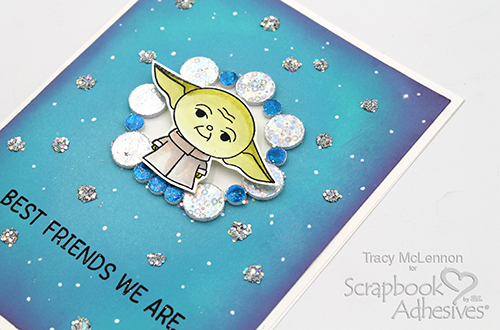
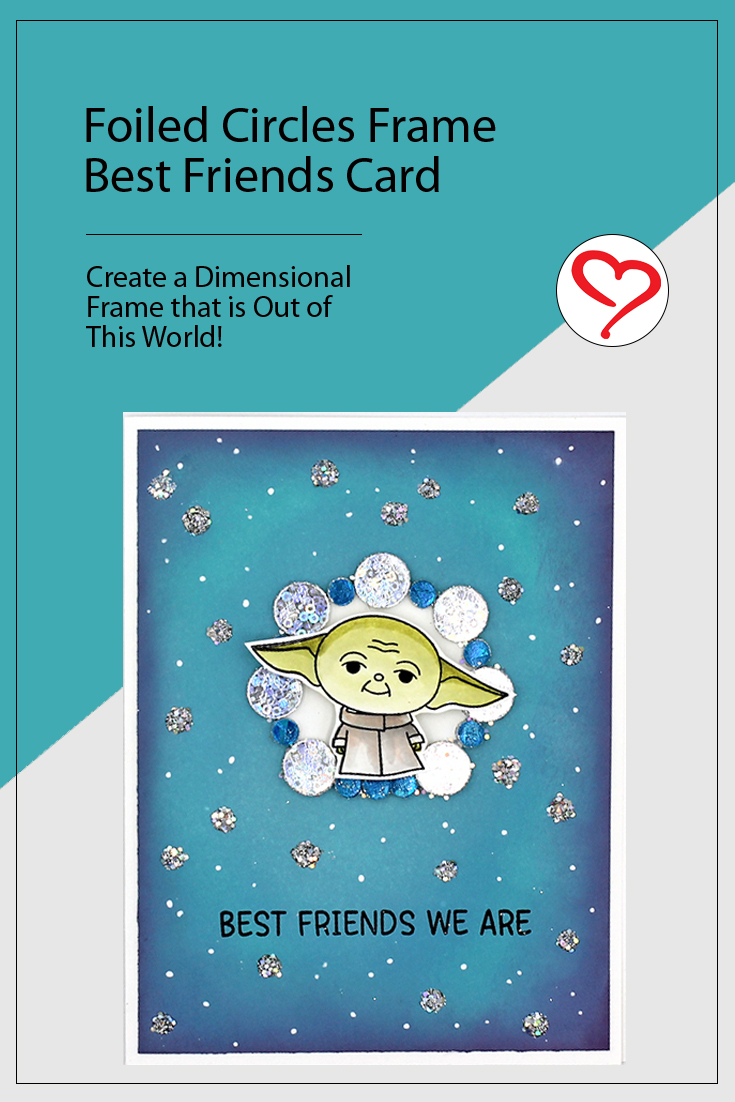
Hello crafty friends! Tracy here, and today I have a fun Foiled Circles Best Friends Card to share featuring a 3D Frame Card with 3D Foam Circles White Mix and Metallic Transfer Foil Sheets Celebrate Colors. Here are all of the details on how I created it.
Foiled Circles Best Friends Card Panel Background
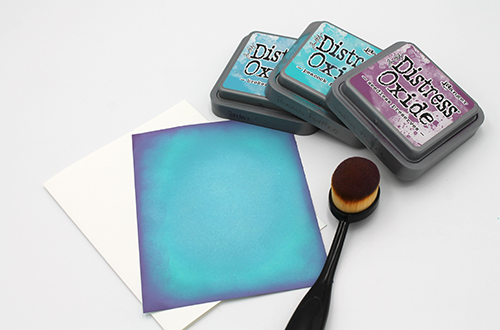
On a white cardstock card panel, I colored it with Distress Oxide Inks and a blending brush to custom-create my color.
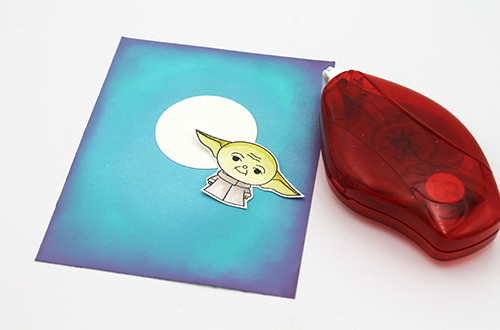
Stamp a focal image onto white cardstock with black ink and add color using Zig Clean Color Markers and a water brush. Fussy cut it out and set it aside. Next, punch out a circle shape from a piece of white cardstock. Make sure to choose a size large enough to frame your stamped image. This will be the base of the dimensional frame. Place it on the inked panel using the E-Z Runner® Permanent Strips Refillable Dispenser.
Framing Out the Frame
Using 3D Foam Circles White Mix create a design around the white cardstock circle. This creates a dimensional frame.
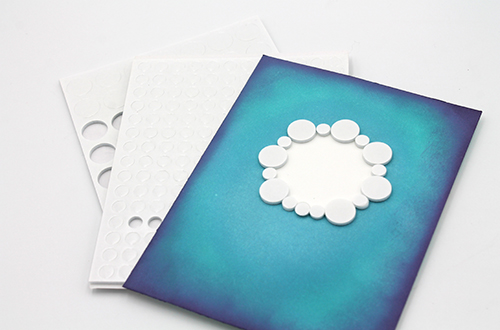
Wear Your Adhesive on the Outside with 3D Foam Circles
To determine the color design for the frame, I decided to use the blue and silver foils from the Metallic Transfer Foil Sheets Celebrate Colors. These two combinations will give me the contrast I was looking for.
First, I added the blue foil to the smaller 3D Foam Circles White Mix. Simply remove the liner, place the foil color side facing you, and rub the foil to transfer the color to the shape. Next, peel off the liner to reveal the color. If there are missed areas, reapply the foil in the same manner. Repeat the steps to the other circles.
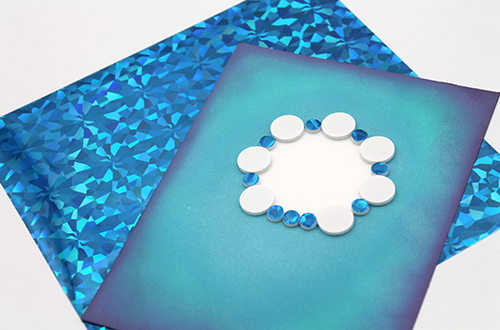
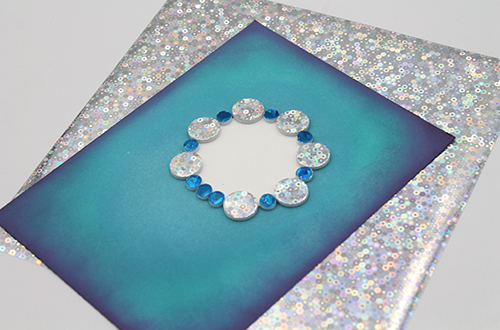
Now let’s add the silver foil to the larger 3D Foam Circles White Mix. Repeat the above foiling steps to achieve the Wear Your Adhesive on the Outside technique.
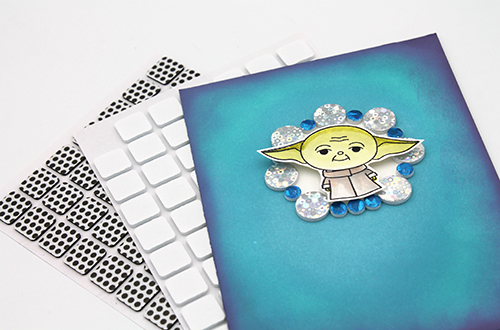
Add the card front image to the 3D Frame Card using both Thin 3D Foam Squares Black Mix and 3D Foam Squares White Regular Size. This creates just a little more dimension between the frame and the colored image.
Assemble the Foiled Circles Best Friends Card
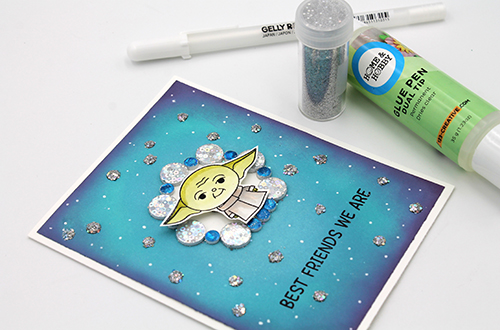
Adhere the card panel to the card base with the E-Z Runner® Permanent Strips Refillable Dispenser. Use the Dual Tip Glue Pen to randomly dots around the card front. Add glitter to them for a little galactic sparkle! Finish off the look by adding white gel pen dots and stamping the sentiment with black ink.
Thanks so much for stopping by!
Tracy
Creative Time: 30 mins
Skill Level: Intermediate
Materials Needed:
Scrapbook Adhesives by 3L®
3D Foam Circles White Mix
E-Z Runner® Permanent Strips Refillable Dispenser
Thin 3D Foam Squares Black Mix
3D Foam Squares White Regular Size
Metallic Transfer Foil Sheets Celebrate Colors
HomeHobby™ by 3L
Dual Tip Glue Pen
Other
Stamps: Kindred Stamps; Ink: Ranger Ink (Distress Oxide Ink in Peacock Feathers, Broken China, and Seedless Preserves, and Archival Ink in Jet Black); Markers: Kuretake Zig (Zig Clean Color Markers); White Cardstock; Blending Brush; Glitter; White Gel Pen; Waterbrush
Save to Pinterest!
Visit our Website and Blog!
Sign up for our Newsletter so you never miss a contest or giveaway!


