
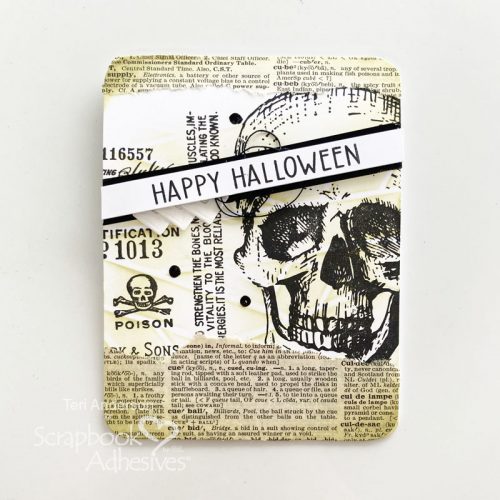
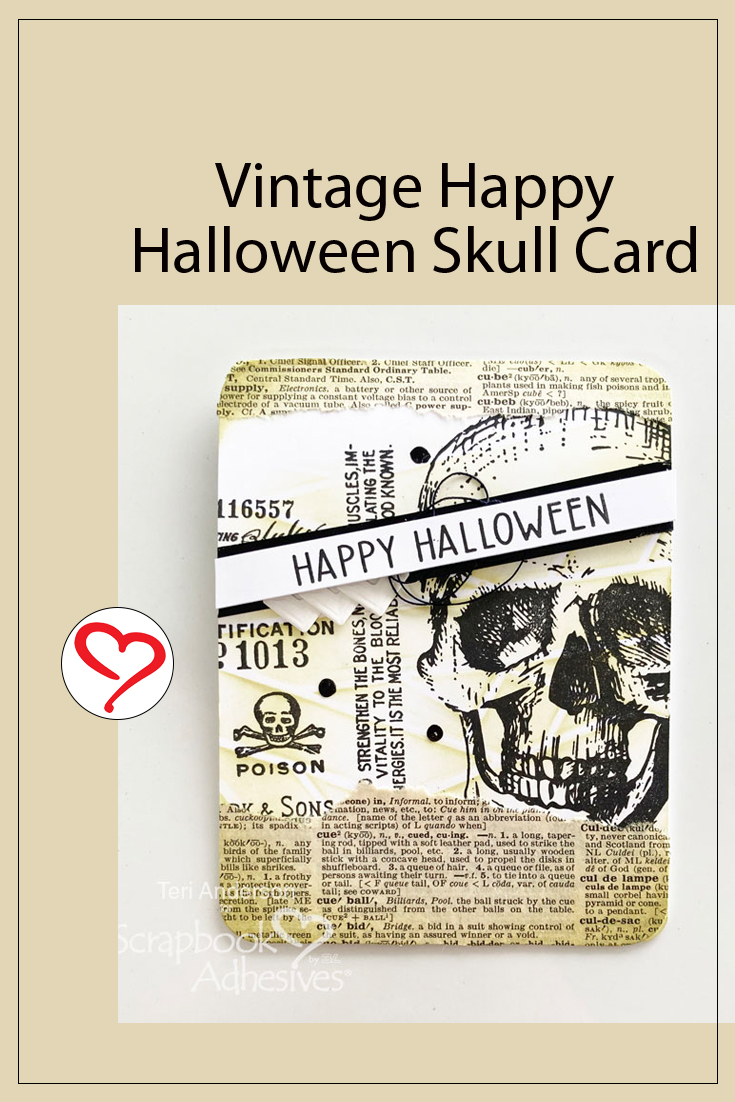
Hi, everyone! Like making cards with a vintage feel? Teri here to show you a fun vintage-inspired Halloween card!
Create the Card Base, Add Foil Strips and Sentiment
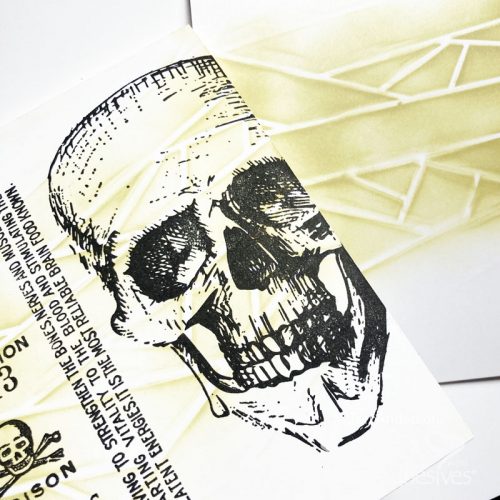
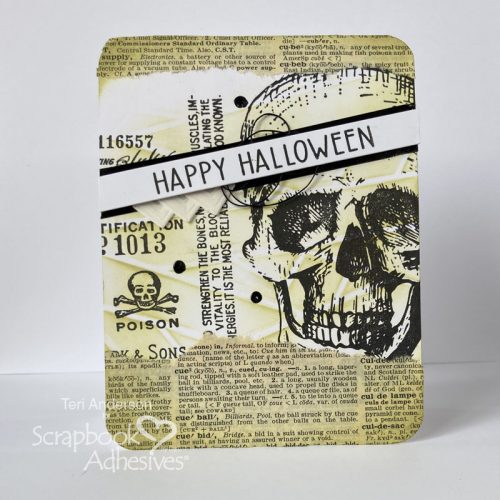
Start by blending some ink onto a card base through a stencil. Stamp several Halloween images in black ink on top.
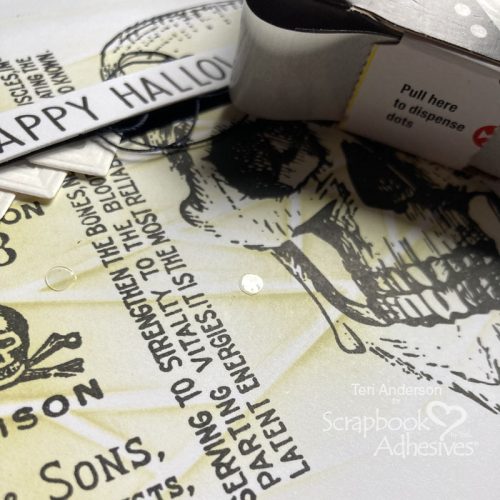
Stamp a sentiment on a strip of cardstock. Set the sentiment strip on your card to use it as a guide for placing some strips of Extreme Double-Sided Tape 1/4in on it.
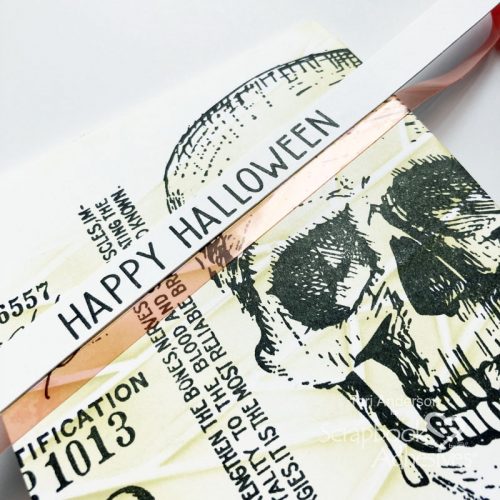
Trim the excess tape and put any leftover scraps on the back of your sentiment strip. Set the strip aside.
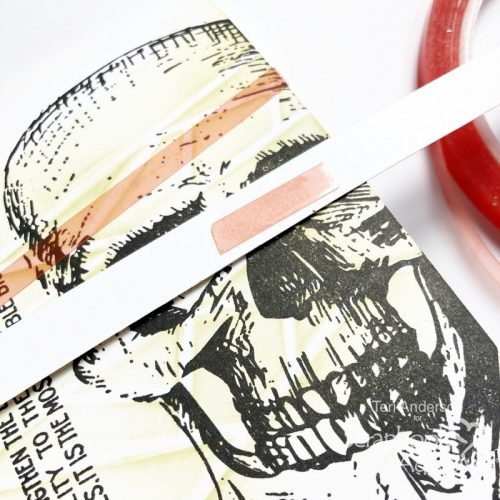
Apply Metallic Transfer Foil Sheet Nature Colors onto the strips of tape on your card. Be sure to really burnish firmly onto the tape so that the tape strips are completely covered.
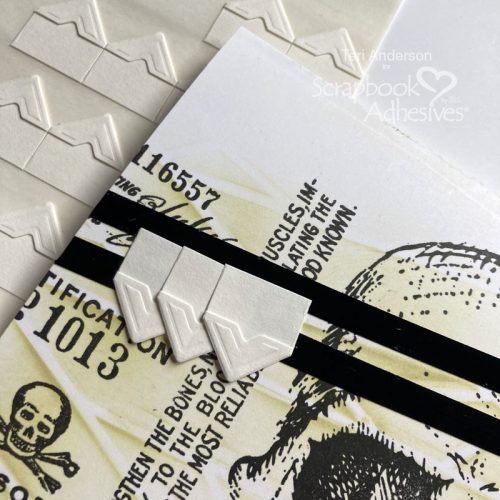
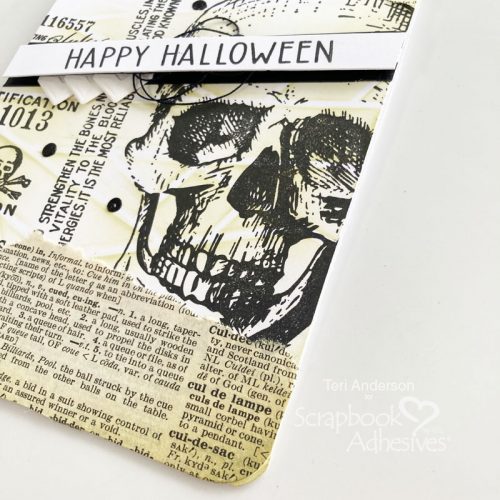
Place some Creative Photo Corners White onto your foil strips for decoration. Line them up, overlapping them slightly as you go. Set your card aside.
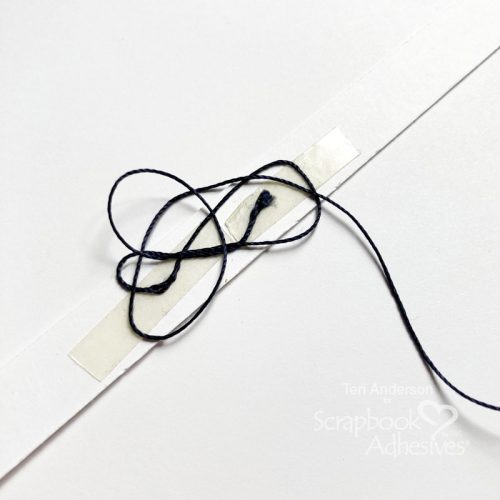
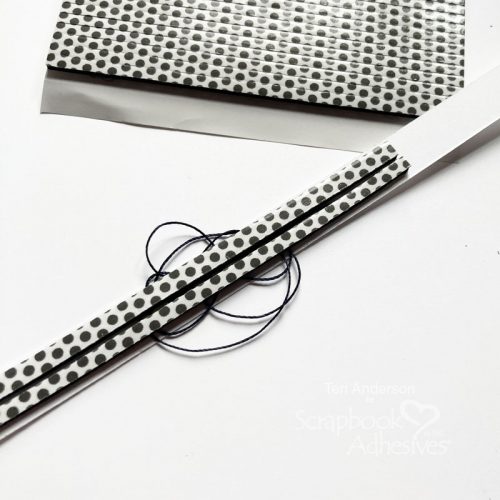
Take a piece of thread and randomly place it on the back of your sentiment strip. Cover the strip with 3D Foam Strips Black and place it on your card. Remove the excess.
Embellish the Card with Foil Dots and Add Some Old Paper to It
Set some Adhesive Dots Micro on your card. Cover them with foil. You want to make sure you really push the foil hard onto the dots as you burnish it down.
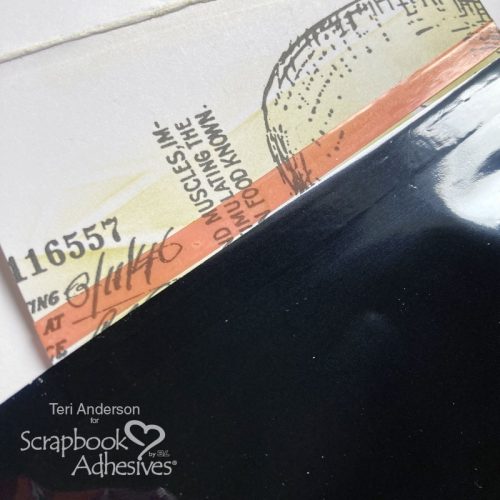
Take some pages from an old book. Cut them to fit on your card. Roll adhesive onto your card and not the pages. Affix the pages on your card and cut away any excess paper.

Complete your card by rounding the corners and sponging on some additional ink along the edges. You can apply a little bit of ink or a lot!
Thank you so much for stopping by today. I hope you are inspired to make a vintage-style Halloween card of your own!
Happy Creating!
Creative Time: 45 minutes
Skill Level: Intermediate
Materials Needed:
Scrapbook Adhesives by 3L®
Metallic Transfer Foil Sheet Nature Colors
HomeHobby™ by 3L:
Extreme Double-Sided Tape 1/4in
Other: Cardstock: Neenah; Stamps: Lawn Fawn (Simply Fall Sentiments Stamp Set) and Stampers Anonymous (Tim Holtz Rest in Peace Stamp Set); Stencil: Pretty Pink Posh (Mummy Wrap); Thread: Coats & Clark; Ink: Ranger Ink (Black, Green); Dictionary Page; Corner Rounder
Save to Pinterest!
Visit our Website and Blog!
Sign up for our Newsletter so you never miss a contest or giveaway!


