
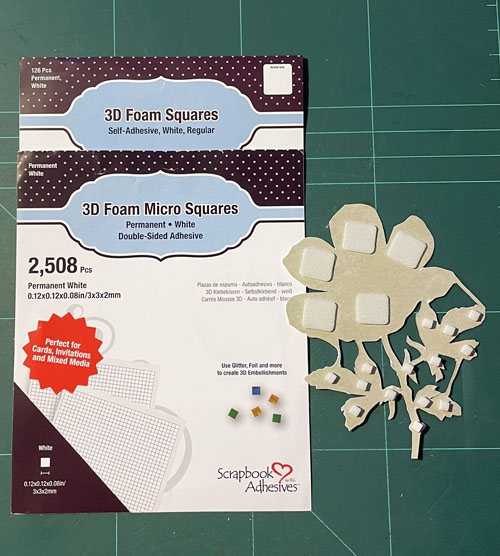
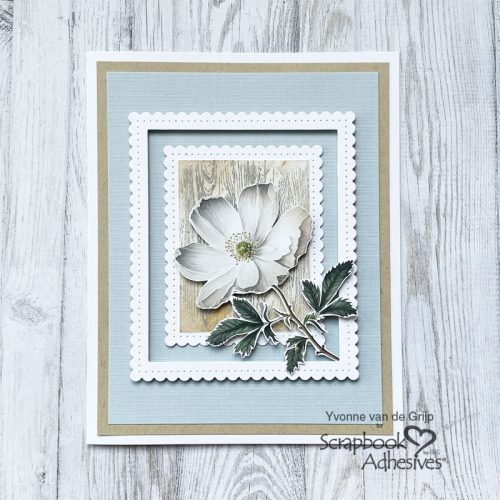
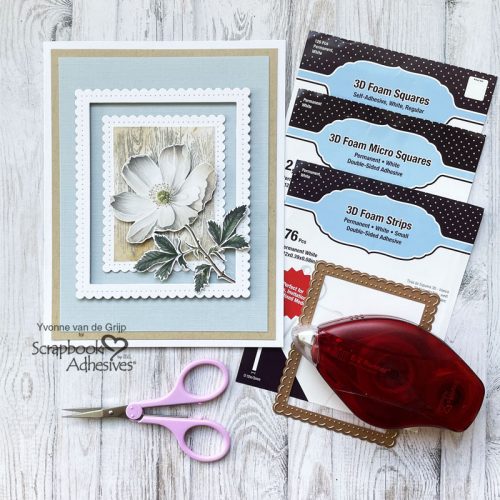
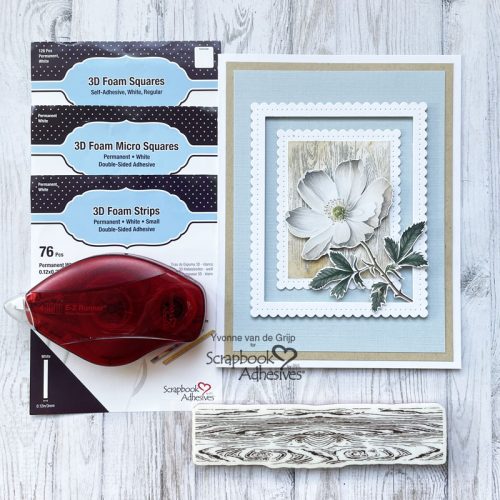
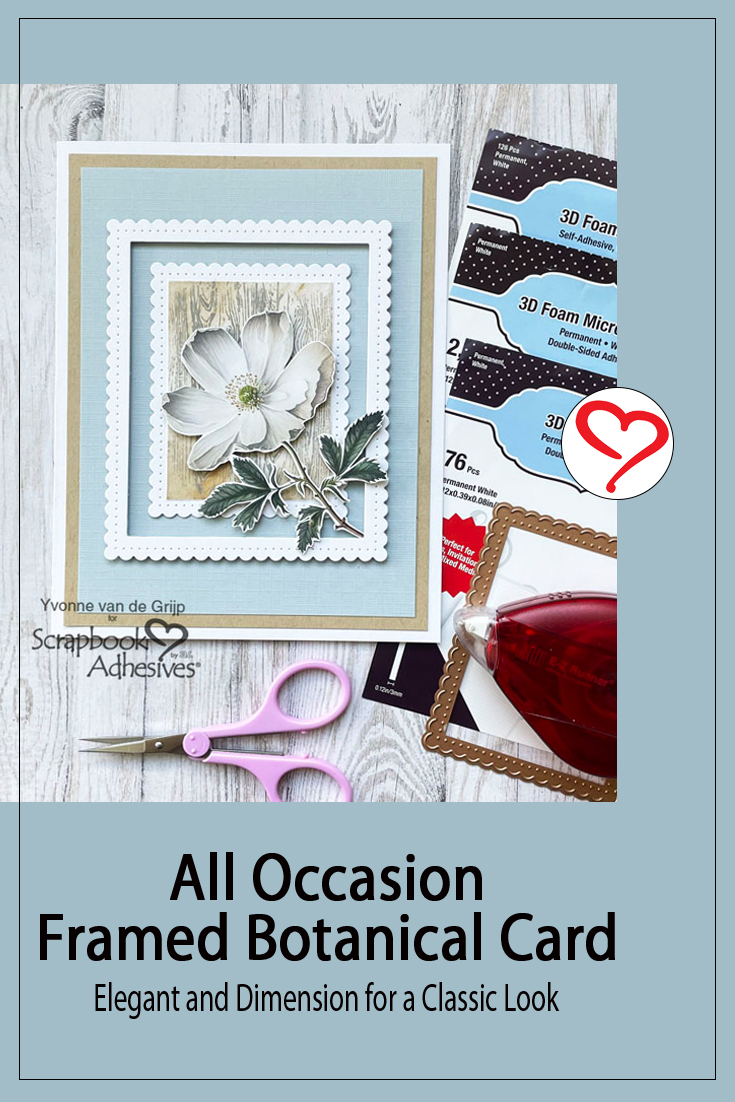
Hi everyone! Yvonne here with a classic Framed Botanical Card. By using 3D foam products you can easily add a luxurious dimension to your card. 3D Foam Squares Micro White is a great adhesive for adhering tiny and details items.
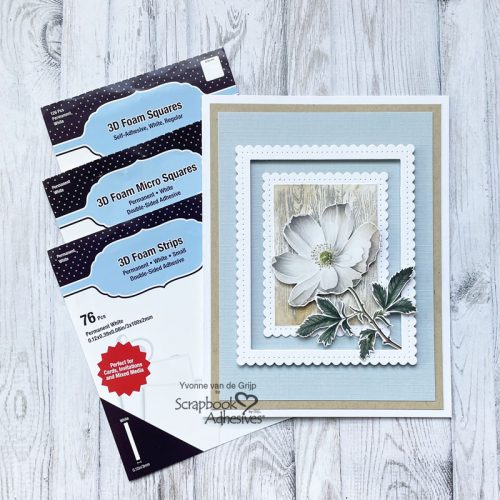
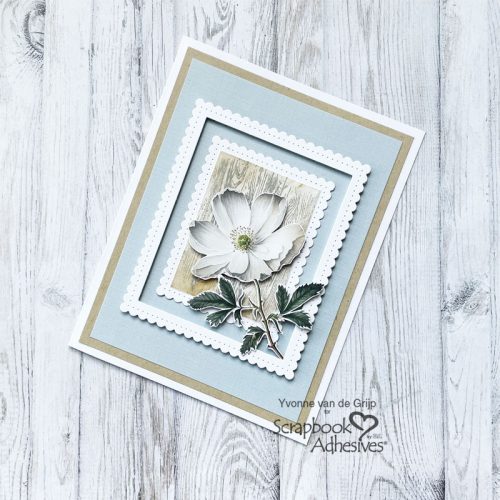
Furthermore, the Framed Botanical Card is all about some simple layering. I would love to share how I made my card. Wanna join me?
Top Card Panel
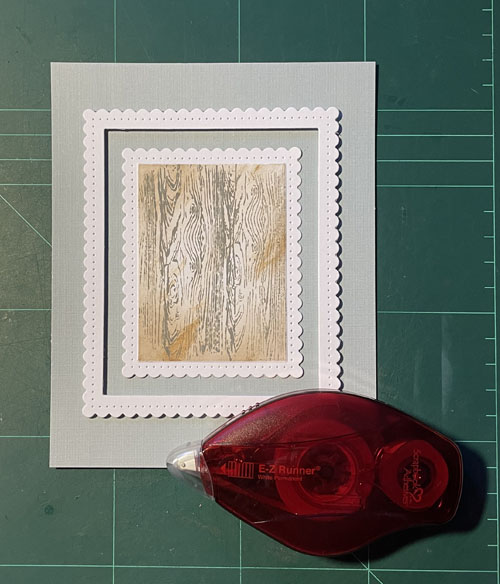
Start by die-cutting a frame from white cardstock. Then adhere the frame onto a grey cardpanel using 3D Foam Strips.

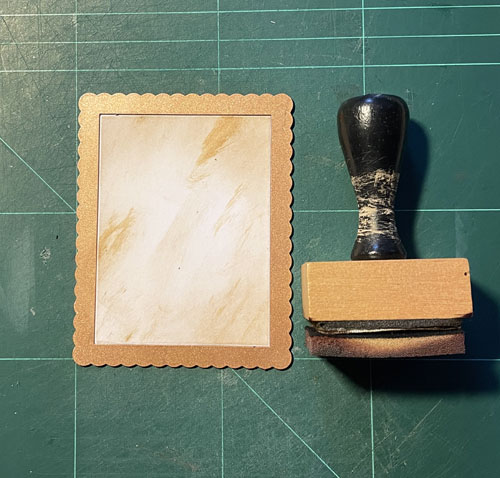
This will uplift the frame on the Framed Botanical Card. Next die-cut and emboss a panel that will fit the frame. To color the die-cut, leave it in the metal cutting die and use an ink blending tool and some brown ink to color the centre part.
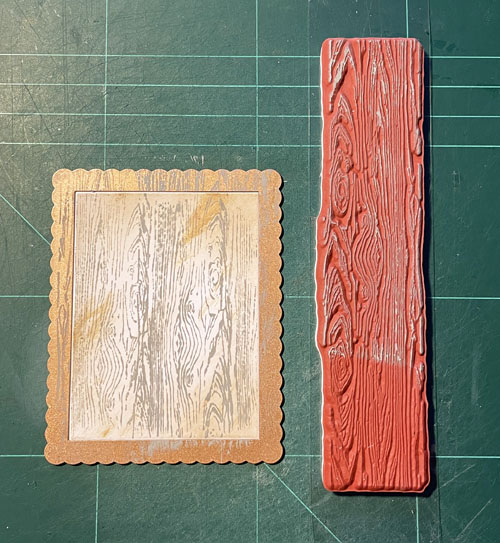
Then use a stamp and grey ink to add a woodgrain effect.
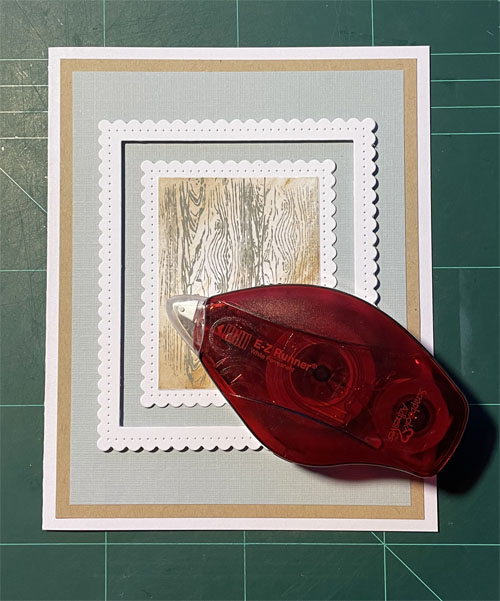
Next adhere the inked die-cut frame into the uflifted frame using the E-Z Runner® Permanent Strips Refillable Dispenser.
Card Base
Adhere the framed top card panel of the Framed Botanical Card onto a kraft card panel using the E-Z Runner® Permanent Strips Refillable Dispenser. Then adhere to a white card base, again using the E-Z Runner® Permanent Strips Refillable Dispenser for adhering.
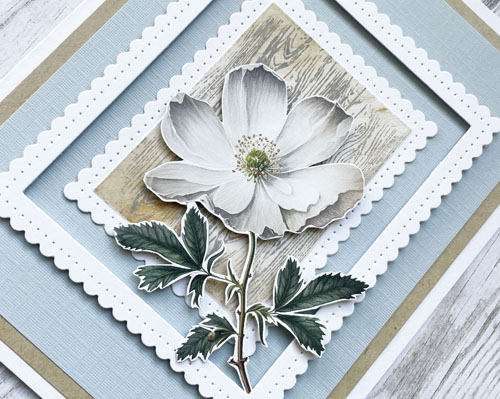
Botanical Image
Start with fussy cutting the botanical image such as a white rose. I like to use scissors for the outline cutting and a craft knife for the detail cutting. Then apply 3D Foam Squares Micro White and 3D Foam Squares White Regular Size to the back of the image.
Now remove the liners and adhere the image to the frame. Voilá, your Framed Botanical Card is ready!
I hope you enjoyed this tutorial and wish you happy crafting!
Creative Time: 45 minutes
Skill Level: Intermediate
Materials needed:
Scrapbook Adhesives by 3L®
E-Z Runner® Permanent Strips Refillable Dispenser
3D Foam Squares White Regular Size
Other:
Etched Dies and Die-Cutting and Embossing Machine (Spellbinders Paper Arts®: Platinum 6 Machine; Fancy Edged Rectangles); Cardstock (White, Kraft, Grey); Paper Element (Mintay Papers: Flora Book 6); Stamp (Stamperia: Woodgrain pattern); Acryllic Stamp Block; Inkpads (Rangerink: Distress ink: Frayed Burlap; Distress Oxide ink: Hickory Smoke); Ink Blending Tool; Scissors; Craft Knife; Paper Trimmer; Tweezers
Save to Pinterest!
Visit our Website and Blog!
Sign up for our Newsletter so you never miss a contest or giveaway!


