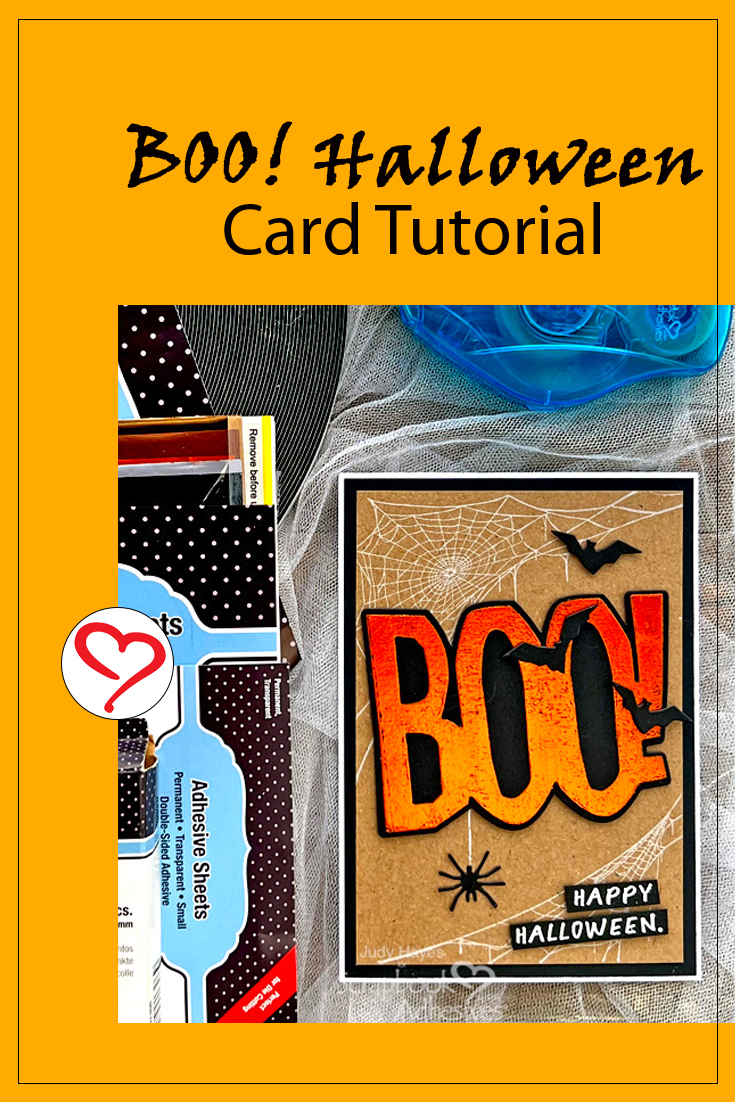
Hi, Judy here today! Fall has arrived and Halloween will soon be here. With that in mind, I put together this BOO! Happy Halloween card. I really like how “BOO!” looks with metallic foil on it from Metallic Transfer Foil Sheets Nature Colors! It’s popped up slightly on a stamped background with three die-cut bats, a spider, and a stamped greeting. A fun card to make!
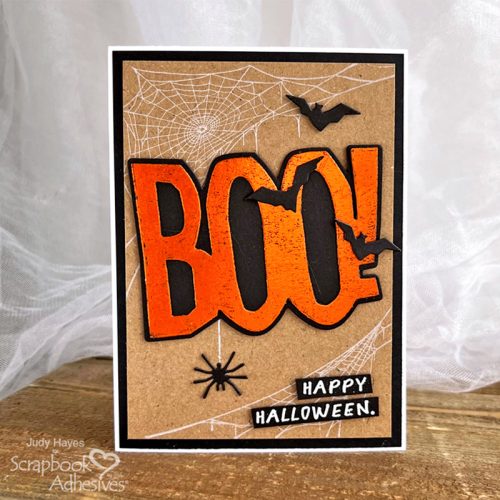
BOO! Card Part Assembly
For the card base, cut 8.5 x 6-inch white cardstock and fold it in half to form a 4.25 x 6-inch card. Create the mat to anchor the card front by cutting a piece of 4.125 x 5.875-inch black cardstock. Use E-Z Dots® Permanent Refillable Dispenser to apply adhesive to the back of the black cardstock and attach to the card front.
Die Cut BOO!
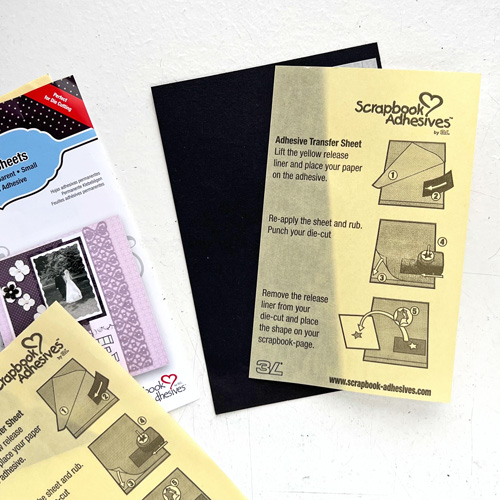
Apply Adhesives Sheets 4 x 6in. to a piece of black cardstock and rub well. Make sure that the adhesive side will be positioned in front of the word BOO! Designer’s Tip: Use the rounded end of a bone folder to burnish the adhesive sheet to the cardstock.
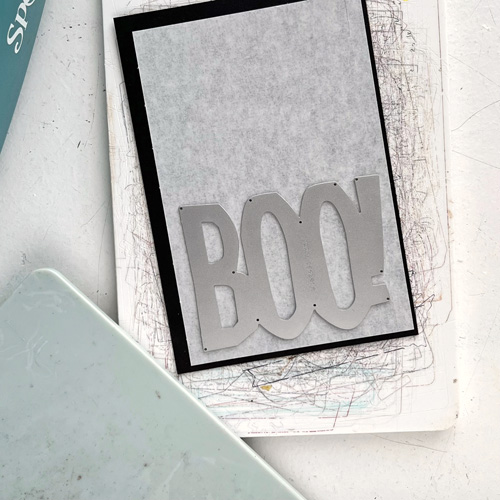
Place the cardstock on the die-cutting plate with the adhesive side up and lay BOO! die on it. Die-cut with your machine.
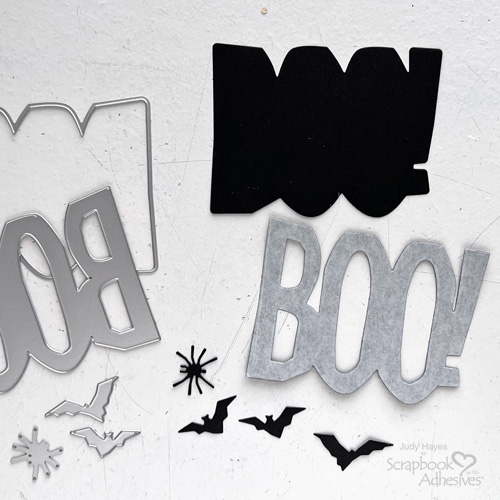
Then die-cut the outline shape for BOO! from black cardstock as well as one spider, one large bat, and 2 small bats.
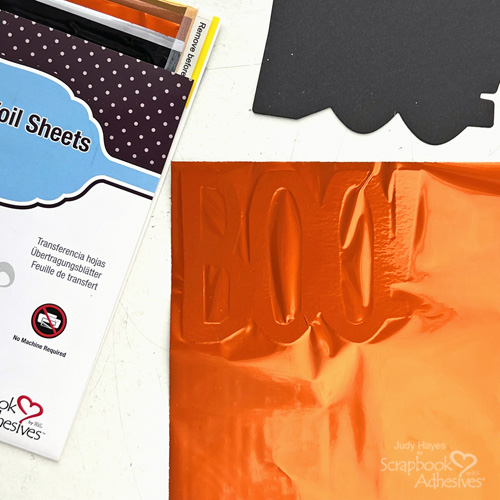
Carefully peel the liner back slightly on the BOO! piece, and place the orange foil (color side facing you) from the Metallic Transfer Foil Sheets Nature Colors over the exposed adhesive. Then remove the liner completely, press the foil into the word, and gently rub to transfer the color. Peel the foil away. If there are any missed areas, reapply the foil.
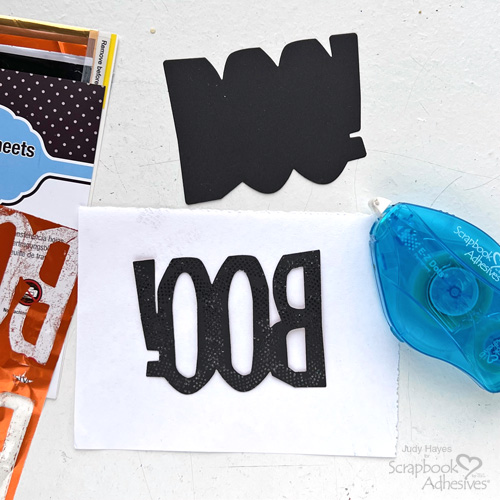
On the backside of the foiled BOO!, apply E-Z Dots® Permanent Refillable Dispenser and attach it to the black outline piece.
Stamp the Background
Cut a 3.875 x 5.625-inch rectangle from a piece of Kraft cardstock. Apply Distress Picket Fence ink to the large spider web and stamp at the top of the Kraft cardstock. Next, ink a small web with the Distress Picket Fence and stamp at the bottom.
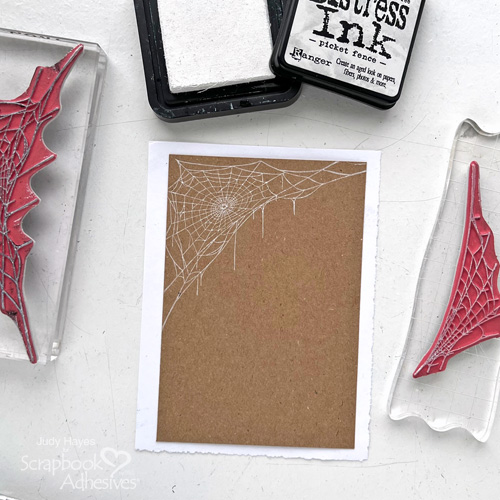
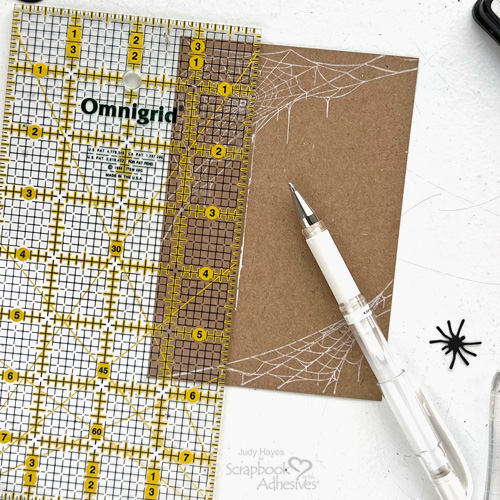
Use a white pen and ruler to extend the line from the web toward the bottom. Designer’s Tip: Place the matted BOO! piece on the stamped background to help determine how long to make a line.
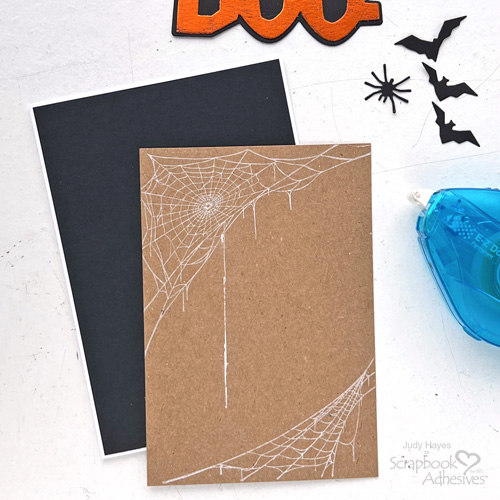
Apply adhesive to the back of the stamped Kraft piece with E-Z Dots® Permanent Refillable Dispenser and fasten on the card front.
Attach BOO! and Bats
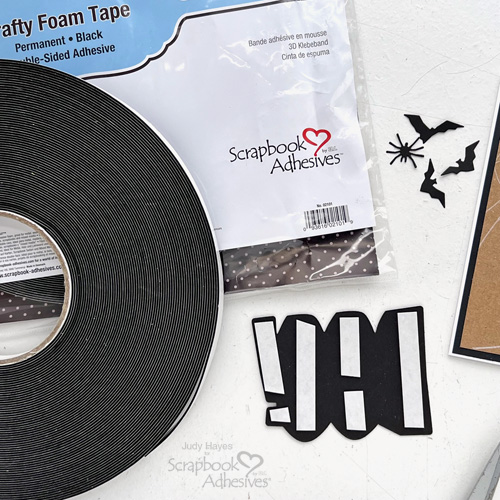
Cut pieces of Crafty Foam Tape Black 108ft. to fit on the back of the foiled BOO! piece, peel the liners off, and place on the card front.
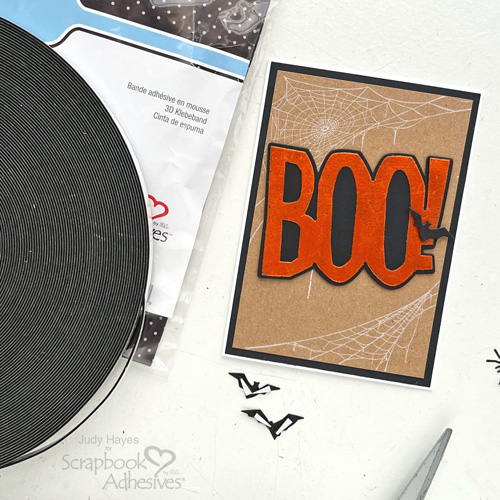
Cut pieces of Crafty Foam Tape Black 108ft. to place on the back of bats. Peel liners and place one small bat and large bat on BOO!. Place another small bat above the BOO!.
Designer’s Tip: I like using Crafty Foam Tape Black 108ft. because it’s thin and can be cut to fit as needed.
Attach the Spider
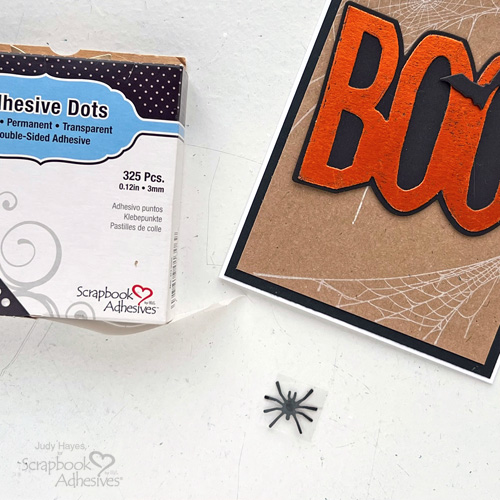
Place Adhesive Dots Micro on the back of the spider, peel the liner, and attach it at the bottom of the drawn line (the line can be drawn longer as needed).
Add Greeting
Stamp greeting on black cardstock with embossing ink and heat emboss with white embossing powder. Trim around each word.
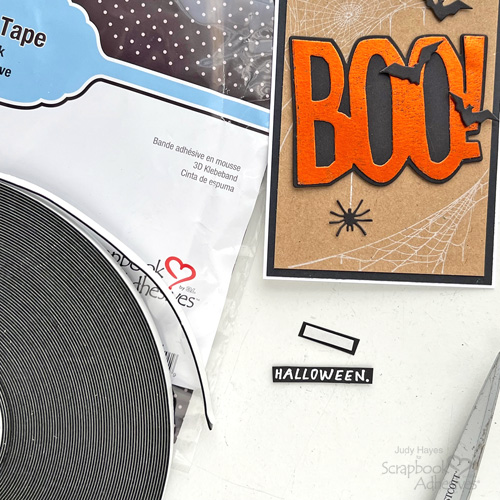
Cut Crafty Foam Tape Black 108ft. into strips to fit Happy Halloween words and fasten on the back of each one. Peel liners and attach the greeting to the card at a slight angle matching the angle of the BOO!.
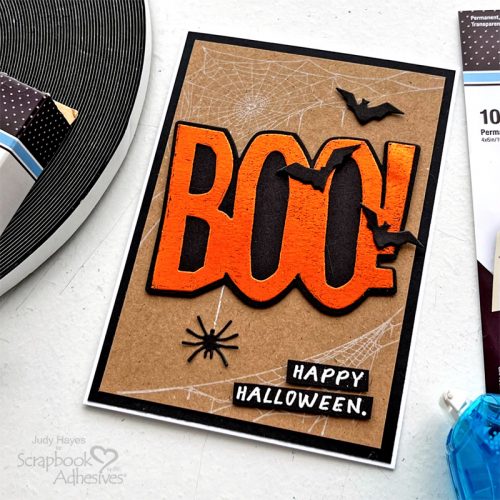
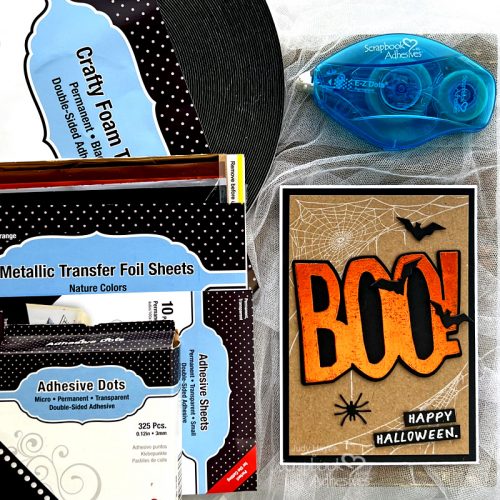
Enjoy!
Thanks for Visiting!
Judy Hayes
Creative Time: 25 mins
Skill Level: Intermediate
Materials Needed:
Scrapbook Adhesives by 3L®
Metallic Transfer Foil Sheets Nature Colors
E-Z Dots® Permanent Refillable Dispenser
Other: Stamp: Stampers Anonymous (Tim Holtz Unraveled); Ink: Ranger Ink (Distress Picket Fence, Distress Embossing Ink); Embossing Powder: Ranger Ink (White Embossing Powder); Craft Dies: Sizzix (Tim Holtz Big Frights); Black, Kraft + White Cardstock; White Uni-Ball Signo Pen
Click Preferred Retailers List
Save to Pinterest!
