Inspired by quilt designs, I created a couple of quilt card projects since I do not know how to sew! LOL! With the help of Adhesive Sheets 12 x 12in., it was so easy to piece together these intricate designs. Let me show you how.
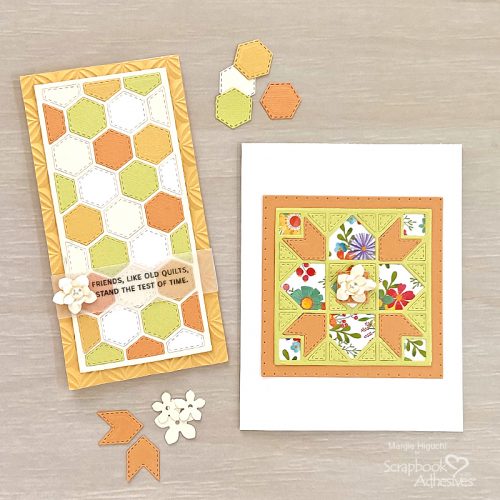
Mini Slimline Hexi Quilt Card Prep
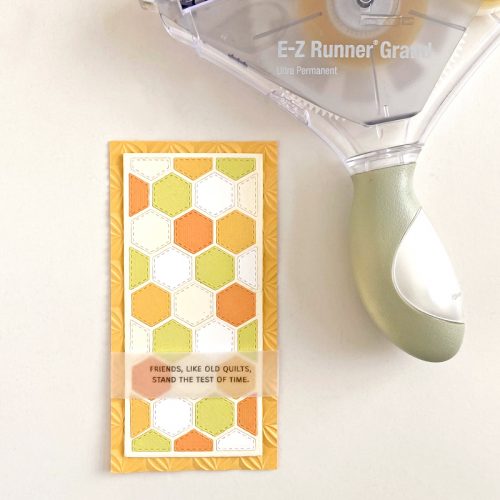
Apply Adhesive Sheets 12 x 12in. on the back of the following cardstock color: light orange, dark orange, light green, cream, and white. Nest the outline and Hexi insert dies together and die-cut all the cardstock. Die-cut the outline die with a piece of cream cardstock to use as the base of the card front panel. Peel the liner off the frame and adhere it on top of the base.
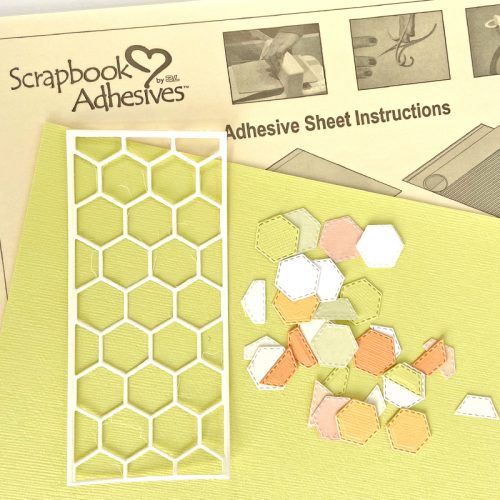
View a quick video below on how to apply.
Design Your Quilt Pattern
Determine your quilt design. Peel off liners from the pieces and adhere them into place. Designer’s Tip: After placement, use the blunt end of a bone folder to press in place or a die-cutting machine and roll through to add pressure to secure.
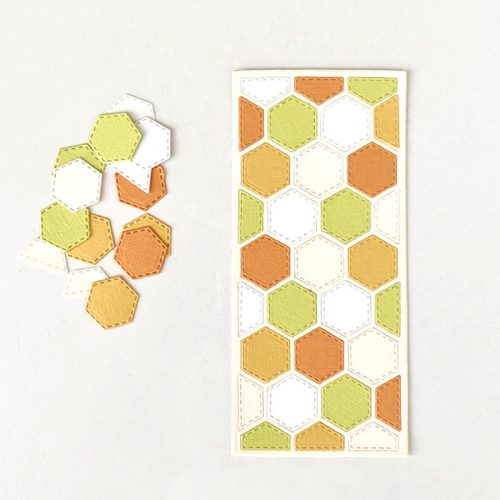
Create Layers
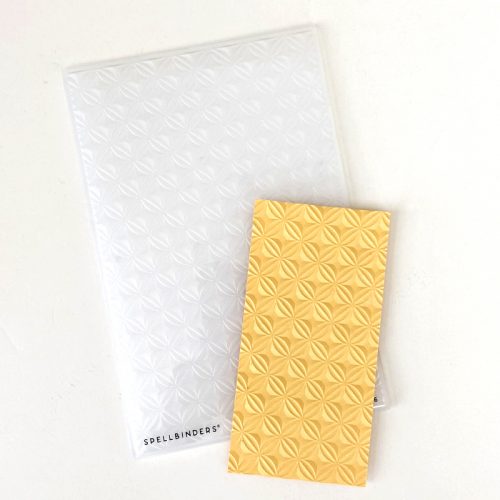
Embossing a piece of 3 x 6-inch dark orange panel with the embossing folder.
Stamp sentiment on a piece of 4 x 7/8-inch vellum strip. Assemble the layers and adhere them on a 3 x 6-inch side-fold mini slimline card base with the E-Z Runner® Grand Ultra Strong Refillable Dispenser.
Die-cut two small flowers from cream cardstock, stack the two, and adhere them with Adhesive Dots Mini. Center a white pearl.
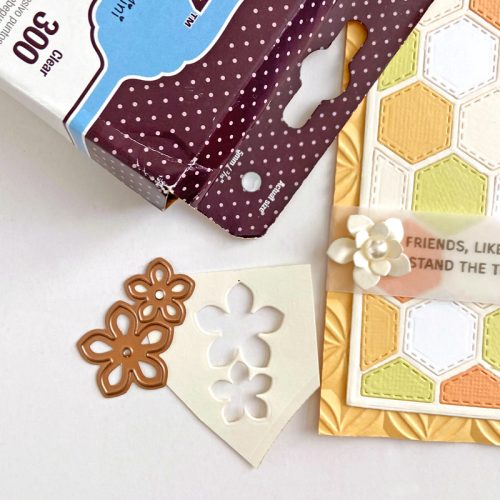
Flower Mini Quilt Card
Apply Adhesive Sheets 12 x 12in. on the back of the light green and dark orange cardstock. Nest the outline and quilt insert dies together and die-cut both cardstock pieces. Remove the bigger pieces in the light green frame but leave the smaller triangle in the frame. Keep the arrow shapes and the center square from the dark orange frame.
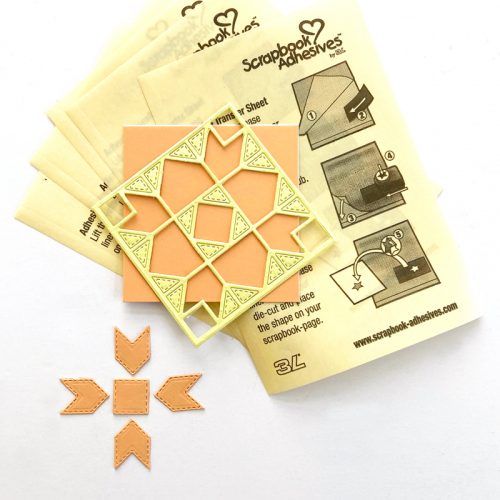
The Designing Details
Die-cut the outline die with a piece of patterned paper to use as the base of the card front panel. Peel off the liner on the back of the light green cardstock frame and place it on top of the panel. Remove the liners and add the bigger pieces of light orange into the frame. Refer to the image below on placement.
Designer’s Tip: After placement, use the blunt end of a bone folder to press in place or a die-cutting machine and roll through to add pressure to secure.
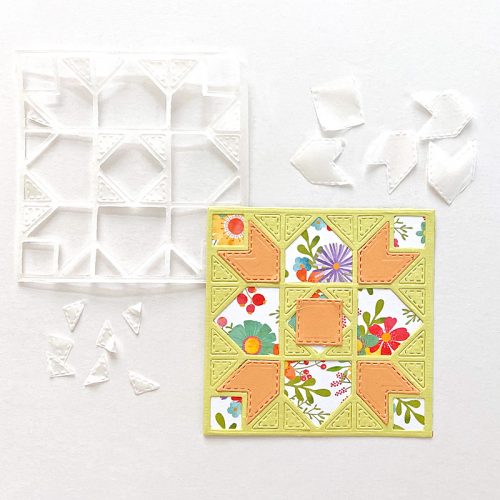
Die-cut a decorative square from a piece of dark orange panel. Assemble the layers and adhere on a 4.25 x 5.5-inch side-fold white cardstock card base with the E-Z Runner® Grand Ultra Strong Refillable Dispenser.
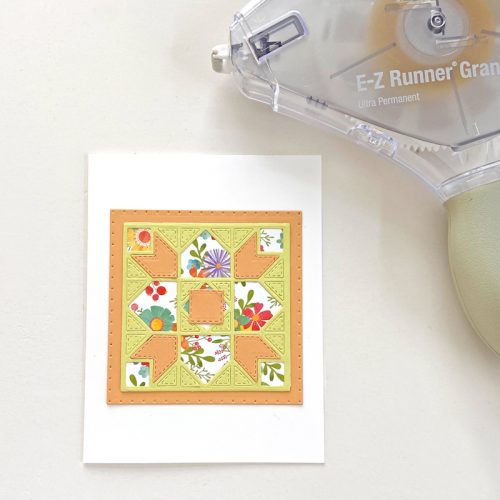
To finish, die-cut two small flowers from cream cardstock, stack the two, and adhere them with Adhesive Dots Mini. Center a white pearl. It’s ready to be sent for any occasion!
I hope you enjoyed these Quilt Cards and that they might inspire you to create some to spread some love!
Thanks for Visiting!
Margie Higuchi
Creative Time: 45 mins
Skill Level: Intermediate
Materials Needed:
Scrapbook Adhesives by 3L®
E-Z Runner® Grand Ultra Strong Refillable Dispenser
Other: Spellbinders Paper Arts (S5-542 French Braid and Hexagon Panels Etched Dies, S5-46 Log Cabin and Flower Mini Quilts Etched Dies, S5-538 Postage Edge Squares Etched Dies, STP-156 Quilty Hugs Sentiments Clear Stamp Set, E3D-046 Orange Peel Quilt 3D Embossing Folder and S3-420 Petite Floral Potpourri Etched Dies); Hero Arts (INTENS-ified Black Ink); PhotoPlay Paper Co. (Grow Paper, Spring in My Garden Collection); Light Orange, Dark Orange, Light Green, Cream and White Cardstock; Vellum Paper; Self-Adhesive White Pearl; Bone Folder
Click Preferred Retailers List
Save to Pinterest!
Visit our Website and Blog!
Sign up for our Newsletter so you never miss a contest or giveaway!


