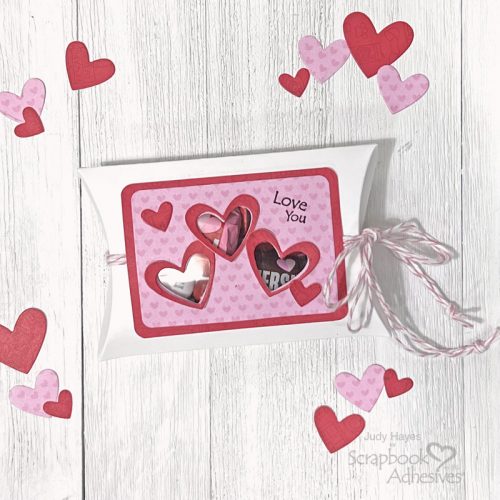
Hi, Judy here today! Wow! It’s the end of January already. That means Valentine’s Day is just a couple of weeks away. With that in mind, I put together a Valentine’s Day Treat Box with heart windows to show a peek of treats inside.
Box Base
From white cardstock, use a die die-cutting machine and pillow box die to cut 2 pieces for the treat box. Center rectangle die-cuts one box piece and pass through die cutting machine to cut window.
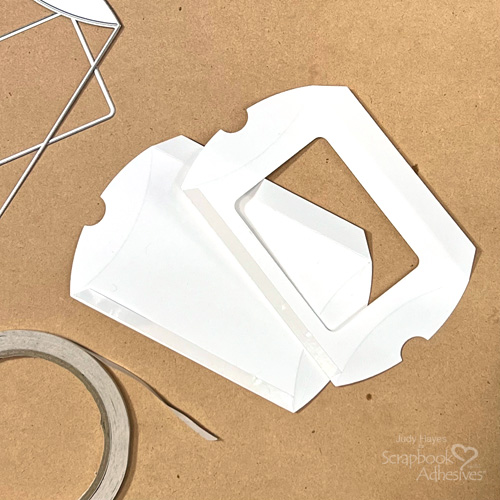
On the inside of each piece, apply a piece of Crafty Power Tape Polybag 81ft along the edge without folding. Remove the liner from one piece and place it over the folded edge of the other piece.
Cut a 3.5 x 2.75-inch piece of clear acetate.
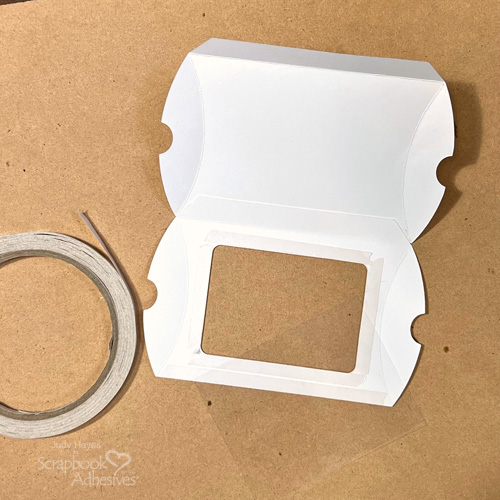
Apply pieces of Crafty Power Tape Polybag 81ft on the inside of the box around the opening, peel liners, and place acetate over the adhesive. Press well.
Cut Label Pieces
Use die cutting machine and a rectangle die to cut with pink paper.
Cut a 2.375 x 3.25 rectangle of red paper and use a 1/4″ corner rounder to cut corners.
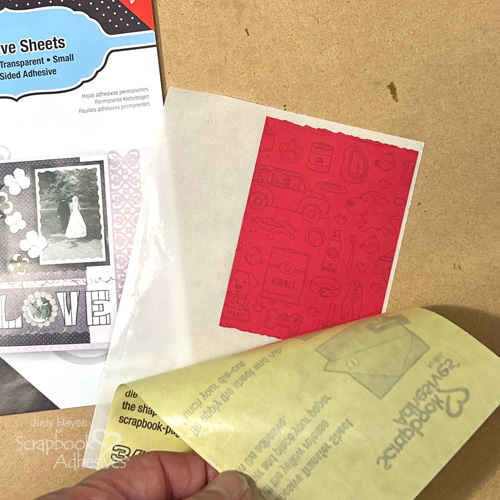
Apply Adhesive Sheets 4 x 6in. to the back of a piece of red paper.
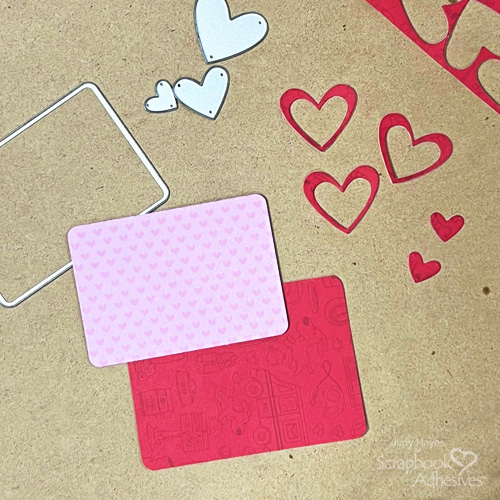
Use a die-cutting machine and some heart dies to die-cut 3 large hearts and 2 small hearts from red paper. Center the medium heart die to a large heart and pass through the die-cutting machine to cut open a heart. Repeat with the other 2 large hearts.
Cut Heart Openings
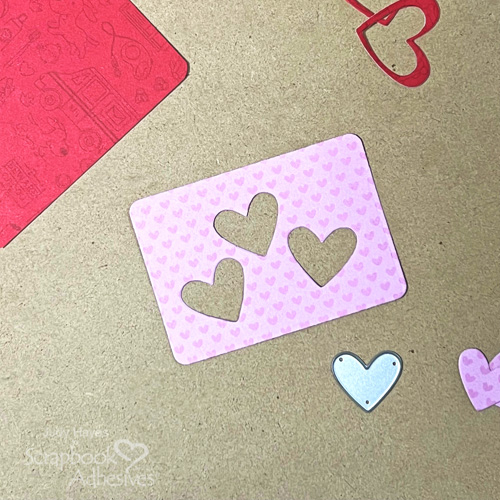
Place medium heart die on the pink label and pass through die cutting machine to cut heart opening. Repeat 2 more times to make three heart openings.
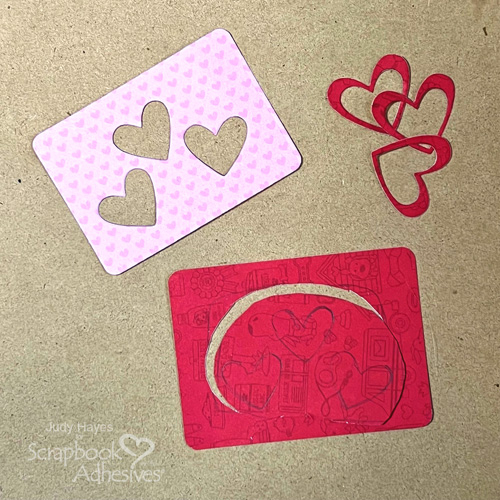
Place the pink piece centered on a red mat and trace heart openings with a pencil. Use scissors to cut an opening in the red mat beyond the traced hearts.
Assemble Label
Apply adhesive around the edges on the back of the pink piece using E-Z Runner® Ultra Strong Refillable Dispenser and attach it over red paper.
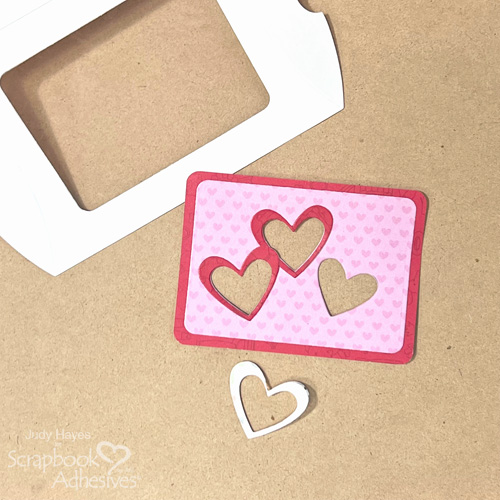
Peel the liner from each red open heart and place over openings on pink/red label. Use a bone folder to press each heart well to secure.
Stamp Greeting
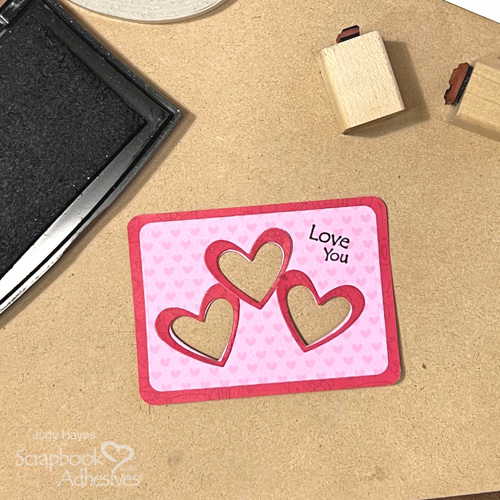
Use black ink to stamp the greeting on the label.
Attach Twine
Cut 3 strands of pink and white twine 10 inches long and 3 strands about 15 inches long.
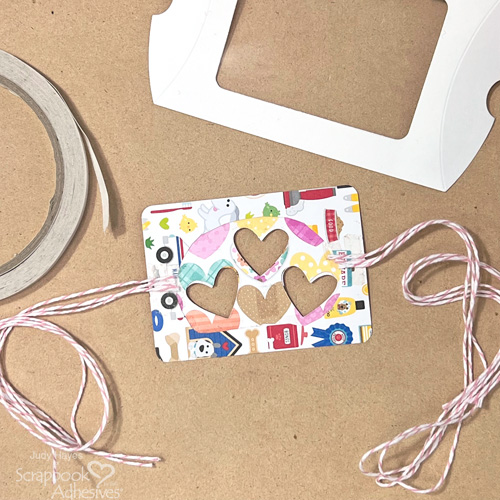
On the back side of the heart label, apply Crafty Power Tape Polybag 81ft at each end near the center. Peel the liner and place longer twine strands on the right edge as shown in the photo. Repeat with shorter twine strands at the other edge of the label.
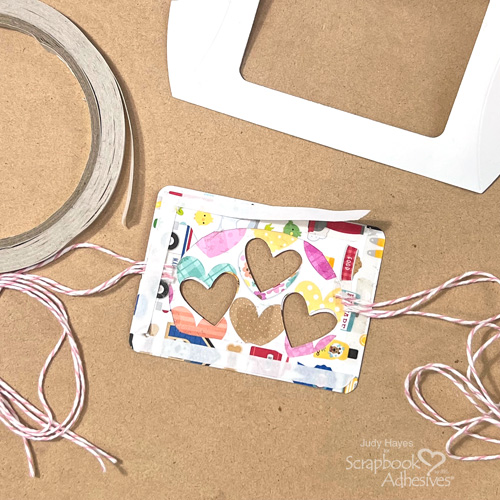
Apply Crafty Power Tape Polybag 81ft along all edges including over twine ends. Use E-Z Runner® Ultra Strong Refillable Dispenser to apply adhesive around the hearts. Or additional Crafty Power Tape Polybag 81ft can be used between the hearts.
Attach Label to Box
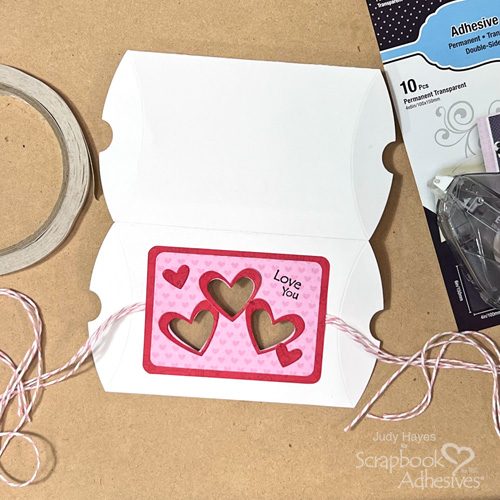
Peel the liners from the tape on the back of the label and attach them to the box over the opening. Press well with fingers or bone folder to tightly secure to box.
Finish
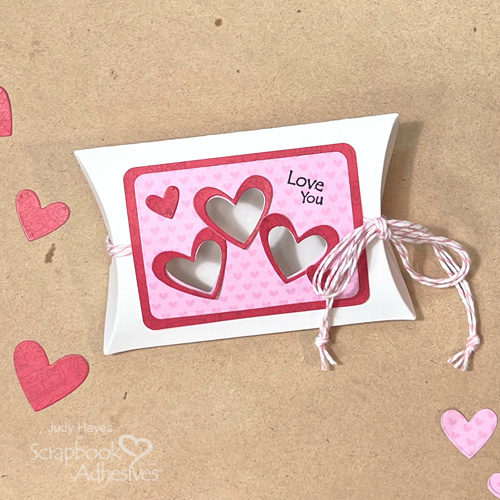
Peel the liner from the remaining box edge, fold the box, and press the edges together to complete the treat box. Close box ends, wrap longer twine around the back, and tie in a bow. Knot ends of twine and trim excess.
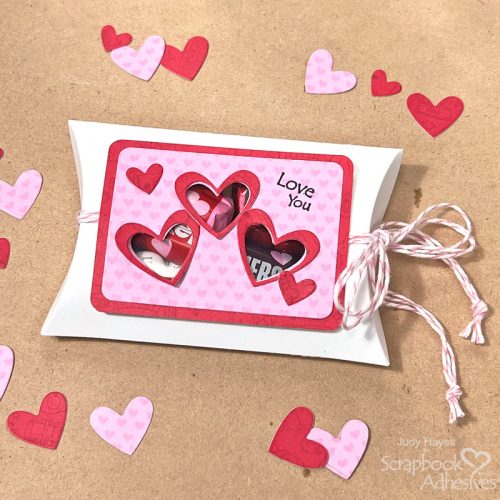
All that’s left to do is to fill it with treats!
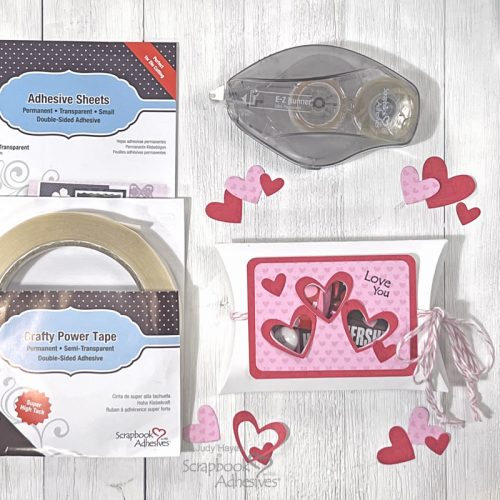
Thanks for stopping by!
Judy Hayes
Creative Time: 30 mins
Skill Level: Intermediate
Materials Needed:
Scrapbook Adhesives by 3L®
E-Z Runner® Ultra Strong Refillable Dispenser
Crafty Power Tape Polybag 81ft
Other: Papers, Stickers + Ephemera: Doodlebug Design Inc (Pretty Kitty (pink hearts), Doggone Cute (red)); Stamp: Unknown); Ink: Imagine Crafts/Tsukineko (Versafine Onyx Black) Craft Dies: Sizzix (Tim Holtz Vault Pillow Box and Bag, Vault Lovebirds); White Cardstock; Twine (Pink and White)
Click Preferred Retailers List
Save to Pinterest!
Visit our Website and Blog!
Sign up for our Newsletter so you never miss a contest or giveaway!


