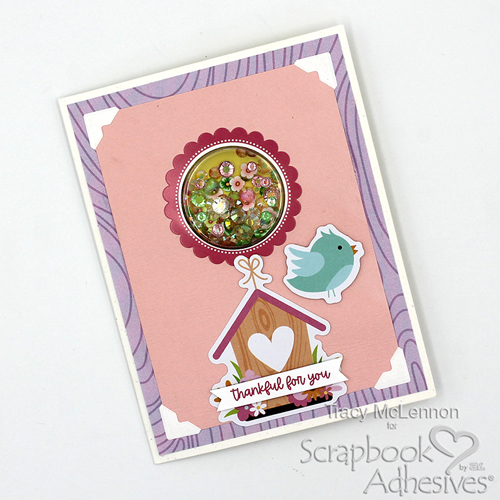
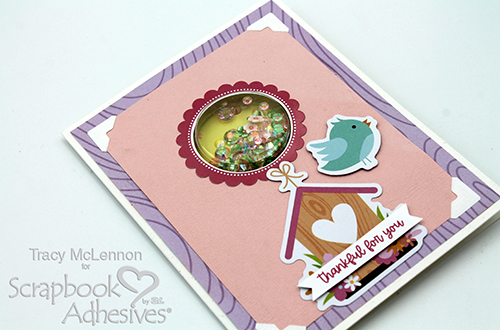
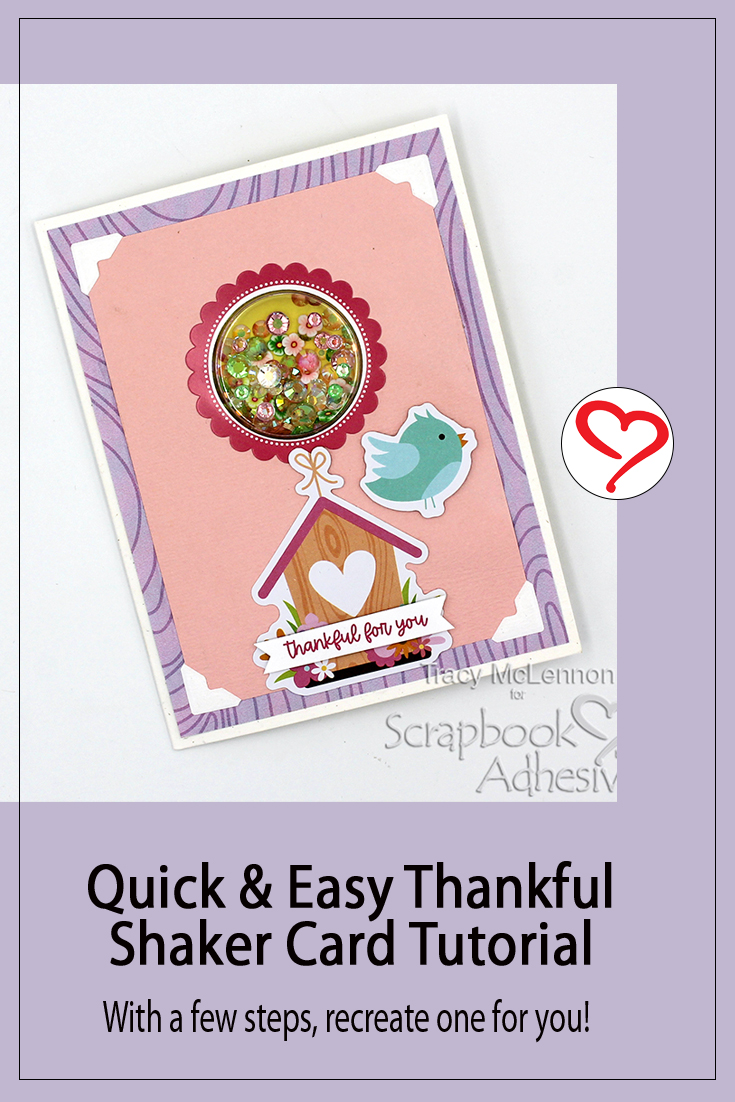
Hello crafty friends! Tracy here, and today I have a sweet little Thankful Shaker Card to share. Follow along for all of the crafty details.
Let’s Get Started!
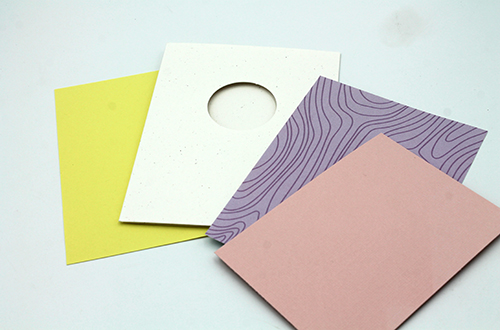
Let’s cut all of my card front layers. I have the pre-cut card base so I need a yellow cardstock piece for inside the card. Then the purple patterned piece for the card panel and a pink cardstock for the card front of the Thankful Shaker Card.
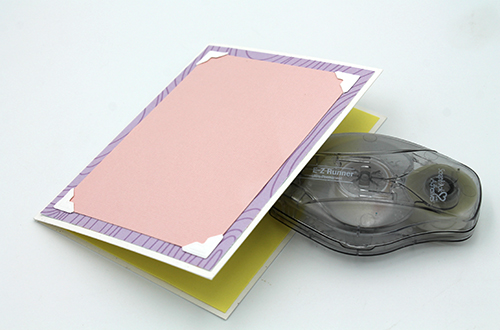
Adhere the inside yellow cardstock and the purple patterned paper to the card using the E-Z Runner® Ultra Strong Refillable Dispenser. I added a Creative Photo Corners White on each corner of the pink cardstock before securing it to the card front with the E-Z Runner® Ultra Strong Refillable Dispenser. This gives the front stability when die-cutting in the next step.
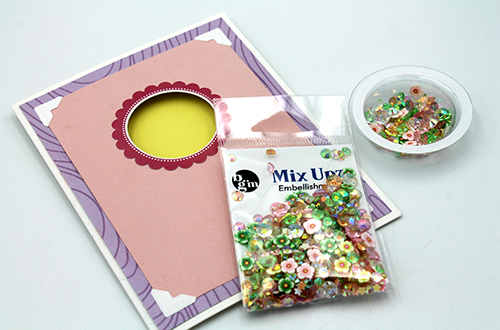
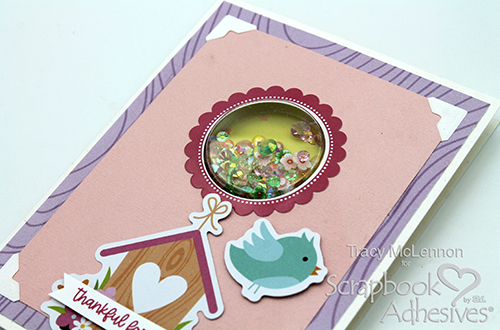
Die-cut a hole out of the card front to match the pre-cut card base. Add the scalloped sticker around the shaker opening. Next filler the shaker cup with the Spring Mix Upz. Add the self-adhesive shaker cup inside the card using the card front opening as a guide.
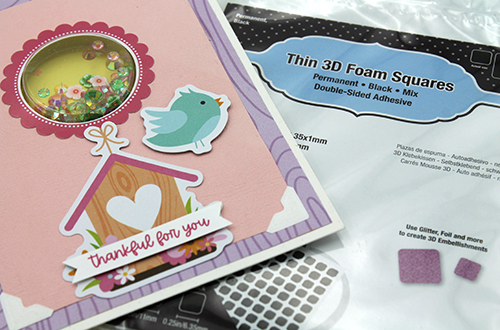
Add the die-cut pieces and stickers to the card front. Use Thin 3D Foam Squares Black Mix for some extra dimension to this Thankful Shaker Card.
Thanks so much for stopping by!
Tracy McLennon
Creative Time: 30 mins
Skill Level: Beginner
Materials Needed:
Scrapbook Adhesives by 3L®
Creative Photo Corners White
E-Z Runner® Ultra Strong Refillable Dispenser
Thin 3D Foam Squares Black Mix
Other: Patterned Paper: Bella Blvd (Just Because Collection); Shaker: Buttons Galore (Mix Upz); Circle Dies; Pink and White Cardstock
Save to Pinterest!
Visit our Website and Blog!
Sign up for our Newsletter so you never miss a contest or giveaway!


