
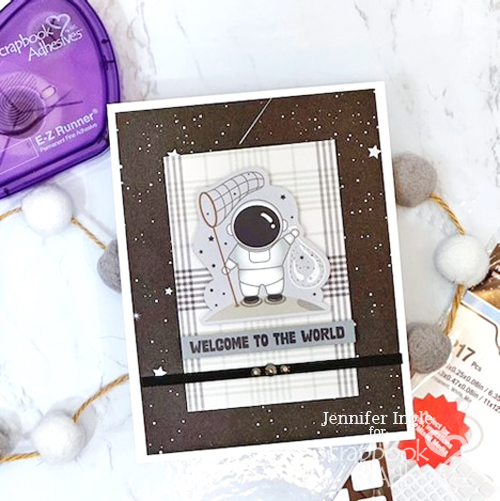
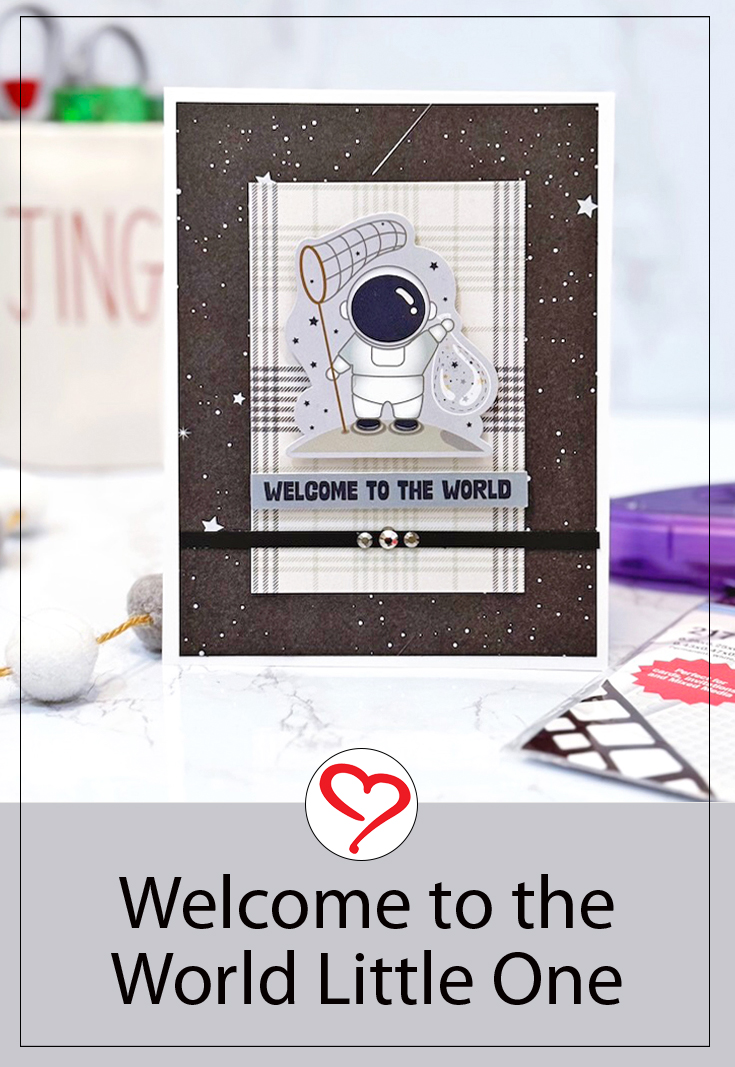
Hello, friends! This is Jingle here today with a super fun Welcome to the World Card for a special little one! I used fantastic papers and stickers from PhotoPlay Paper, along with my Scrapbook Adhesives by 3L favorites, to make this simple design come to life.

Welcome to the World Card Layers
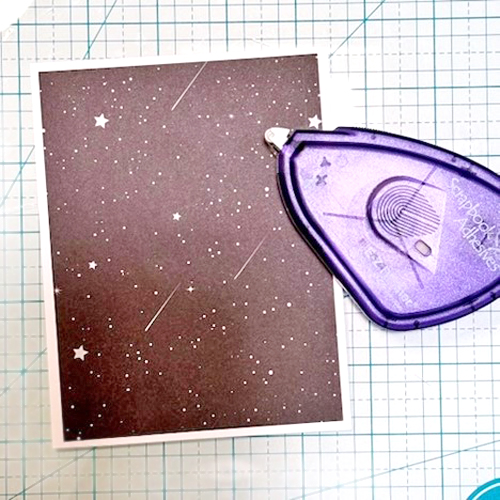
Create a white card base. Trim the star patterned paper slightly smaller than the base and adhere with the E-Z Runner® Permanent Fine Adhesive Dispenser. I love this adhesive because it gives you a little time to reposition if you need it. Also, it stays flat beneath thinner papers and doesn’t show through!
Adding Elements
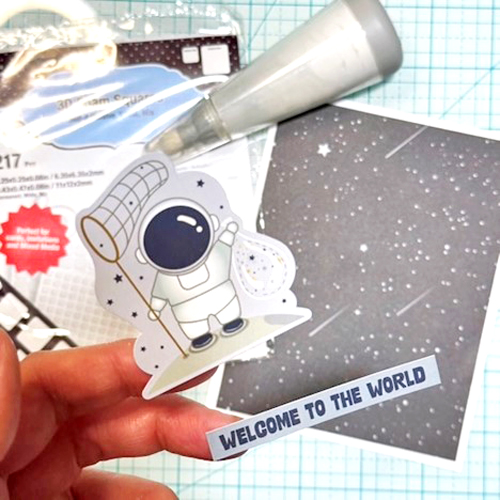
This next step is super fun! Create elements with stickers. Grab a powder tool (or just some cornstarch and a small brush) and dust the back of the stickers you want to use on your card. This eliminates their stickiness. Now you can use an adhesive of your choice.
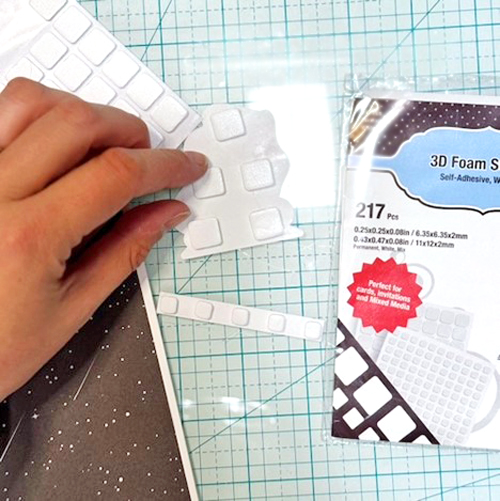
After the stickers were dusted, I used the 3D Foam Squares White Mix which allows for dimension and interest to the design!
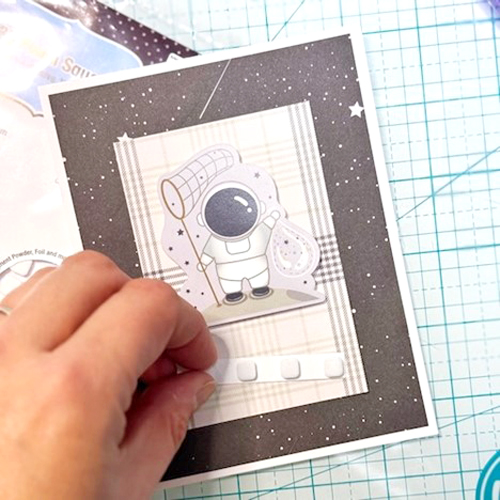
To anchor the sticker elements, I centered a plaid panel on the card front with E-Z Runner® Permanent Fine Adhesive Dispenser. Next, adhere the foam-backed stickers onto the plaid panel.
Finishing Touches
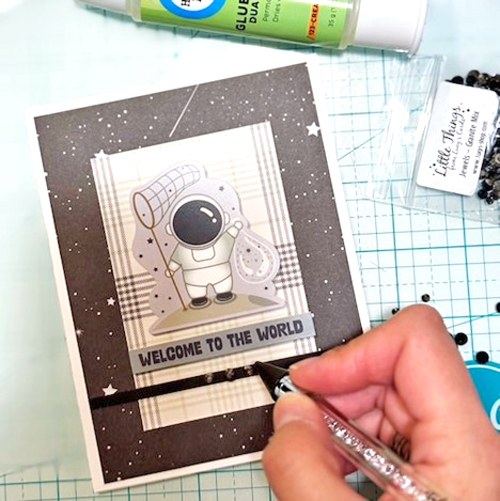
To finish, let’s add a little sparkle! Adhere a black strip of cardstock to the card with the E-Z Runner® Permanent Fine Adhesive Dispenser. To adhere the small smoke colored gems to the card, I used dots of Dual Tip Glue Pen.
This truly is a fun card to create! I hope you have enjoyed my process with this sweet Welcome to the World Card.
Thanks for stopping by!
Jennifer Ingle (aka Jingle)
Creative Time: 30 mins
Skill Level: Beginner
Materials Needed:
Scrapbook Adhesives by 3L®
E-Z Runner® Permanent Fine Adhesive Dispenser
HomeHobby™ by 3L
Other: Papers + Stickers: PhotoPlay (To the Moon and Back Collection); Gems: Little Things by Lucy’s Card (Smoked Gem Stones); Black + White Cardstock
Click Preferred Retailers List
Save to Pinterest!
Visit our Website and Blog!
Sign up for our Newsletter so you never miss a contest or giveaway!


