
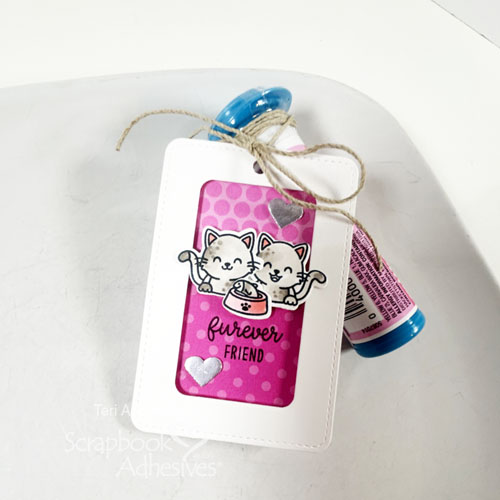
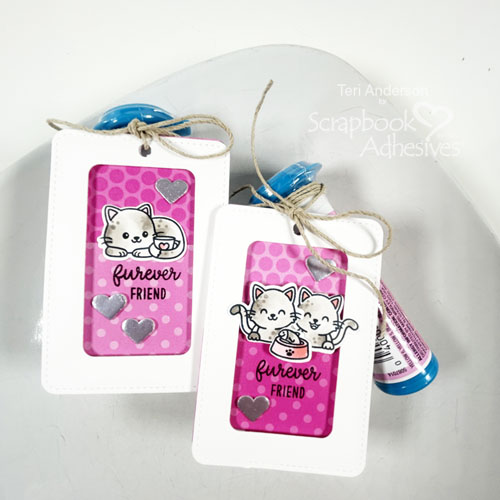
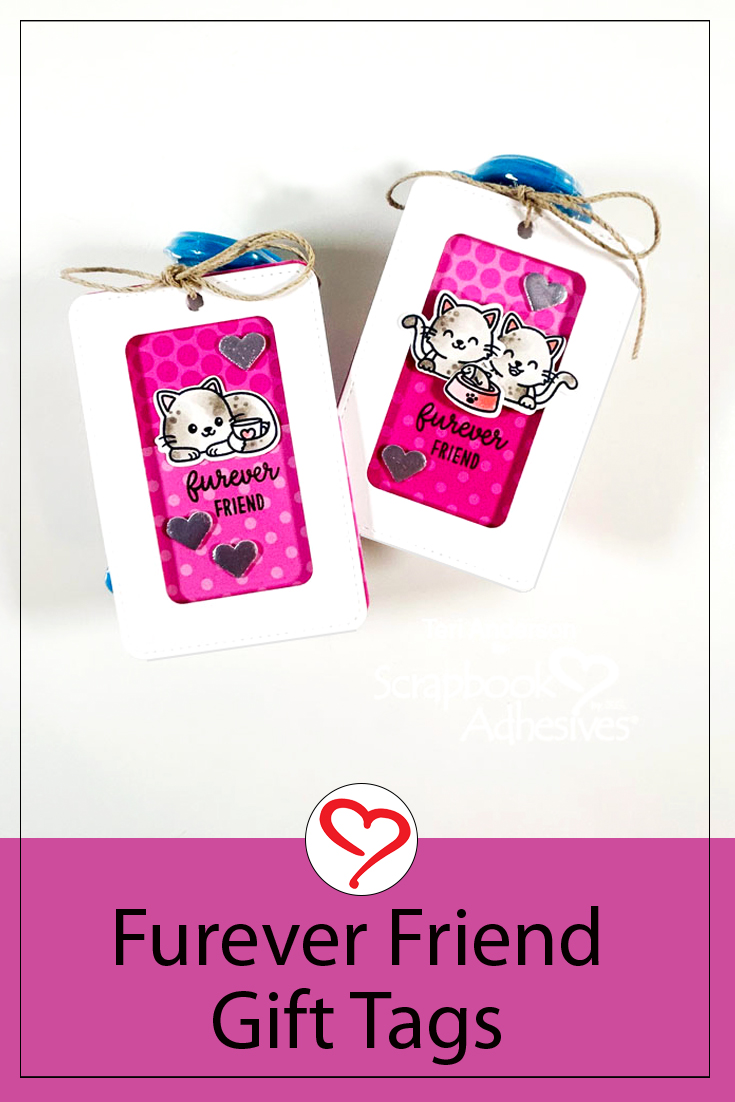
Hi, everyone! Looking for a simple gift to give to your besties? Teri here to show you how to make a super cute gift tag, Furever Friend Gift Tags, to tie onto a tube of candy!
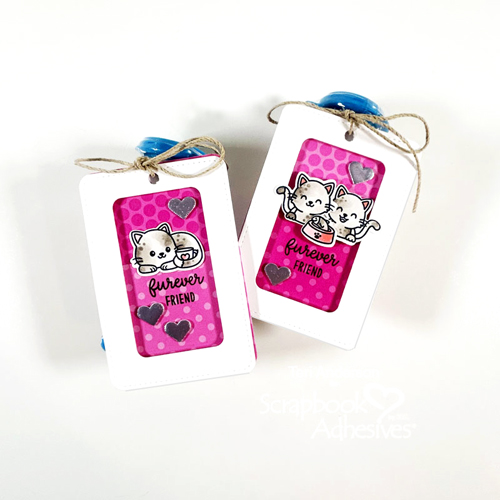
These tags are a great way to add a personal touch to a small gift of sweetness! They are great for Valentine’s Day or any other day during the year when you just want to give your friends an extra reason to smile!
Make the Tag Base and Frame
Start by cutting a large rectangle from cardstock and patterned paper. Make a frame to place on top of the large rectangles by cutting another rectangle and a smaller one out of it.
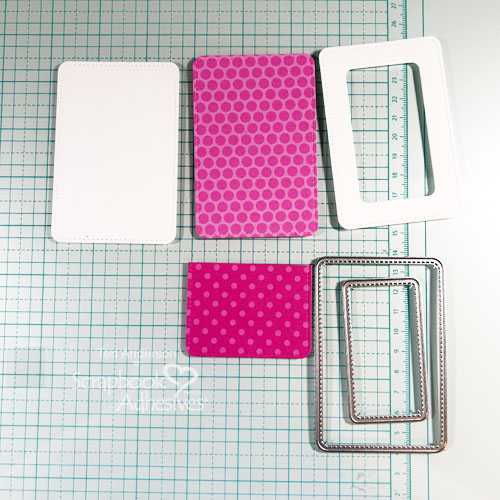
Stack and adhere the solid rectangles together. If you want your tag to be sturdier, cut a couple more rectangles from cardstock and add them to your stack.
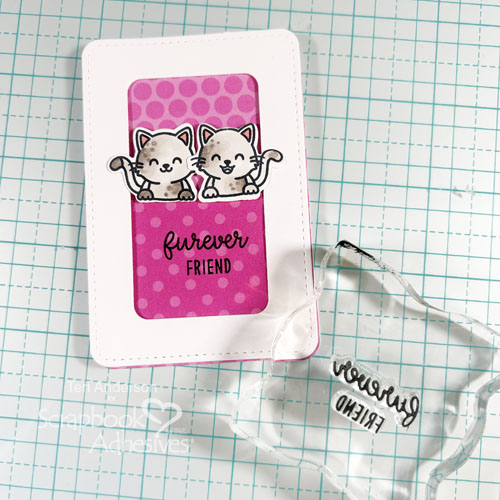
Stamp, color and die-cut a couple of small images to use on your tag. Set them aside. Set your frame on your rectangle stack so part of it is exposed. Place your images on it for placement. Do not adhere them! Stamp a sentiment on your stacked rectangle so it can be seen through the frame’s opening.
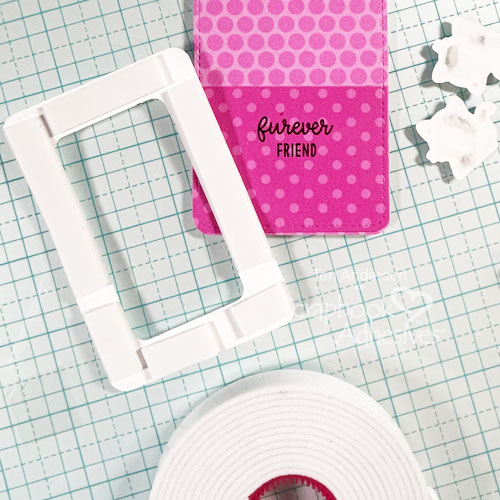
Generously apply Crafty Foam Tape to the back of your frame. Don’t be shy! Cut it into smaller pieces if you need to. Adhere your frame to your stacked rectangle.
Decorate Your Tag
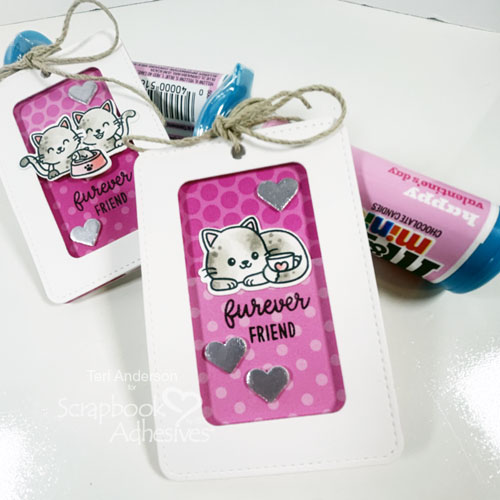
Take your images and arrange them so they can go across your frame opening. Flip them over. Apply E-Z Runner® Petite Dots Refillable to them to hold them together. Add small pieces of foam tape where the images will not touch your frame. Adhere your images to your tag.

Pump up your design’s cute factor by adding a couple of 3D Foam Hearts. Apply foil to them. I find it’s best to set your foil down (pretty side up) on your foam shapes one shape at a time. Firmly burnish your Metallic Transfer Foil onto the shape until the shape is completely covered with foil. Miss a spot? That’s OK. Set the foil back on the shape and apply more foil.
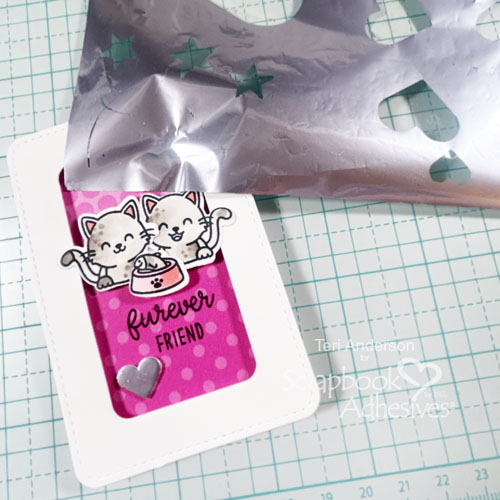
Use a hole punch to poke a hole in the top of your rectangles, turning them into a tag. Wrap jute around a tube of candy. Add your tag. If your tag is not hanging as you want it to, add a small square of Crafty Foam Tape White to the bottom of it.
A Few Closing Words and Suggestions for Changing the Design
I hope you are inspired by today’s tutorial to make a few of these to give your friends. Remember, you can save time by changing up the design! Rather than placing foam tape under your stamped images, just adhere them to your tag with a flat adhesive like the E-Z Runner® Permanent Refillable Dispenser. Consider using small embellishments, like sequins and Adhesive Dots Micro, rather than using 3D Foam Shapes.
Happy Creating!
Creative Time: 45 mins
Skill Level: Intermediate
Materials Needed:
Scrapbook Adhesives by 3L®
E-Z Runner® Permanent Refillable Dispenser and E-Z Runner® Petite Permanent Dots Refillable Dispenser
Metallic Transfer Foil Sheets Nature Colors
Other: Cardstock: Neenah; Patterned Paper: Sunny Studio Stamps (Polka Dot Parade 6×6 Paper Pack); Stamps and Dies: Sunny Studio Stamps (Foxy Friends Stamp Set and Dies; Cat Antics Stamp Set and Dies, Rounded Rectangle Mat Dies); Jute: Lawn Fawn; Ink: Ranger Ink (Black); Markers: Copic; Hole Punch; Pre-Packaged Tubes of Candy
Save to Pinterest!
Visit our Website and Blog!
Sign up for our Newsletter so you never miss a contest or giveaway!


