
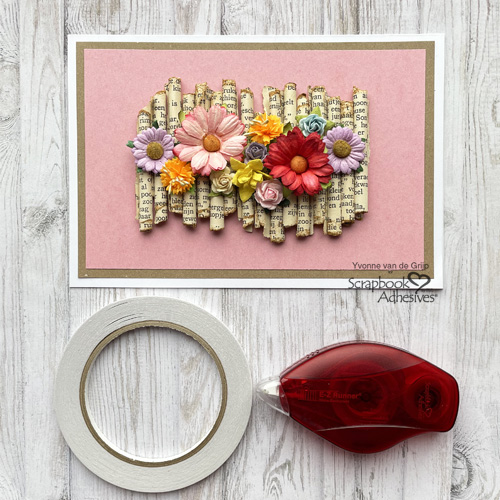
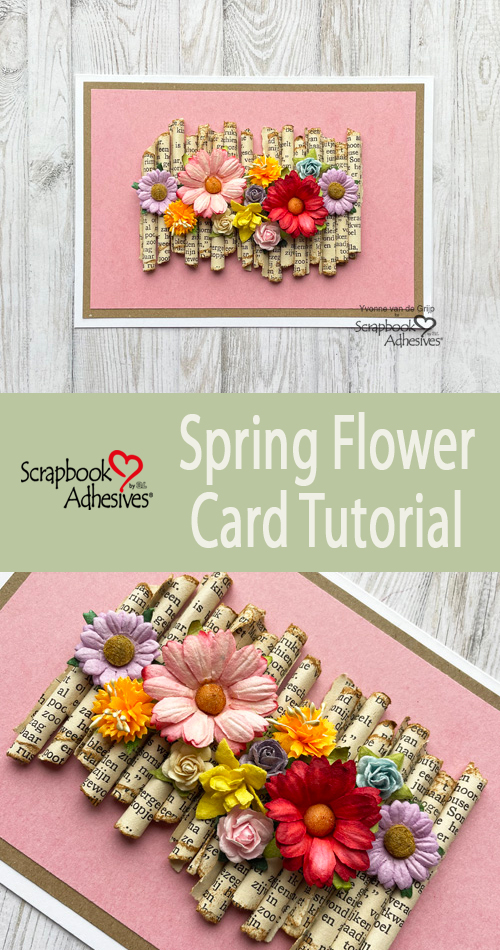
Hi everyone, Yvonne here with a fresh and colorful card to celebrate Spring. This Spring Flower Card is easy to make and suitable for many occasions.
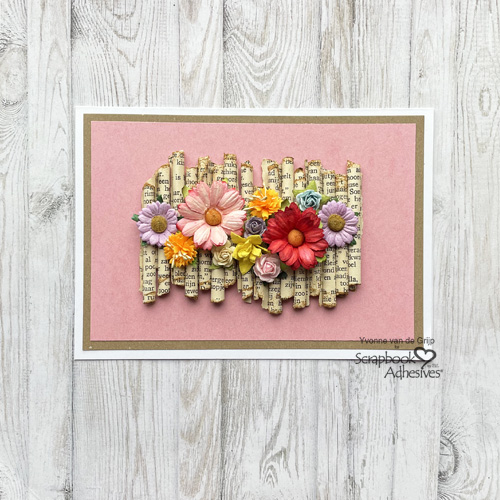
This card may look complicated, but I can assure you it’s quite simple to create. I would love to share how I made my card.
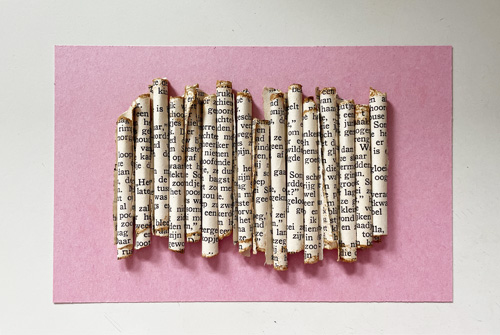
Spring Flower Card Panel
Start by making paper rolls for the top card panel of the Spring Flower Card. Cut 2.5 x 2.5-inch squares from old book pages. Then distress the edges with some brown ink and an ink-blending tool. Roll the paper squares and adhere the ends with Premium Double-Sided Tape 1/4in.
Trim a piece of pink cardstock to a rectangular size and adhere the paper rolls to the pink panel using Premium Double-Sided Tape 1/4in.
Card Base
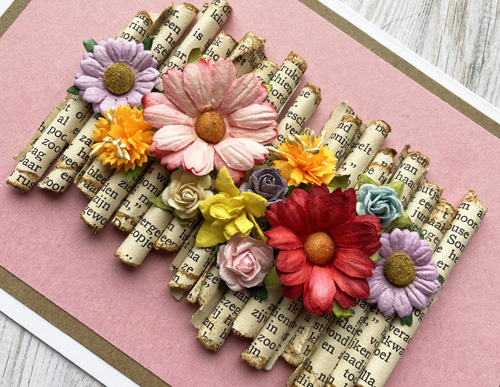
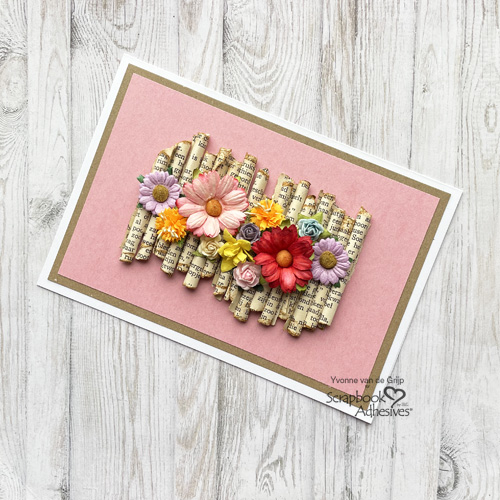
After adhering the mulberry flowers on top of the paper rolls with Adhesive Dots Large, mat the pink top card panel to a kraft cardstock panel using the E-Z Runner® Permanent Strips Refillable Dispenser. Then place the layered panel on a white card base with the same E-Z Runner® Permanent Strips Refillable Dispenser.
Voilá, your Spring Flower Card is ready.
Designer’s Tip: If you want to turn this card into a themed card, adhere a sentiment right below the flowers or stamp the sentiment onto the pink card panel.
I hope you enjoyed this fun Spring Flower Card tutorial and wish you happy crafting!

Creative Time: 40 minutes
Skill Level: Intermediate
Materials needed:
Scrapbook Adhesives by 3L®:
E-Z Runner® Permanent Strips Refillable Dispenser
HomeHobby™ by 3L:
Premium Double-Sided Tape 1/4in
Other: Ink: Ranger Ink (Distress Oxide in Vintage Photo); Ink Blending Tool; Mulberry Flowers; Paper Trimmer; Scissors; Craft Knife; White, Kraft, and Pink Cardstock
Save to Pinterest!
Visit our Website and Blog!
Sign up for our Newsletter so you never miss a contest or giveaway!


