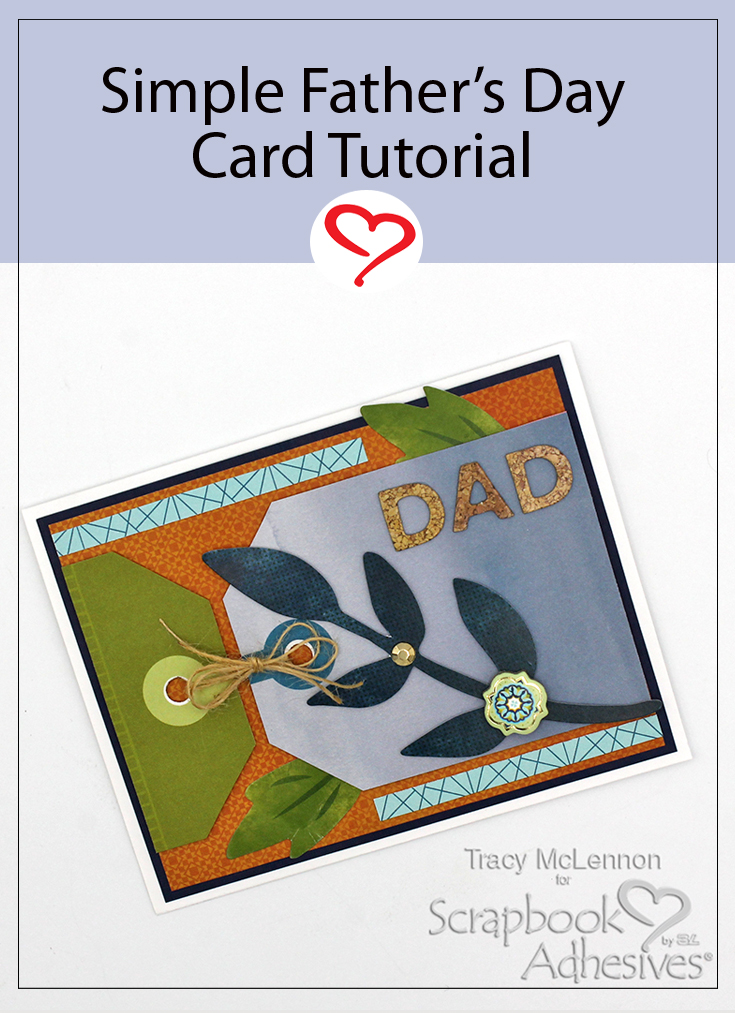
Hello crafty friends! Tracy here, and today I have a simple little Father’s Day Card to share. Dad’s love cards too, so let’s get crafty for the dad’s. Here are all of the details.
Let’s Get Started!
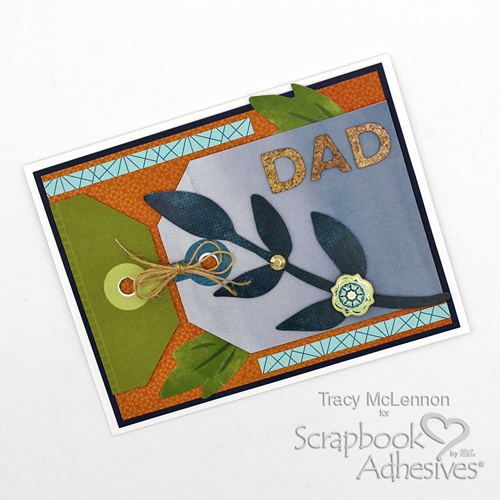
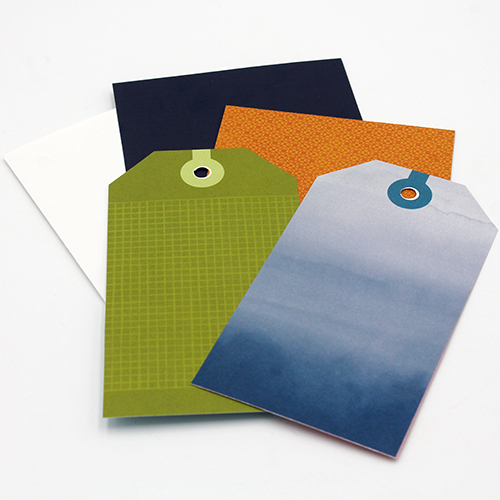
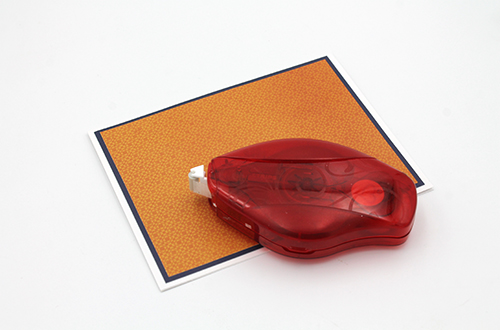
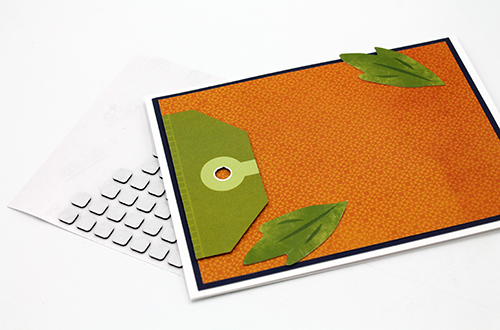
First step is to choose and cut out the background layers for this Father’s Day Card. The card base is white cardstock. Next is a layer of navy cardstock, and orange patterned paper. I also chose 2 patterned tags to use.
Adhere the base layers together using the E-Z Runner® Permanent Strips Refillable Dispenser.
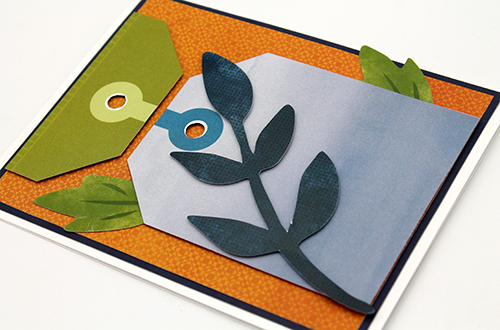
Trim the green tag down quite a bit, just leaving the top. Adhere that and the leaves to the card base using Thin 3D Foam Squares Black Mix.
Trim the blue tag slightly to fit the card front. Adhere the tag and the blue leaves to the Father’s Day Card, again using the Thin 3D Foam Squares Black Mix.
Add a burlap string bow between the 2 tags. A little trick that I often use is to adhere my chipboard stickers to my cards using the Dual Tip Glue Pen. Sometimes I find the adhesive on chipboard stickers, to be just not quite sticky enough.
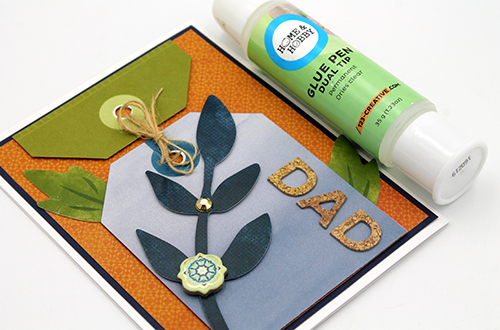
Add a few more little pieces like the gold gem and chipboard sticker.
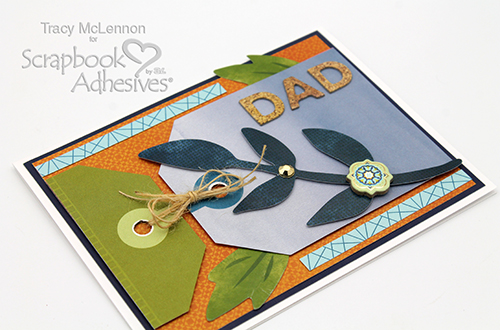
I found I wanted a little more pattern on the card, so I cut a couple of narrow strips of patterned paper and adhered them to the card using E-Z Runner® Micro Refillable Dispenser.

Thanks so much for stopping by!
Tracy
Creative Time: 30 mins
Skill Level: Beginner
Materials Needed:
Scrapbook Adhesives by 3L®
Thin 3D Foam Squares Black Mix
E-Z Runner® Permanent Strips Refillable Dispenser
E-Z Runner® Micro Refillable Dispenser
HomeHobby™ by 3L
Dual Tip Glue Pen
Other: Paige Evans Collection; Cardstock (White, Navy); Natural Burlap String; Gold Gems
Save to Pinterest!