
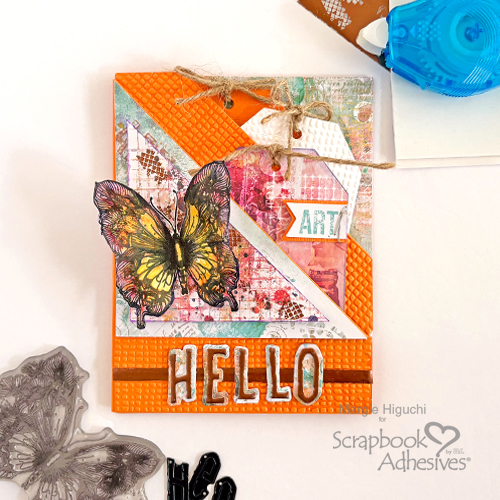
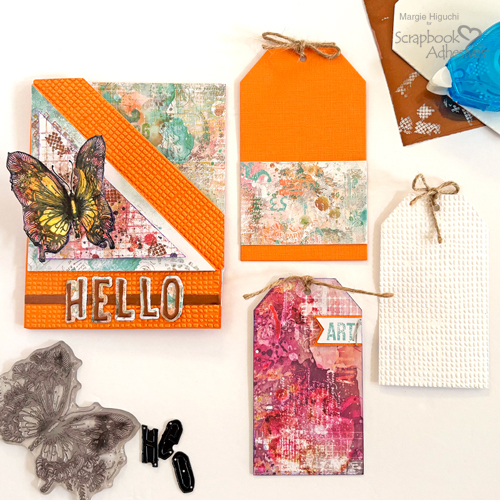
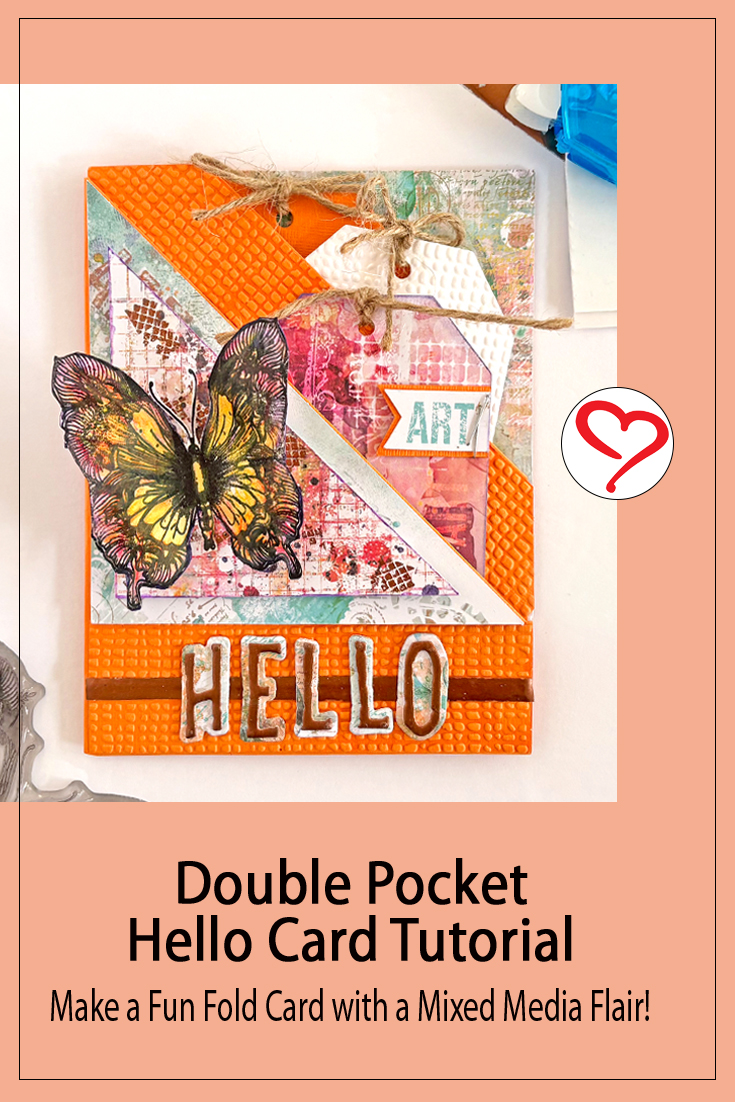
Hi, Margie here today and I found a super fun and interactive card to share! Let me show you my Double Pocket Hello Card featuring the Wear Your Adhesive on the Outside technique. Love how it turned out!
Double Pocket Hello Card Base
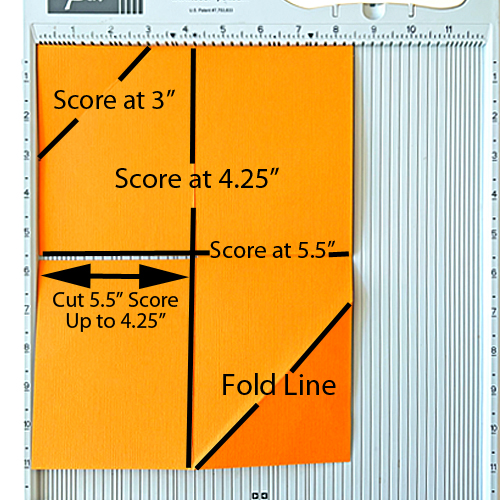
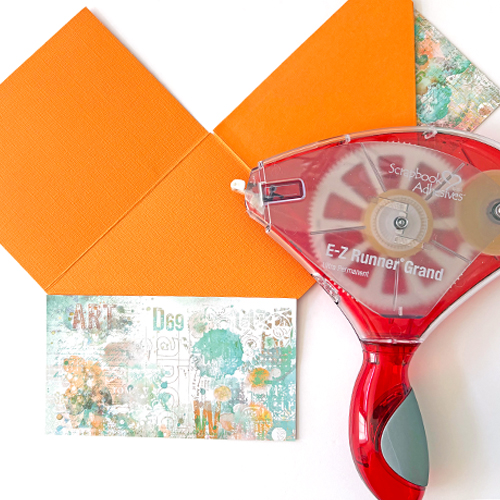
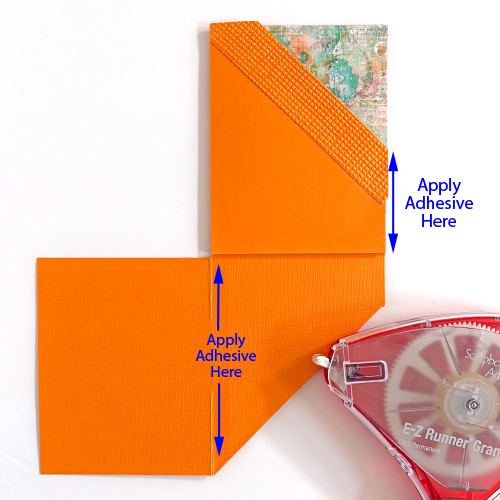
Trim an 8.5 x 11-inch orange cardstock. With the 8.5-inch side up, score at 4.25-inch. Flip to the 11-inch side up, score at 5.5-inch. Burnish all the score lines.
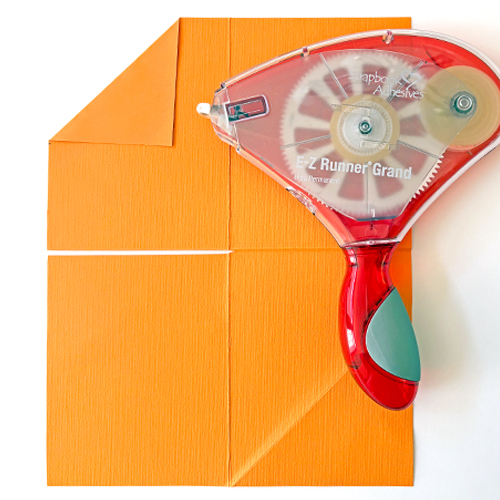
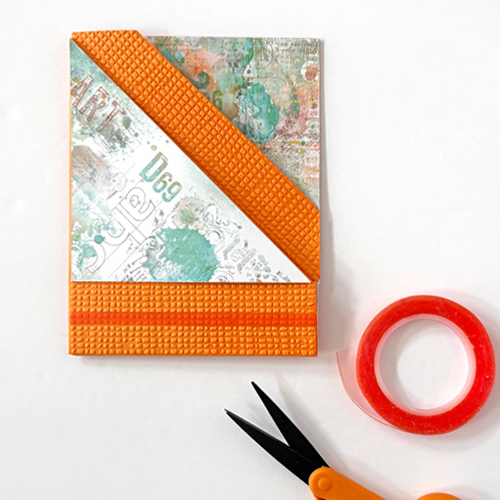
On the 8.5-inch side up, mark the 3-inch on the top and the left side of the cardstock and score a line to connect the two marks. Cut a slit at the 5.5-inch mark to the intersecting lines (to the 4.25-inch). Fold a diagonal line in the lower right corner. Refer to the image below left. Apply the E-Z Runner® Grand Ultra Strong Refillable Dispenser to adhere the upper left corner.
Pocket Details
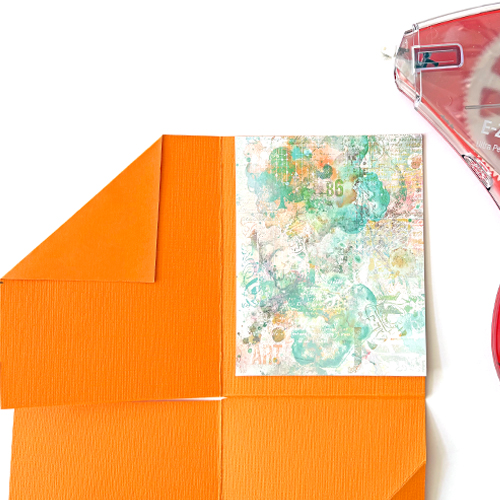
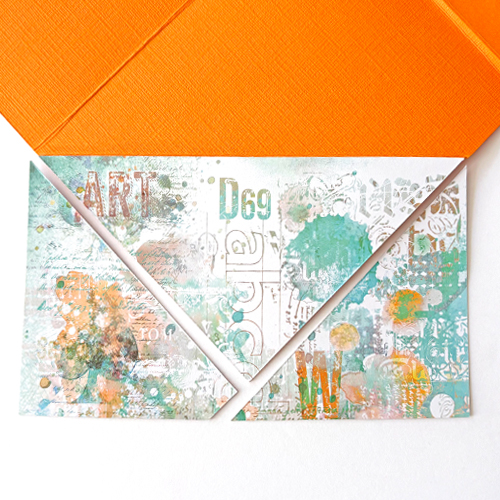
Cut the patterned paper to 4 x 5 inches and 5 x 3.5-inch. Adhere them with the E-Z Runner® Grand Ultra Strong Refillable Dispenser. Designer’s Note: Make sure the top and the right side cover the inside of the pocket. The rest will be hidden.
Cover the outside pocket flap with the 6 x 3-inch patterned paper. Mark with a pencil and use the paper trimmer to cut straight lines. Use the leftover triangle to layer on top of the covered flap…it will be embellished first…see the front pocket details section.
Embossing Details
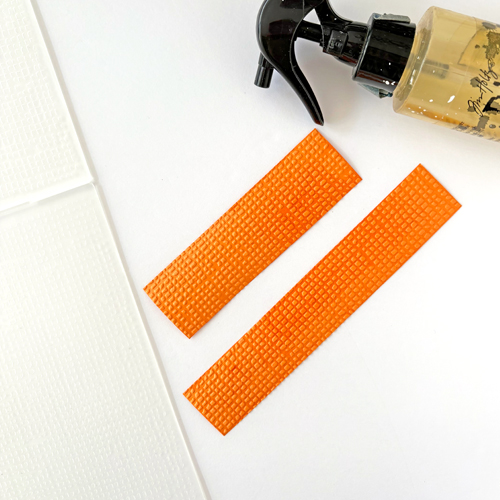
Cut 6 x 1-inch and 4 1/8 x 1.25-inch orange cardstock strips. Lightly mist them with water before embossing them with a 3D Embossing Folder. Designer’s Tip: lightly mist to get a crisp embossed design!
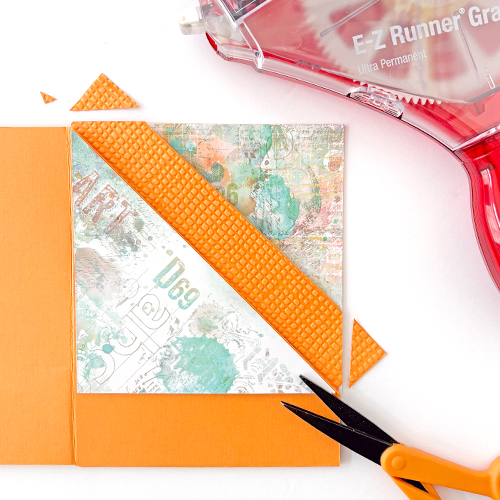
Cover the exposed area between the pockets (trim excess) and the area below the second pocket with the E-Z Runner® Grand Ultra Strong Refillable Dispenser.
Wear Your Adhesive on the Outside with Extreme Double-Sided Tape
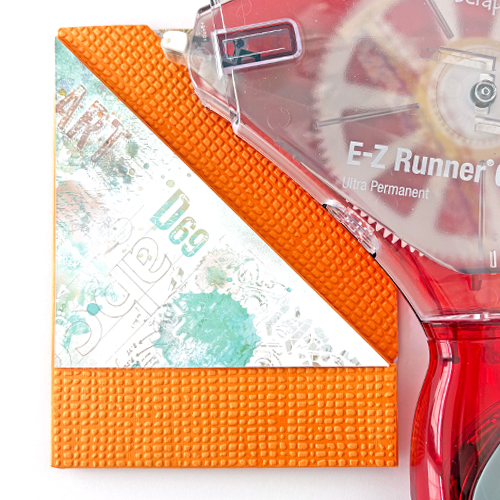
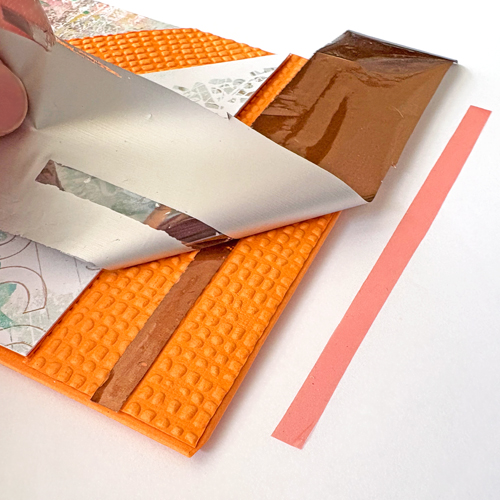
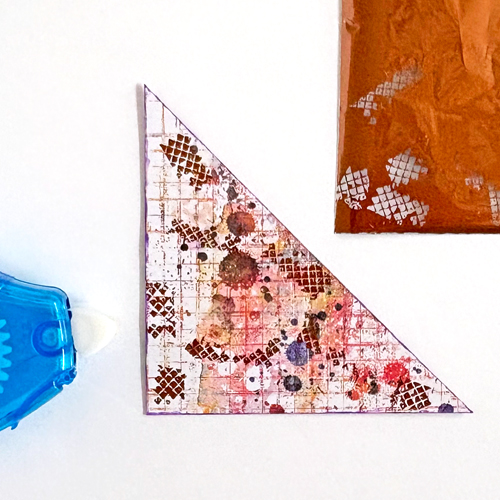
Place a strip of Extreme Double-Sided Tape 1/4in. across the bottom of the card front and remove the top liner. With a piece of brown foil from the Metallic Transfer Foil Sheets Nature Colors, cover the exposed adhesive (color side facing you) and gently rub the foil to transfer color to the tape. Peel off to reveal the color! Reapply the foil in missed areas.
Wear Your Adhesive on the Outside technique brings adhesives out from between layers and uses them on the outside to create unique embellishments! Using foil (in my case) to perfectly match my project or color them. You can also use embossing powder, glitter, pigment powder, and more!
Front Pocket Details
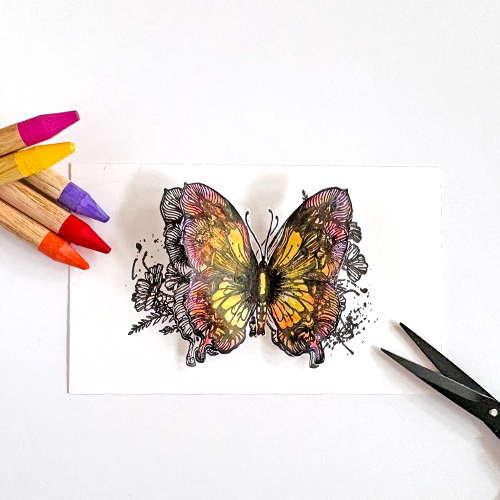
Stamp the butterfly image on white cardstock, watercolor and fussy cut it out. Randomly apply the E-Z Runner® Petite Permanent Dots Refillable Dispenser on the leftover triangle. Foil the exposed adhesive spots. Use a watercolor pencil to edge the triangle to profile the shape. Set aside.
Sentiment
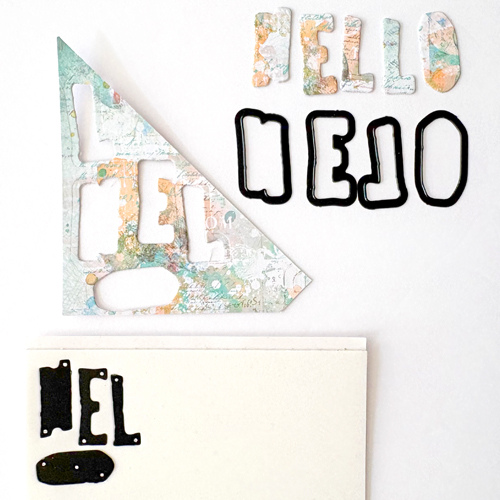
Die-cut the HELLO outline with patterned paper and die-cut the HELLO alpha with 3D Foam Creative Sheets Small White. Layer the alpha with its outline shape.
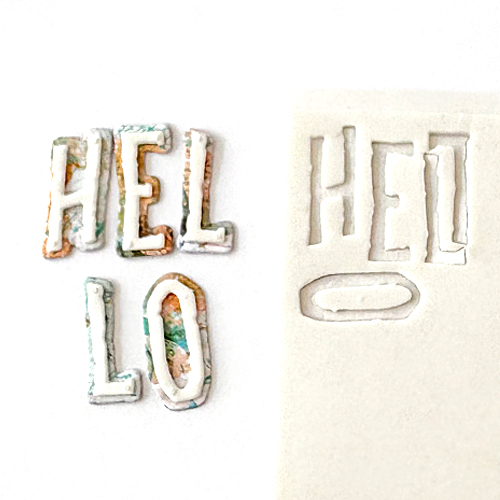
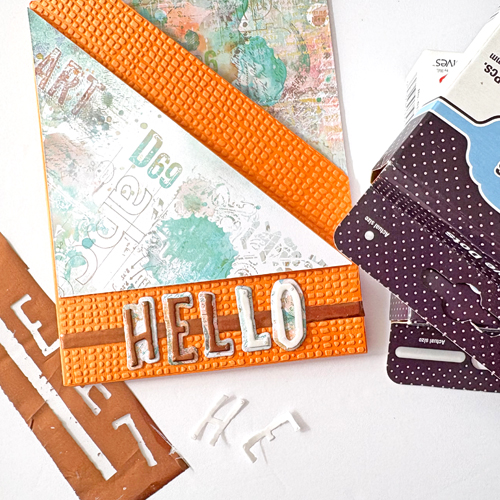
First, adhere the layered HELLO with a combination of Adhesive Dots Micro and Adhesive Lines on top of the foiled border. With the same foil color from the Metallic Transfer Foil Sheets Nature Colors, repeat the foiling steps.
The Last Steps of the Pocket Card
Apply the E-Z Runner® Grand Ultra Strong Refillable Dispenser on the short end of the top panel. Close like a book and seal. This is the back pocket. Apply the same adhesive on the lower panel. Flip up and seal to create the front pocket. The left panel will fold to the back to create the inside of the card. Add a white panel inside to write your greeting.

Add the embellished triangle with a piece of 3D Foam Creative Sheets Small White. Then add the stamped butterfly with Adhesive Lines and form the butterfly for dimension.
Add Tags
Die Cut three tag shapes out of orange cardstock (large size), white cardstock (small), and leftover patterned paper (small).

The white tag was embossed with the same embossing folder, the orange tag has a patterned paper belly band adhered, and the patterned tag has a layered ART stapled. All have twine tied to the top and ready to tuck into the pockets.
Lots of steps but really easy to assemble. No special tools for foiling and maybe supplies you already have. I hope you enjoyed my Double Pocket Hello Card.
Thanks for coming by!
Margie Higuchi
Creative Time: 30 mins
Skill Level: Intermediate
Materials Needed:
Scrapbook Adhesives by 3L®
E-Z Runner® Petite Permanent Dots Refillable Dispenser
E-Z Runner® Grand Ultra Strong Refillable Dispenser
3D Foam Creative Sheets Small White
Adhesive Dots Micro and Adhesive Lines
Metallic Transfer Foil Sheets Nature Colors
HomeHobby™ by 3L
Extreme Double-Sided Tape 1/4in.
Other: Patterned Papers + Stamp: AALL & Create (Colourburst Melody A5 Paper Pack + Petalled Wings Stamp); Craft Dies: AALL & Create (Spell It Out Alpha Dies) + Hero Arts (Tag Infinity Die); Embossing Folder: Spellbinders Paper Art (3D Embossing Folder); Watercolor: Ranger Ink (Distress Watercolor Pencils); Ink: Hero Arts (Intens-ified Black); Orange and White Cardstock; Scoreboard & Crease Tool; Water Mister; Jute Twine; Staples
Click Preferred Retailers List
Save to Pinterest!
Visit our Website and Blog!
Sign up for our Newsletter so you never miss a contest or giveaway!


