
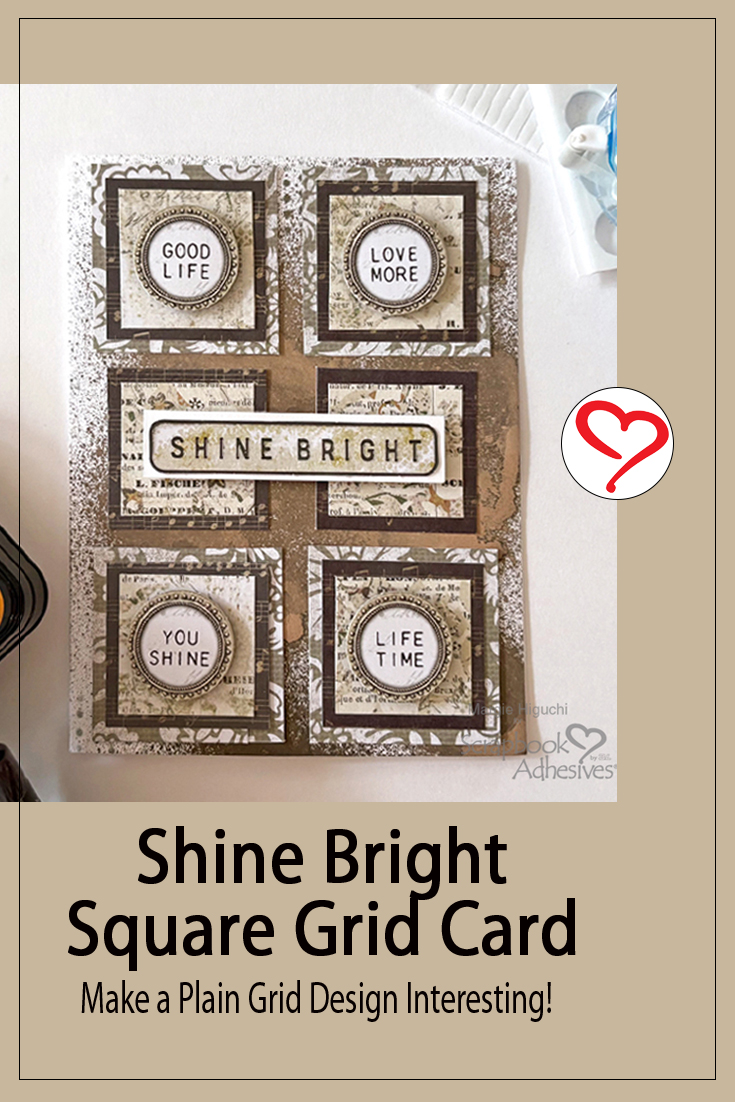
I love me a good grid design! So why not make it interesting by adding layers and lifting the circle accents with 3D Foam Circles White Mix. Hi, Margie here today, and I’m excited to share this niffy Shine Bright Square Grid Card. It’s simple but has impact!
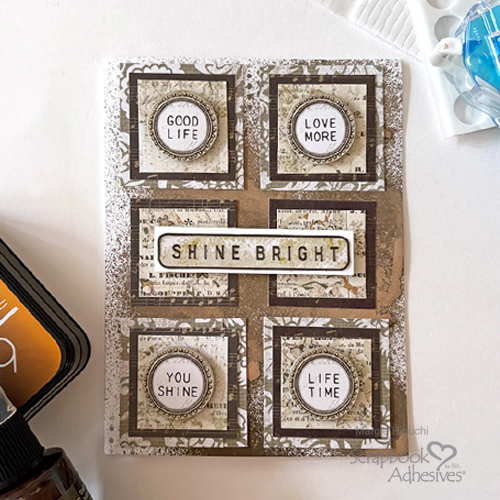
Shine Bright Card Front Design
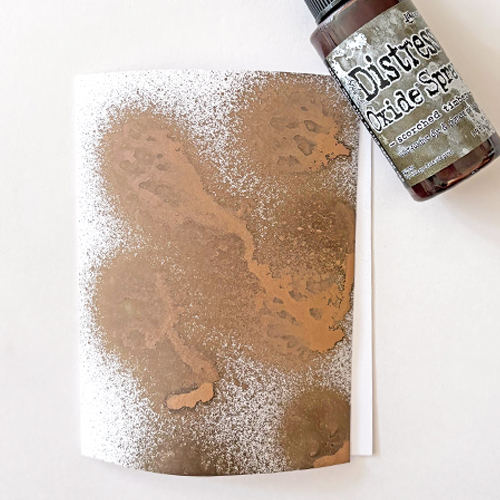
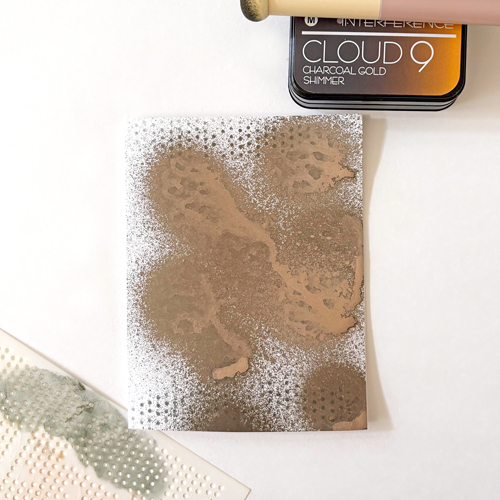
Let’s cut to the chase with designing the card base front! I ink misted the front – love the ink with its copper shiny accent. After it dried, I stenciled a dotted design with a similar ink color but with gold highlights.
Square Grid Design
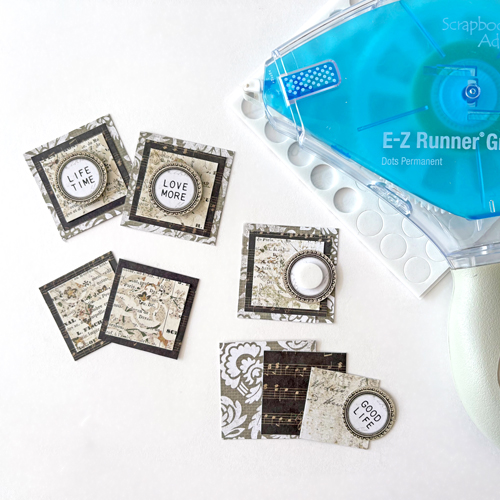
Cut three different sizes of squares from patterned papers for a total of four large squares, six medium squares, and six small squares. Adhere all using the E-Z Runner® Grand Permanent Dots Refillable Dispenser. You should have four three-layered squares and two two-layered squares.
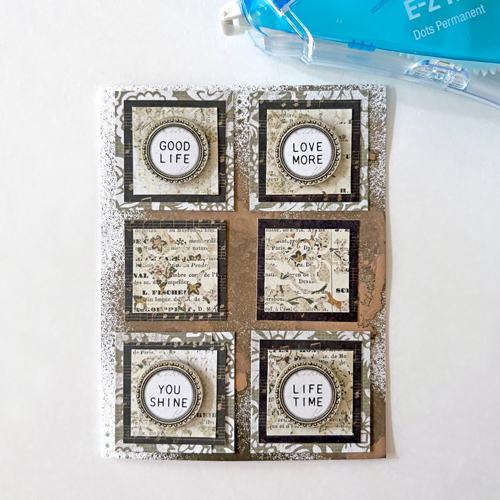
With the same adhesive, create your square grid design on the inked card front. Make sure your two two-layered squares are in the center. This will be the landing area for your sentiment.
Finishing Touch
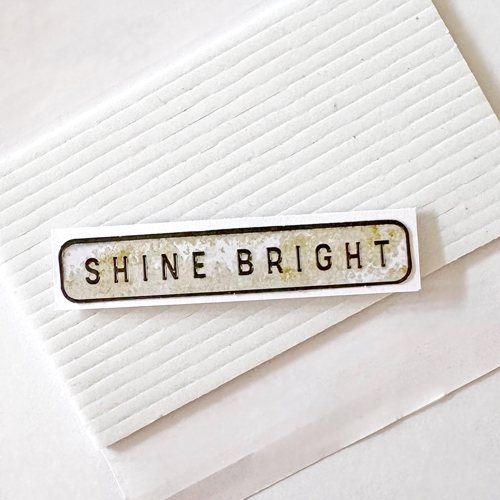
Place a strip of 3D Foam Strips behind the sentiment strip and place it on the card front to finish. Now it’s ready to be sent out to a special friend!
I hope you enjoy this Shine Bright Square Grid Card tutorial. Maybe this will inspire you to go the extra step in making your grid design more interesting. Have a creative day!
Thanks for visiting!
Margie Higuchi
Creative Time: 45 mins
Skill Level: Intermediate
Materials Needed:
Scrapbook Adhesives by 3L®
E-Z Runner® Grand Permanent Dots Refillable Dispenser
Other: Papers: Arden Creative Studio (Vintage Makers Essentials 6×8 Paper Pad); Ink: Lisa Horton Crafts (Interference Ink in Charcoal Gold Shimmer); Ink Mist: Ranger Ink (Distress Oxide Mist in Scorched Timber); Stencil: Art Anthology (Dot Matrix Stencil); White Cardstock
Click Preferred Retailers List
Save to Pinterest!
Visit our Website and Blog!
Sign up for our Newsletter so you never miss a contest or giveaway!


