
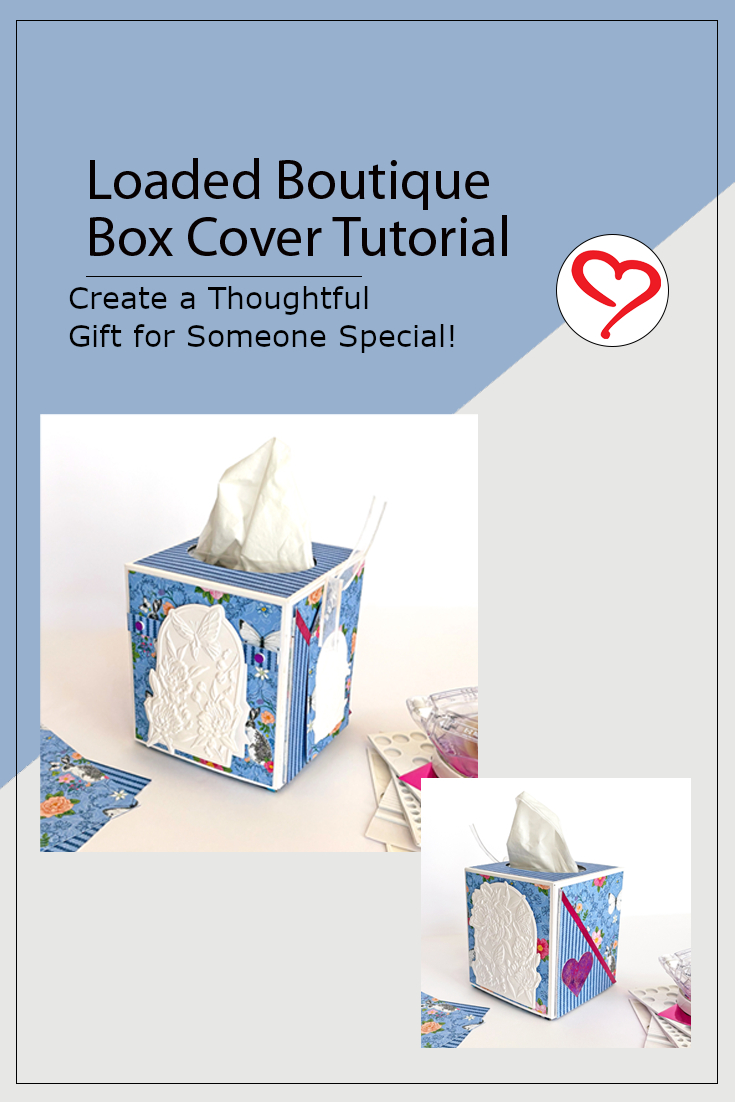
Create a unique and fun gift for a bookworm friend or change out the papers for any occasion! This Loaded Boutique Box is perfect for a sick friend too. So many ideas! Hi, Margie here today! Let me show you how I created this thoughtful gift!
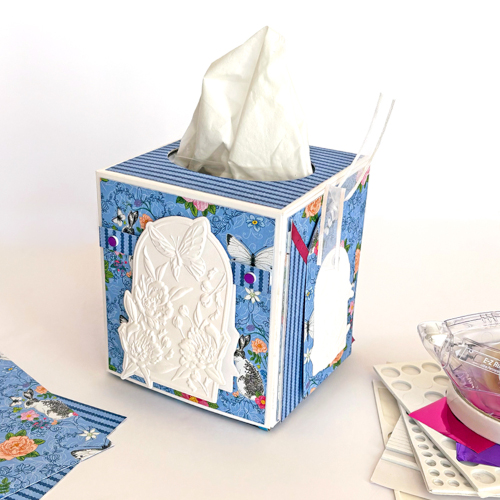
Boutique Box Cover
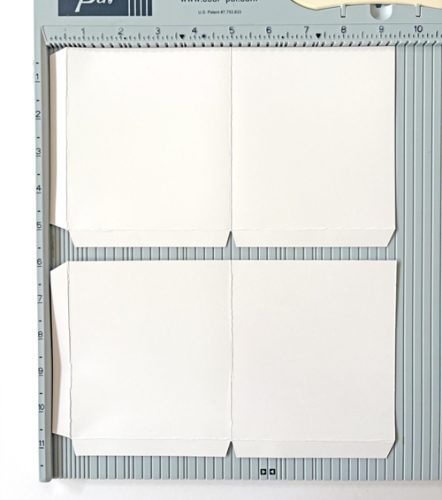
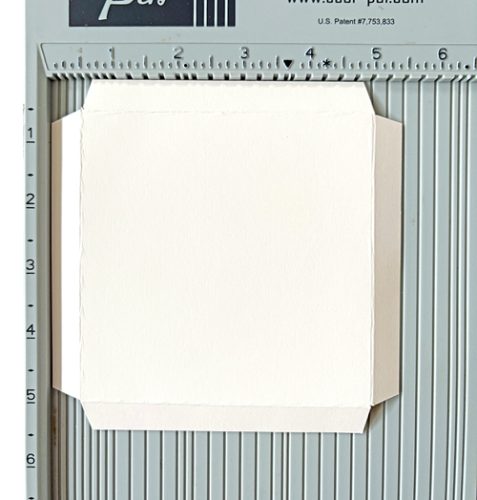
For the base, cut 9.50 x 5.50-inch white cardstock x 2 pieces. With the long side up (9.50-inch), score at 0.50-inch and 5-inch. On the short side up, score at 0.50-inch…this side will be the bottom edge of the cover.
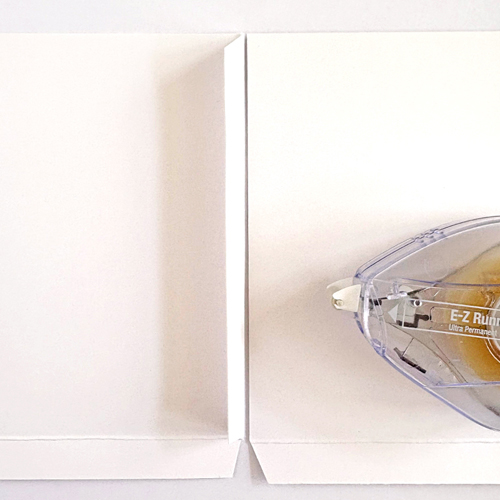
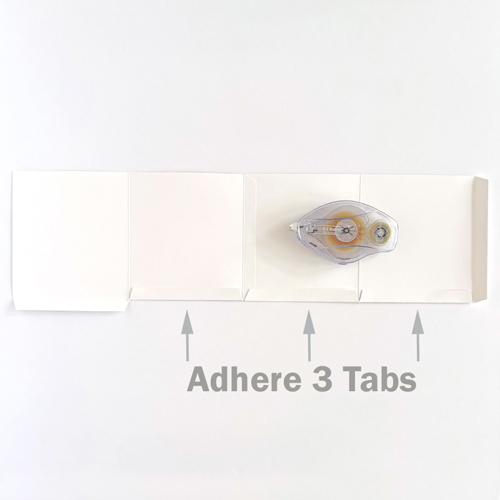
Adhere the ends. Do not butt the edges together. Leave about an 1/8-inch gap before adhering together with the E-Z Runner® Ultra Strong Refillable Dispenser. Adhere three of the inside bottom tabs, leave the bottom tab without the side tab as is–it will be adhered later. Leave this piece flat to embellish.
The lid is cut to a 5.5 x 5.5-inch square white cardstock and score at 0.50-inch on all four sides. Cut and miter all four corners.
Box Patterned Panels
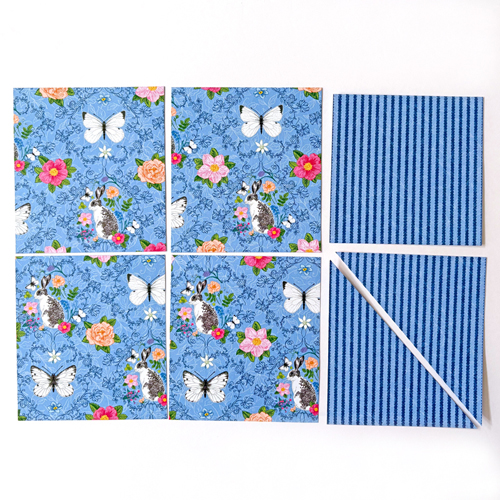
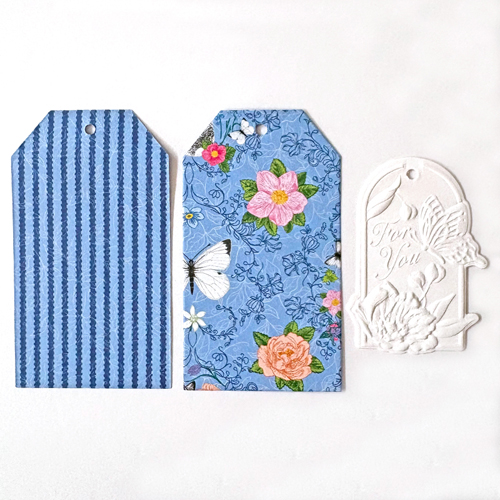
For the side panels, cut 4.50 x 4.75-inch x 5 pieces. Cut one of the panels diagonally – these pieces will be pockets for two sides. The lid panel is cut to 4.50 x 4.50-inches.
Lid Assembly
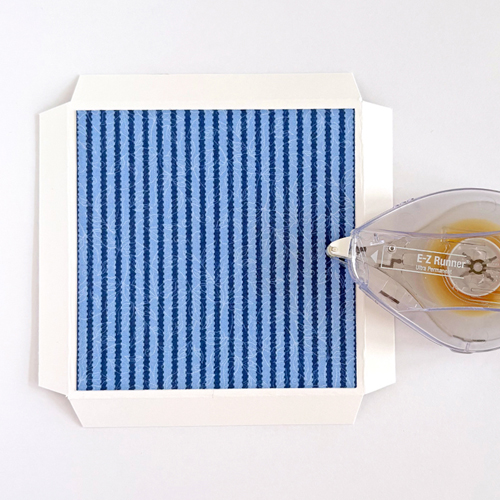
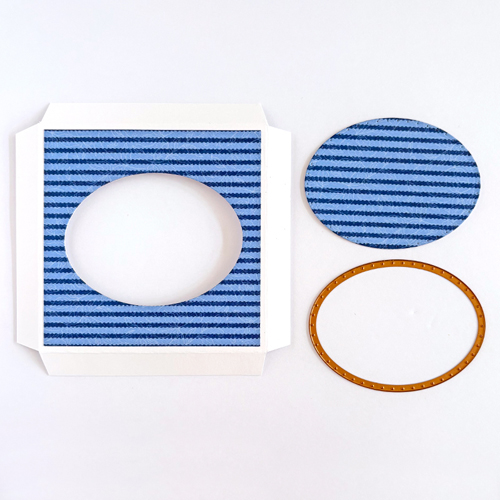
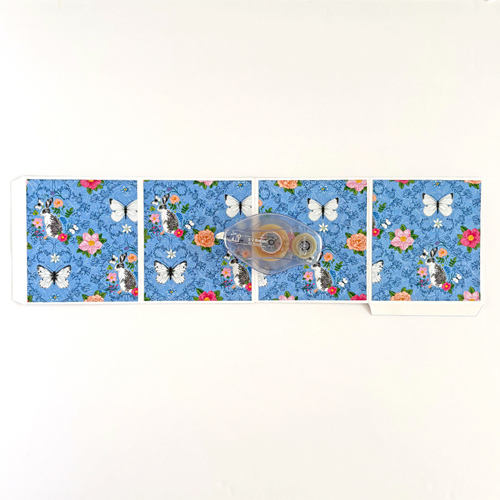
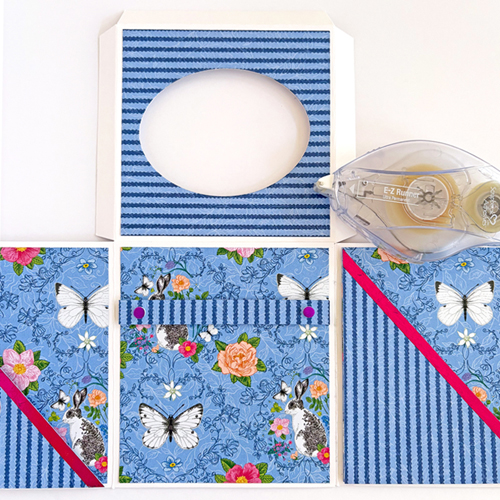
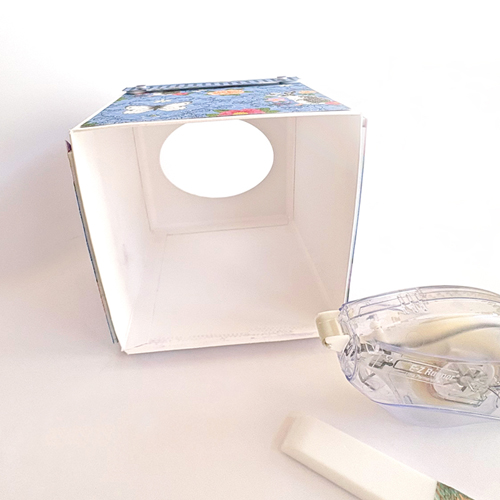
Center the patterned panel on top of the lid with the E-Z Runner® Ultra Strong Refillable Dispenser. Die-cut the center with an oval shape die. Set aside
Embellish Side Panels and Pockets
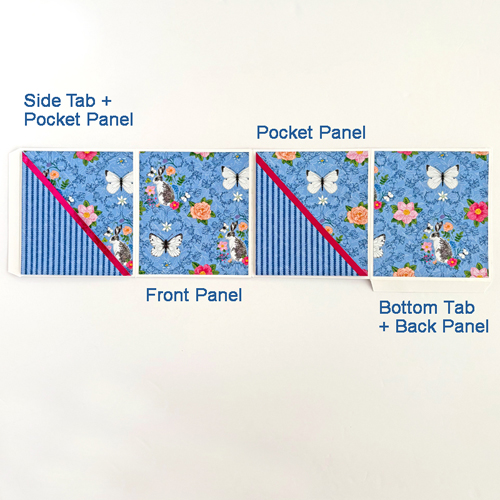
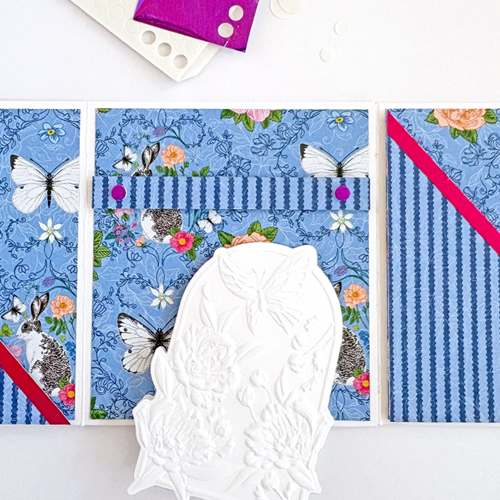
Center the patterned panel on each side of the cover using the E-Z Runner® Ultra Strong Refillable Dispenser. The second panel from the side tab panel will be your front
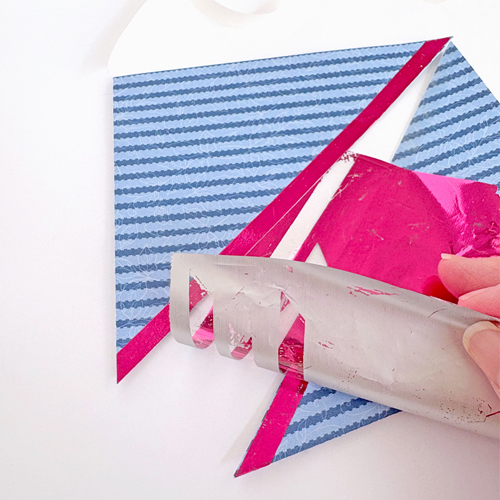
On the left and right sides of the front, you will add the pockets (the diagonal cut pieces). First, foil the edges of the pockets. Place a strip of Crafty Power Tape Polybag 81ft. on the edges, remove the top liner and foil. Choose your foil color from the Metallic Transfer Foil Sheets Variety Colors pack, cut a piece and place the foil (color side facing you) over the exposed adhesive. Rub to transfer the color to the edge. Reapply foil in missed areas. Repeat the foiling steps to the other pocket
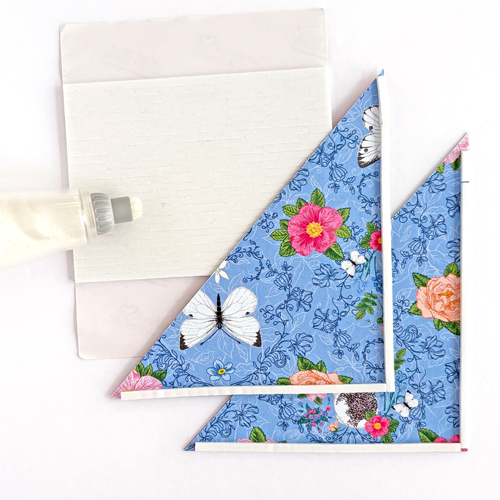
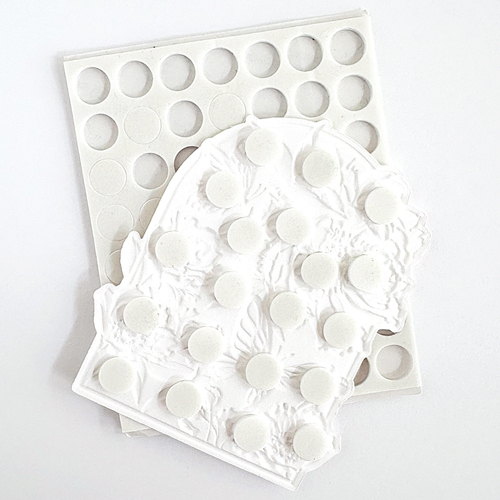
Add 3D Foam Strips to the two sides of the pocket. Designer’s Note: leaving the top liner on, dust the sides with the anti-static powder to alleviate the stickiness. Remove the liners and place each pocket on the lower corner of the patterned panels.
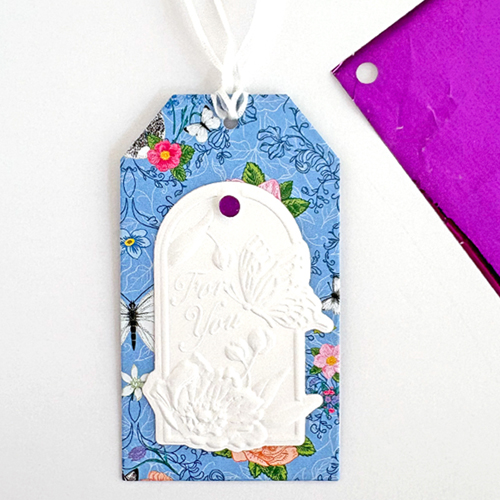
Pocket with Tag Bookmark
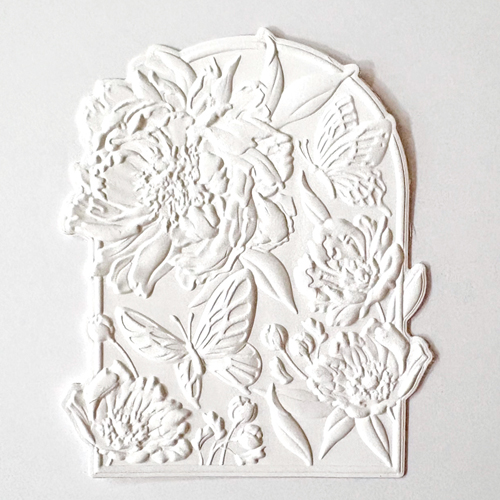
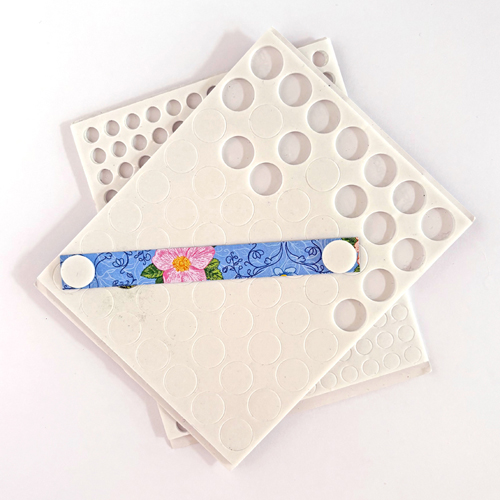
Cut two tag shapes out of patterned paper. Score one 0.75-inch from the top to create a hinge, apply the E-Z Runner® Ultra Strong Refillable Dispenser above the score line, and place the two tags together to make one tag shape. Emboss and cut a Floral for You Small Tag in white cardstock and attach to the tag front with the E-Z Runner® Ultra Strong Refillable Dispenser. Add a small 3D Foam Circles White Mix in tag opening. Thread ribbon through the patterned tag opening.
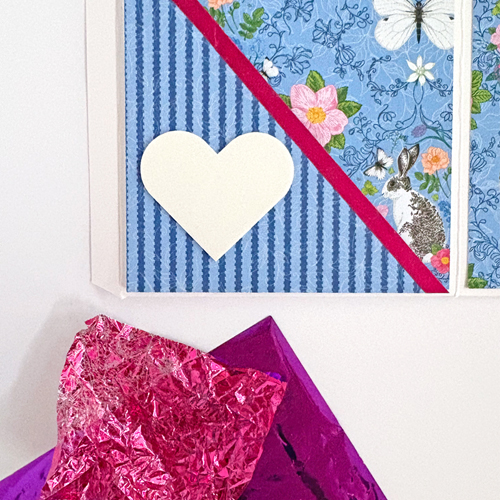
Pocket with Foiled Heart Detail
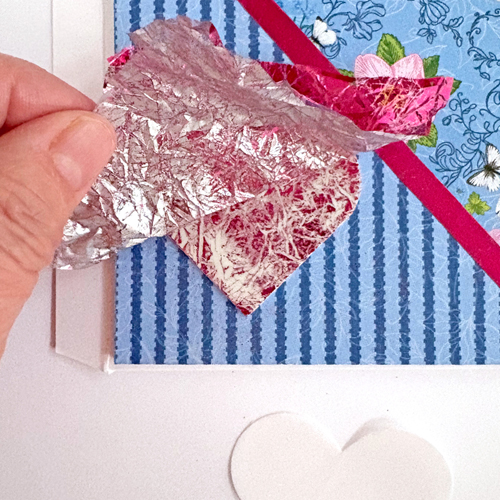
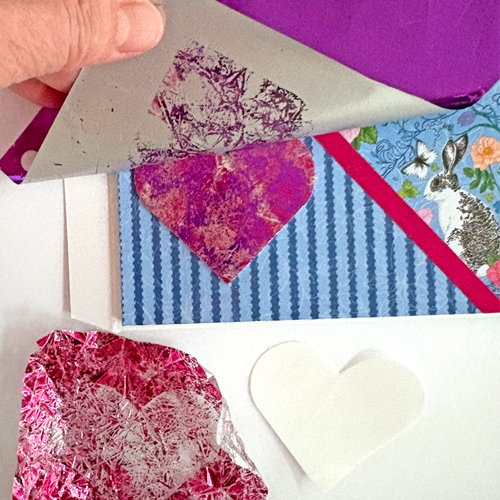
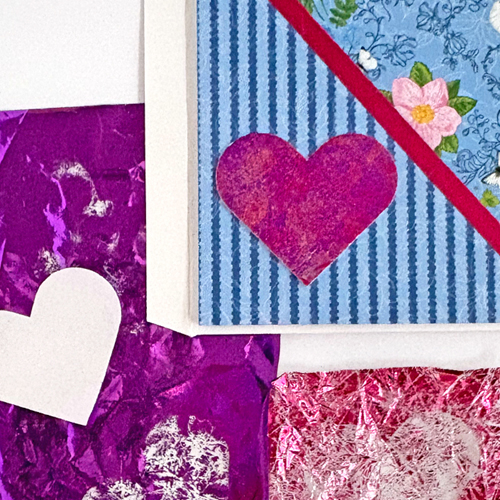
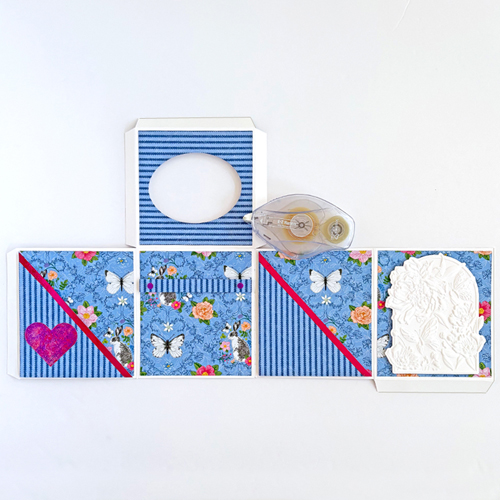
Add a Large Heart from the 3D Foam Hearts on the other pocket. Choose your two contrasting foil colors from the Metallic Transfer Foil Sheets Variety Colors. Crumple up one of the foil colors to create wrinkles. Flatten it out, place it over the exposed adhesive (color side facing you) and rub to transfer the design to the foam heart. The white wrinkles are exposed adhesive so take a piece of contrasting color (no need to crumple it)and apply it over the heart. The result is beautiful.
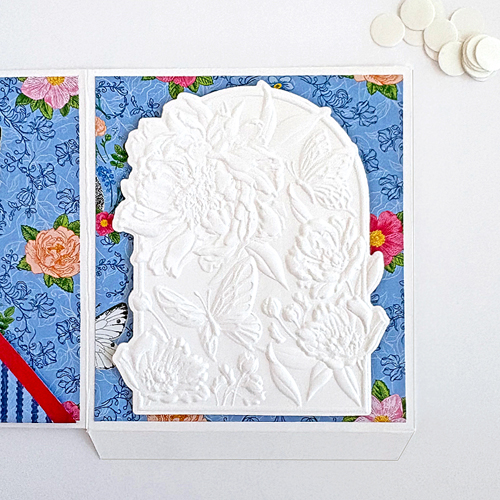
Embellish the Back Panel
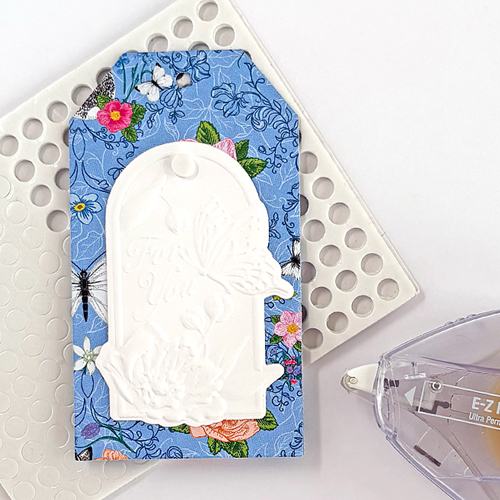
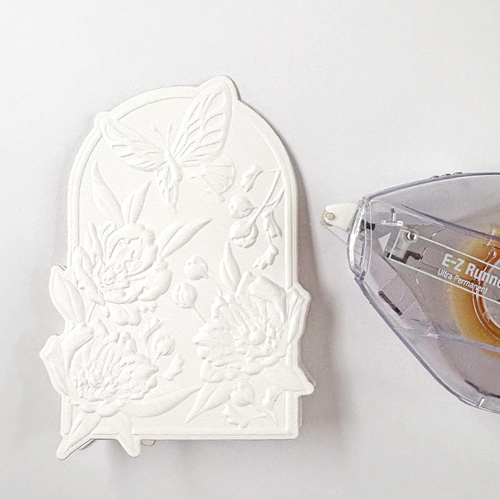
Emboss and cut a Floral for You Large Tag in white cardstock. Pop it on the back panel using several 3D Foam Circles White Mix.
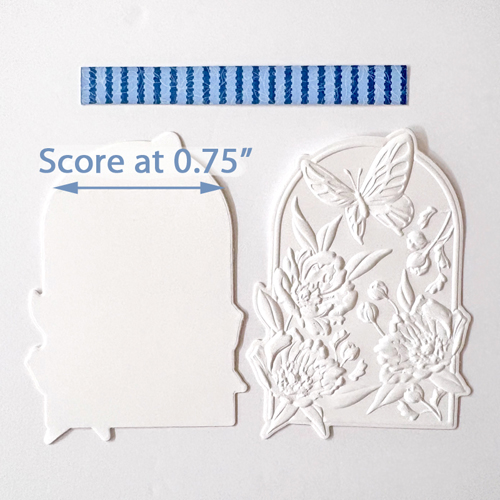
Decorate the Front Panel
Emboss and cut a Floral for You Medium Tag and its solid shape in white cardstock. Repeat the hinge step as in the tag bookmark (same score measurement at 0.75-inch) to create a shaped card. Cut a card hanger by cutting a 4.25 x 0.50-inch strip of patterned paper and add it about 1.50-inch from the top with a Large Circle from the 3D Foam Circles White Mix on each side. Designer’s Tip: Use the shaped card as a guide for placement. Then add one Small 3D Foam Circles White Mix on each side and foil them as accents.
Assemble the Boutique Box Cover
First, secure the lid (make sure the oval opening is facing east-west) with the front panel using the E-Z Runner® Ultra Strong Refillable Dispenser. Next, adhere the rest of the tabs. Then adhere the cover ends together, and lastly, secure the bottom tab. Designer’s Tip: Apply adhesive on all the tabs first before assembling. Use your crease tool to burnish the adhesives for extra security.
Tuck your tag bookmark, shaped card into its place and you’re ready to use!
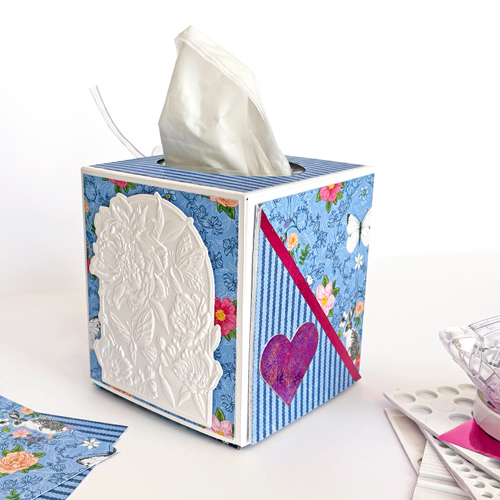
Give this Loaded Boutique Box a try and give it away if you can!
Thanks for stopping in!
Margie Higuchi
Creative Time: 90 mins
Skill Level: Advanced
Materials Needed:
Scrapbook Adhesives by 3L®
E-Z Runner® Ultra Strong Refillable Dispenser
Crafty Power Tape Polybag 81ft.
3D Foam Circles White Mix, 3D Foam Strips
Metallic Transfer Foil Sheets Variety Colors
Other: Papers: Graphic 45 (Spring is in the Air Collection); Embossing Folder and Dies: Spellbinders Paper Art (Floral for You 3D Emboss & Cut Folder and Oval Die) and Hero Arts (Tag Infinity Dies); Scoreboard and Crease Tool; Anti-Static Powder; Paper Trimmer; White Cardstock
Click Preferred Retailers List
Save to Pinterest!
Visit our Website and Blog!
Sign up for our Newsletter so you never miss a contest or giveaway!


