
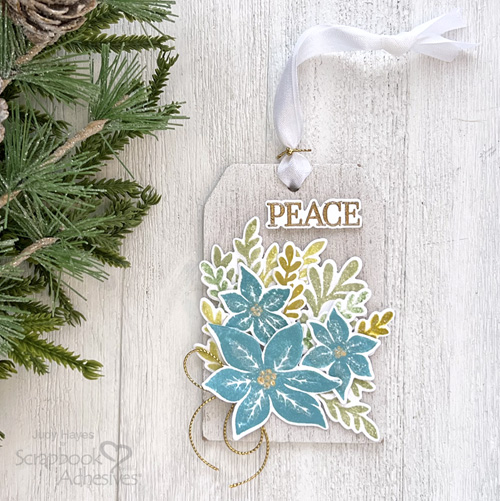
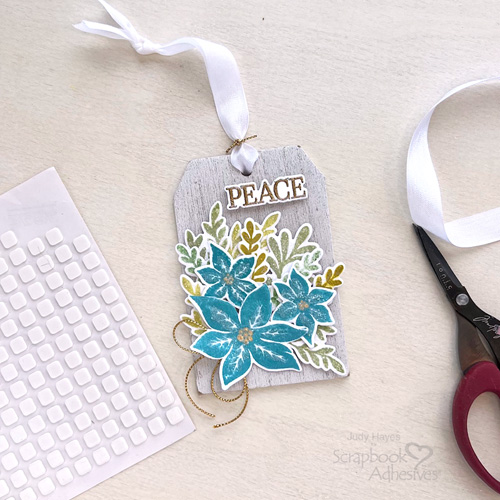
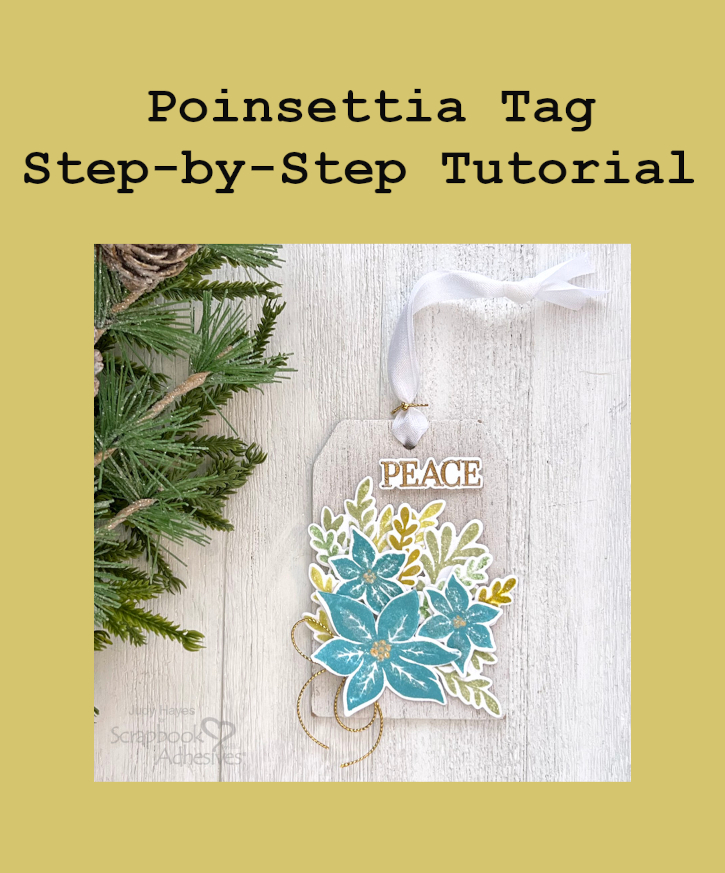
Hi, Judy here today! This Poinsettia Tag Ornament is a versatile project as it can be used a gift tag, an ornament or both. The focal point is a lovely cluster of stamped flowers and greenery die-cut shapes against a weathered white wood tag. Once on the tag, glitter is sprinkled over glue for pretty sparkle.
Prepare the Poinsettia Tag Pieces
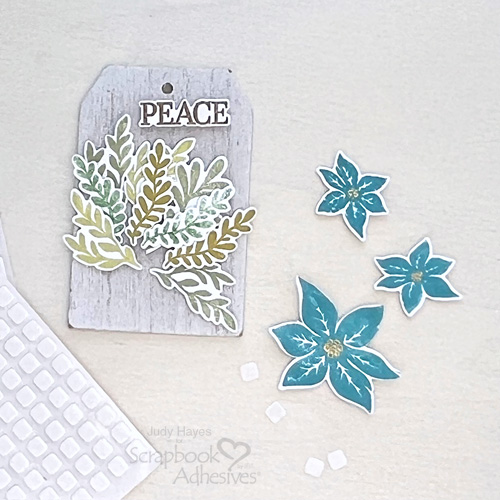
First, spray 2.5 x 4″ wood tag with Distress Spritz Hickory Smoke and set aside to dry. On white cardstock, stamp the poinsettias and die-cut the shapes with lovely blue ink. Add tiny dots of Liquid Pearls Gold to the centers. Next, stamp the foliage from white cardstock and various green tone ink colors.

Prep the Poinsettia Cluster
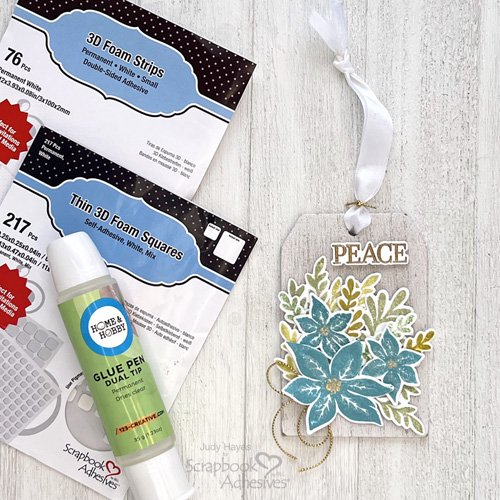
Place small Thin 3D Foam Squares White Mix on the back of all foliage pieces about center of each one. Designer’s Tip: This allows ends to be slightly bent forward once on tag for dimension.
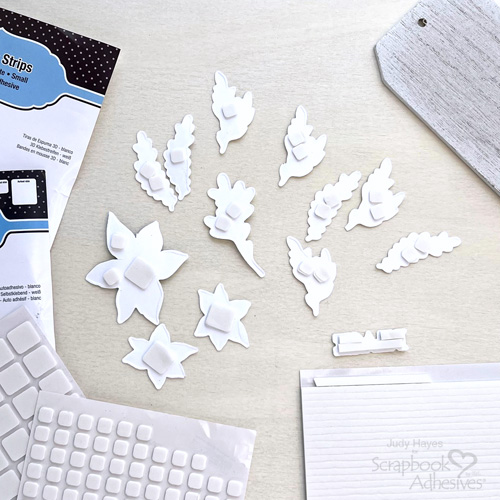
On the backs of the poinsettias, apply large Thin 3D Foam Squares White Mix, and add double layer of small Thin 3D Foam Squares White Mix on petals that will be toward the bottom corner of the tag for added dimension.
Add the Tag Title
Cut pieces of 3D Foam Strips to place on the back of the PEACE sentiment and add near the top of the tag, slightly towards the right edge.
Add the Cluster
Arrange the foliage pieces, peel the liners and secure them to the tag. Lay the poinsettias on the tag to use as a guide for foliage placement. Trim bottom ends of foliage if needed. Peel the liners from the poinsettias and place over the foliage near the bottom corner of the tag.
Glitter All The Things
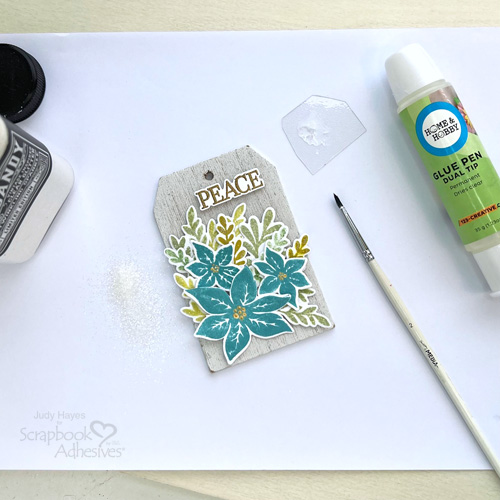
What’s the holidays without the sparkle? Squeeze a small amount of glue from the Dual Tip Glue Pen on a scrap of plastic. Use a small brush to spread the glue on the foliage. Next, sprinkle the glitter on top and tap off the excess. Repeat the same glitter steps on the poinsettias and the sentiment. Let dry.
Finish with a Bow and Ribbon
Tie a tiny bow with gold cord and place a small Thin 3D Foam Squares White Mix on each side of bow knot. Tuck it under the large poinsettia and press in place to secure. Thread a looped white seam binding the tag opening and tie a knot. Wrap a piece of gold cord around the seam binding near tag, tie knot and trim ends.
I hope you enjoyed the Poinsettia Tag tutorial and it inspires you to create some for your holiday makes! Thanks for visiting!
Judy Hayes
Creative Time: 30 mins
Skill Level: Intermediate
Materials Needed:
Scrapbook Adhesives by 3L®
Thin 3D Foam Squares White Mix
HomeHobby™ by 3L
Other: Stamp: Gina K. Designs (Season of Joy); Ink: Ranger Ink (Distress Oxide Broken China, Bundled Sage, Shabby Shutters, Crushed Olive, Rustic Wilderness.), Tsukineko (Versamark Ink); Embossing Powder: Ranger Ink (Gold); Craft Dies: Gina K. Designs (Season of Joy); White Cardstock; Weathered White Wood Tag; White Seam Binding Ribbon; Gold Cord; Spray: Ranger Ink (Distress Spritz Hickory Smoke); Ranger Ink (Liquid Pearls Gold)
Click Preferred Retailers List
Save to Pinterest!
Visit our Website and Blog!
Sign up for our Newsletter so you never miss a contest or giveaway!


